

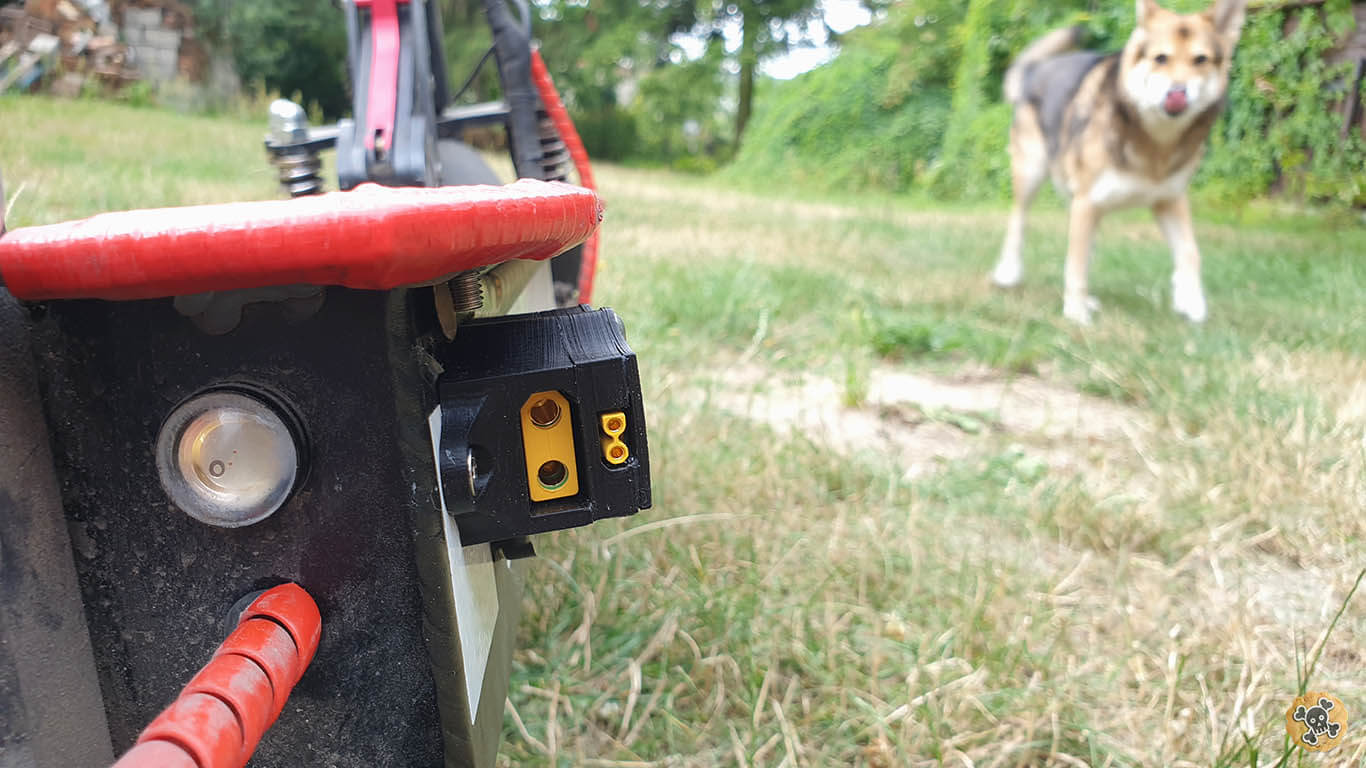
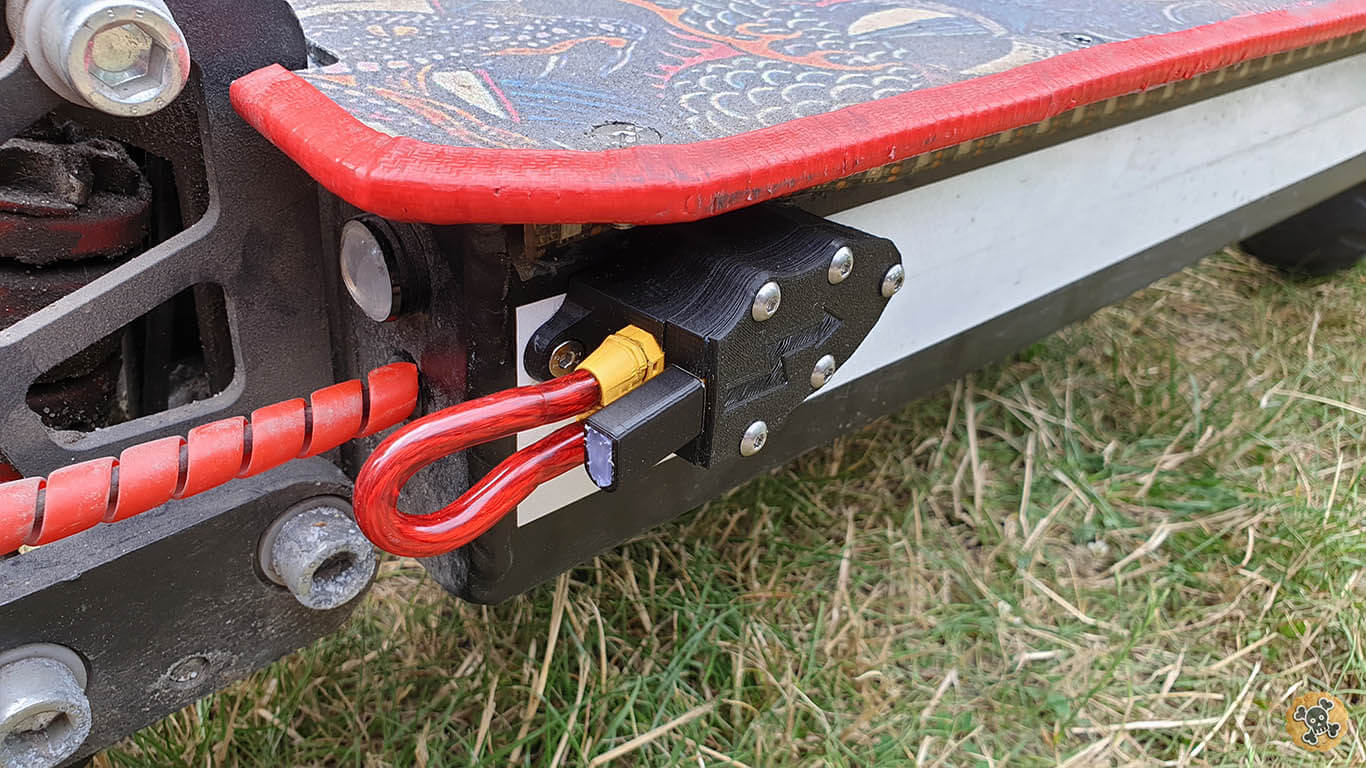
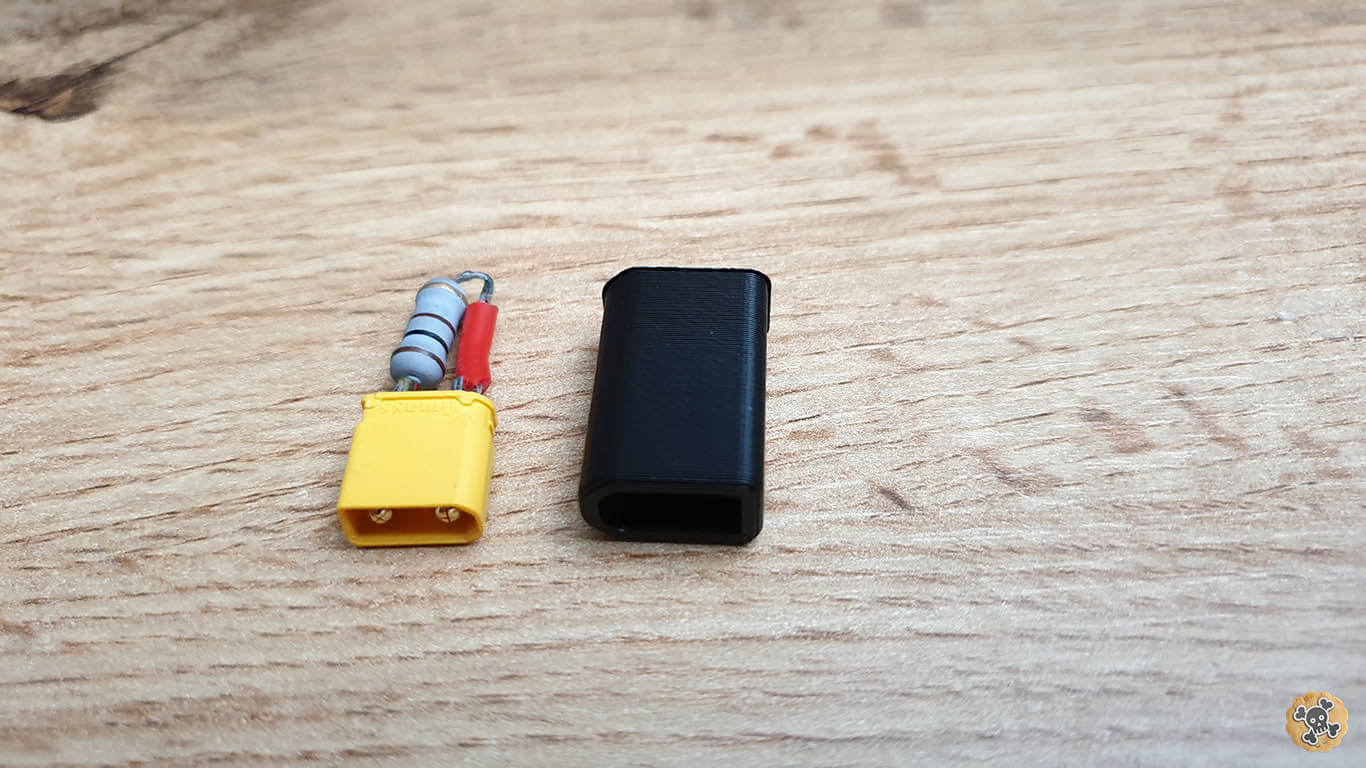
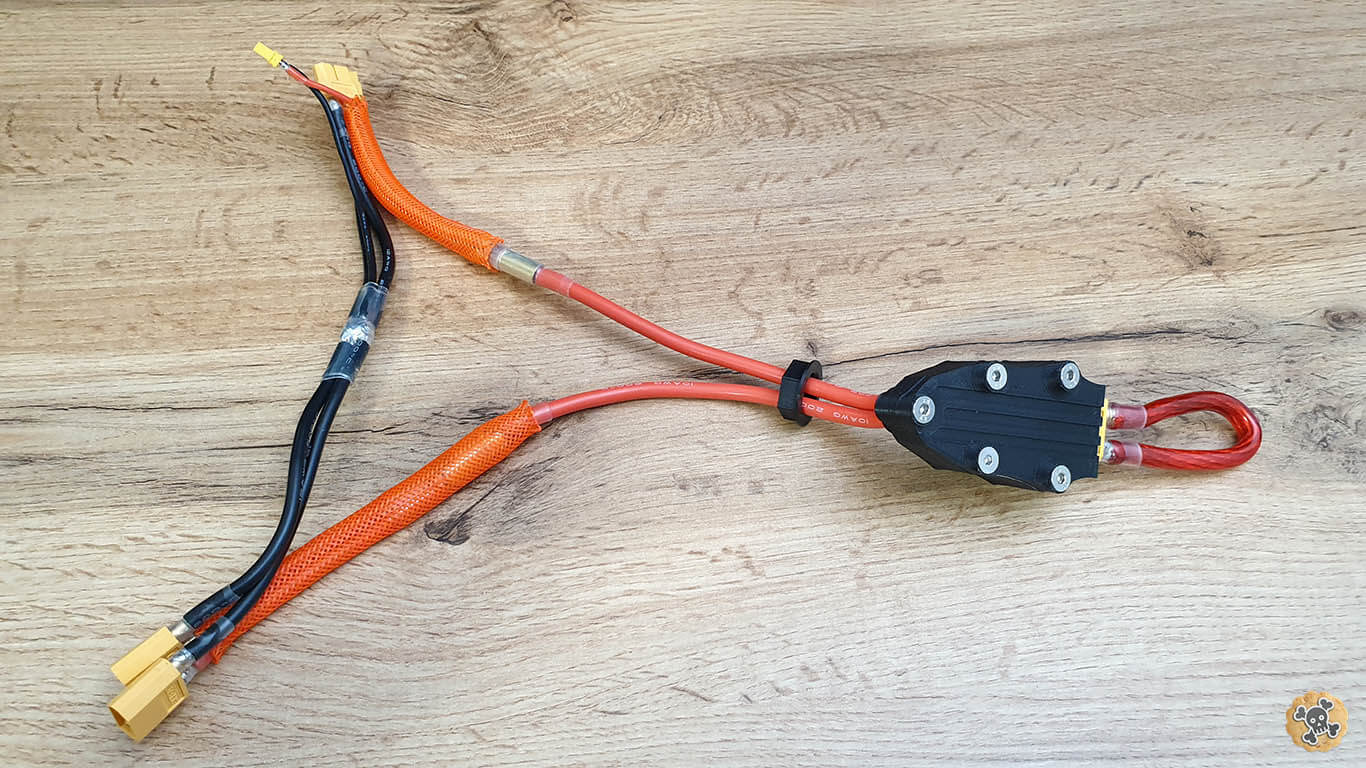
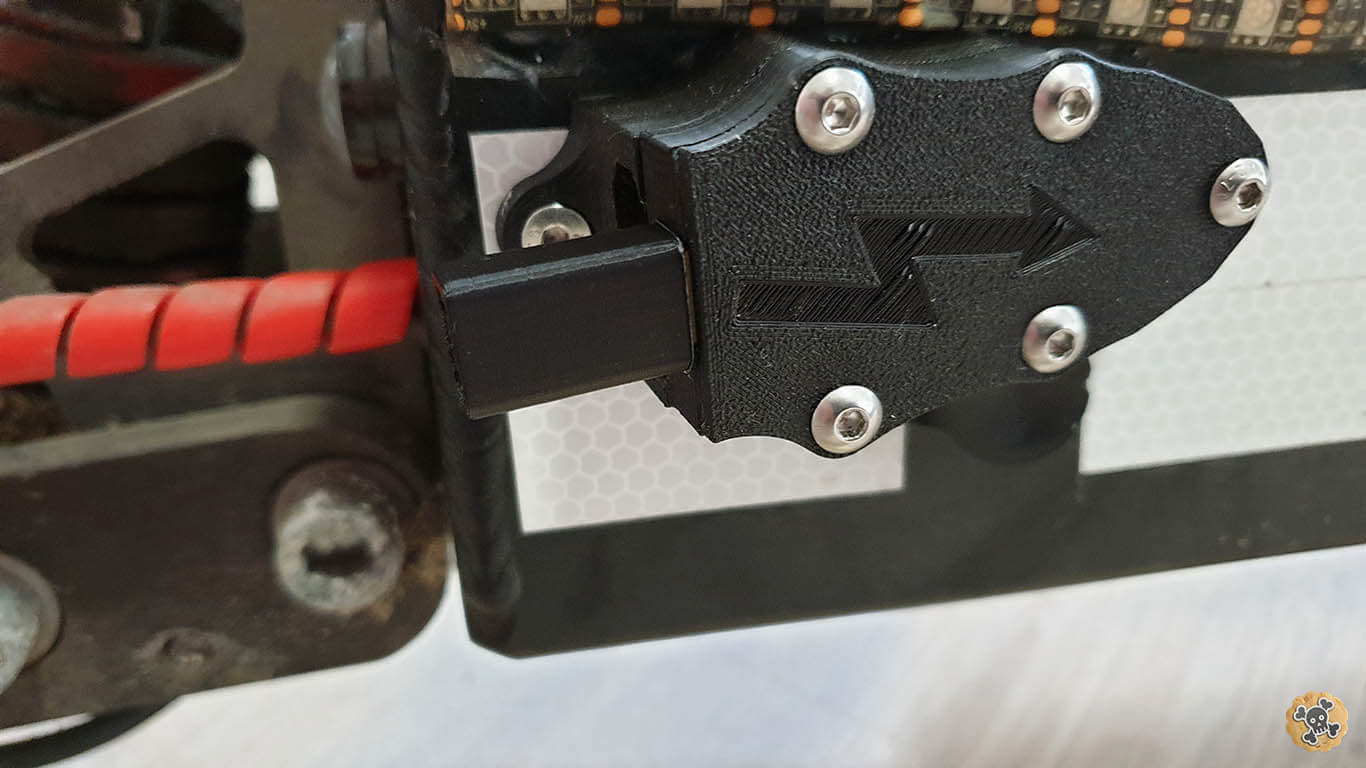
Loop Key is working as a safe switch , it’s connecting battery to other electronics like controllers/ lights etc.. . Dual loop key has extra XT30 connector with resistor between 30-100ohm which almost fully suppress high voltage spike , thanks to it when we connecting high current XT90 connector there is no any spark ( I noticed that Amass XT90s with anti spark got short life span , cuz built in tiny resistor cant really handle high voltage spike over 30v and burns after max 50 connection cycles) .
**After some tests, Dual loop key seems to work perfect after 100 power cycles , there is no any wearing sign on connectors.
!! Dual loop connection order !! . To power up your Ewheel , at first connect XT30 > wait 2sec > then XT90 connector > after it remove XT30 connector.

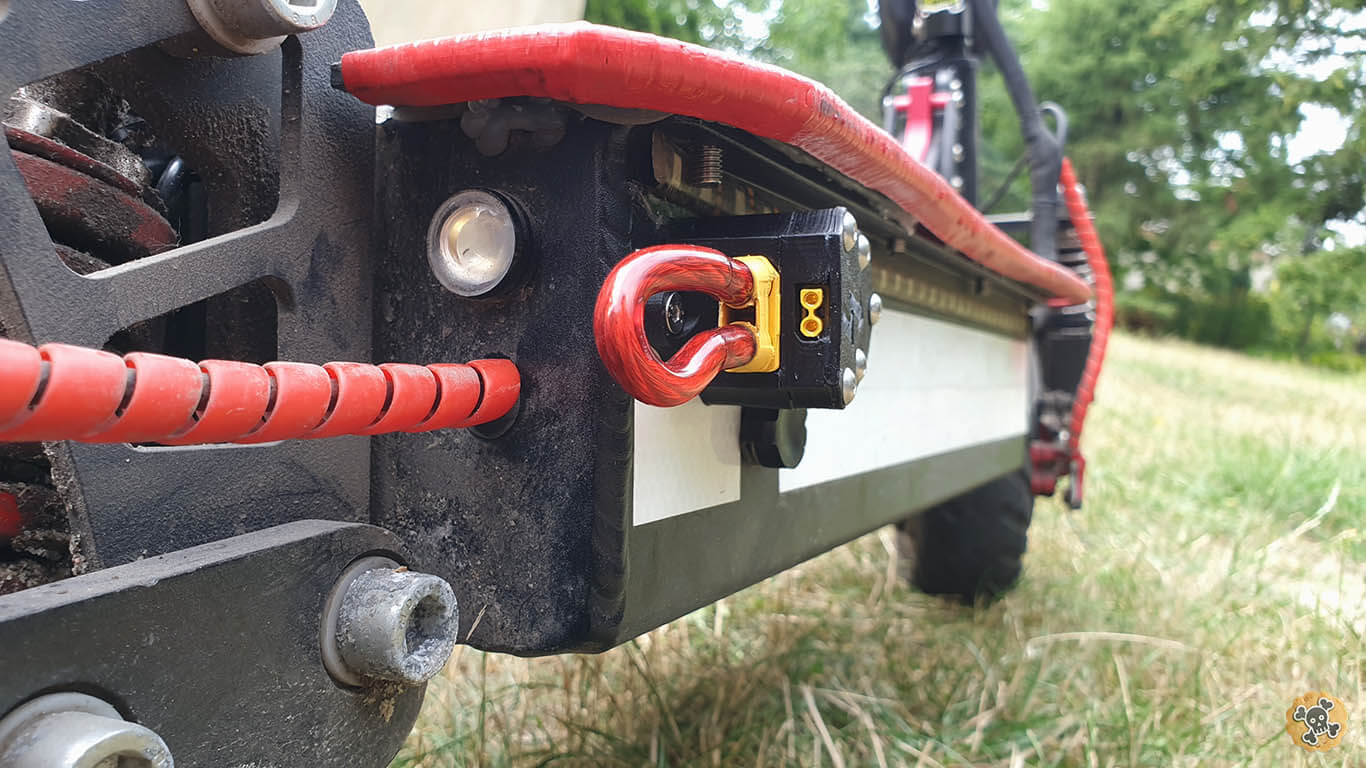
When loop Key is Useful
- When any power modification is made , like new controllers or battery
- We can Easily and Fast disconnect battery if some problems occur
- To avoid any power drain ( we can storage more safely Ewheel for long time )
What do you need
You will have to make couple printed parts similar to my ones , or you can find them in my Eshop
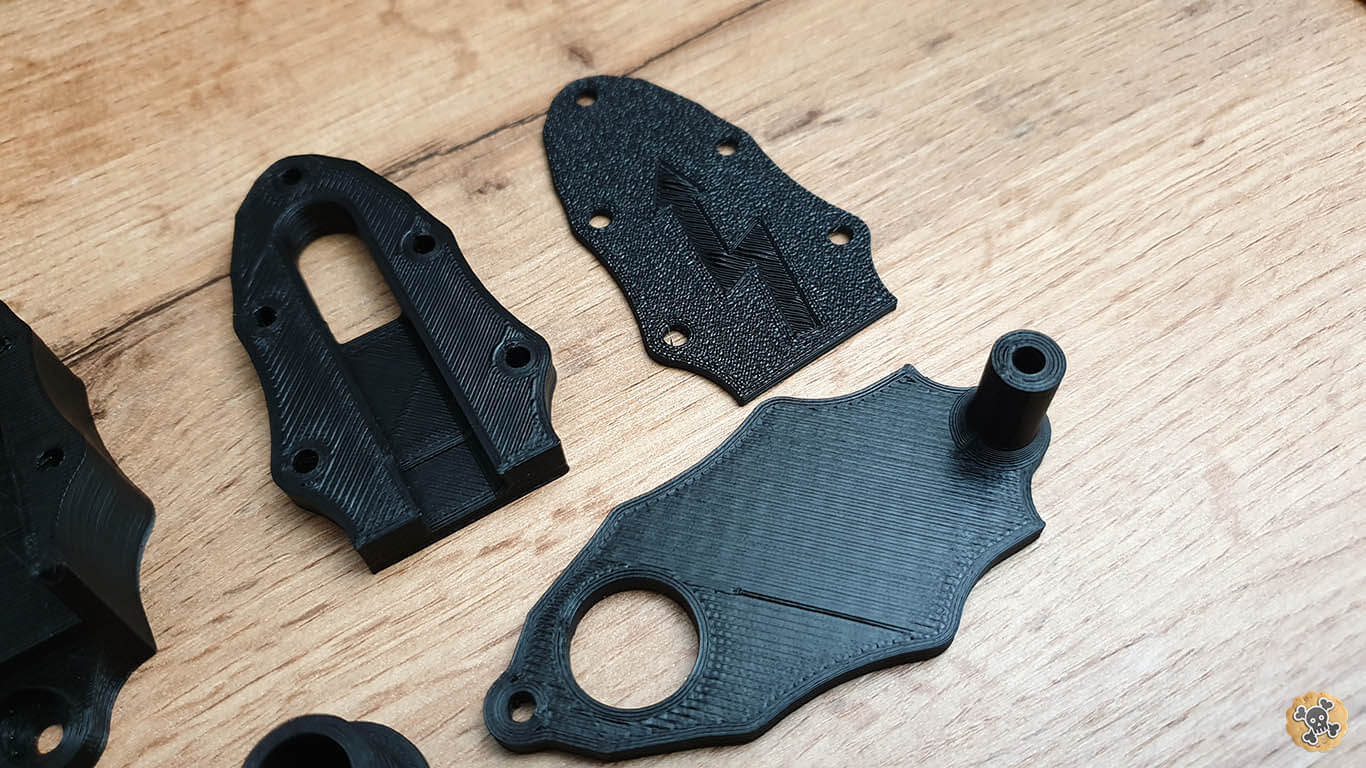
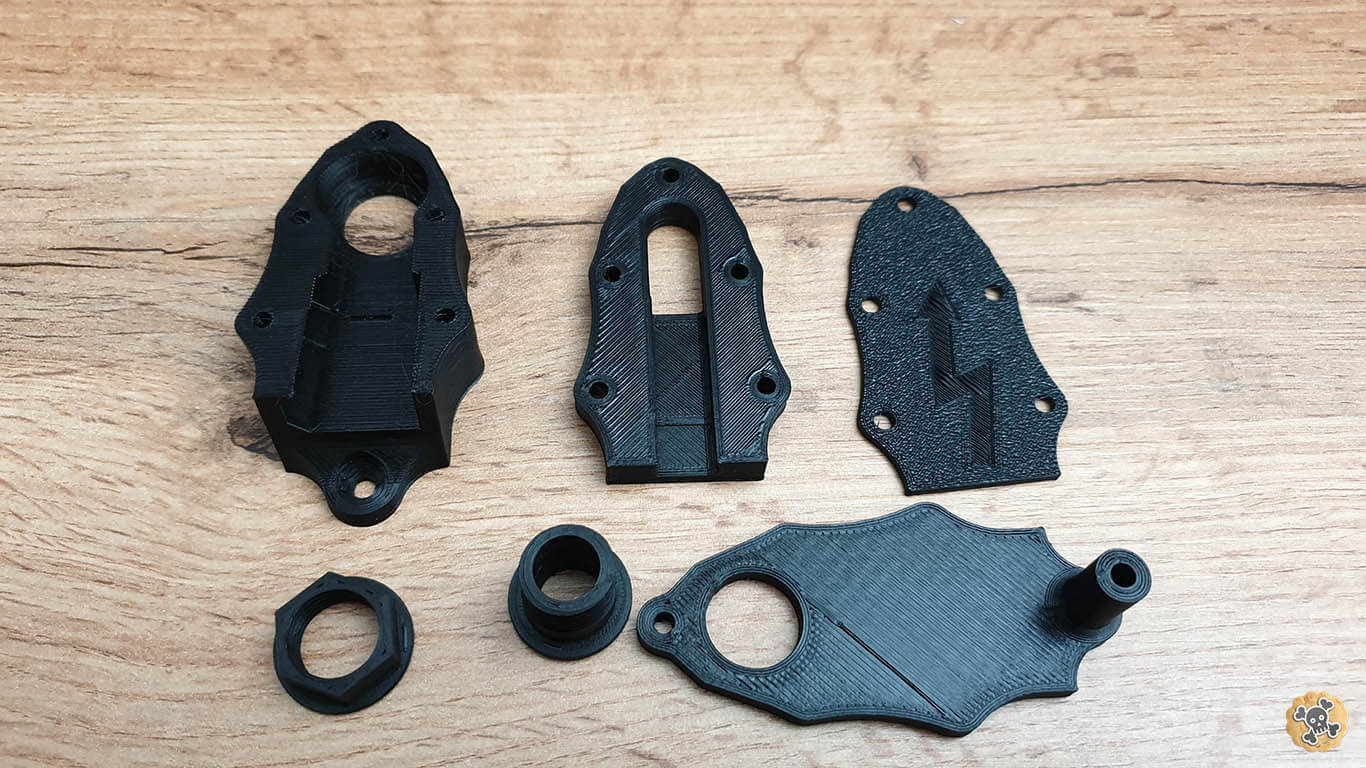
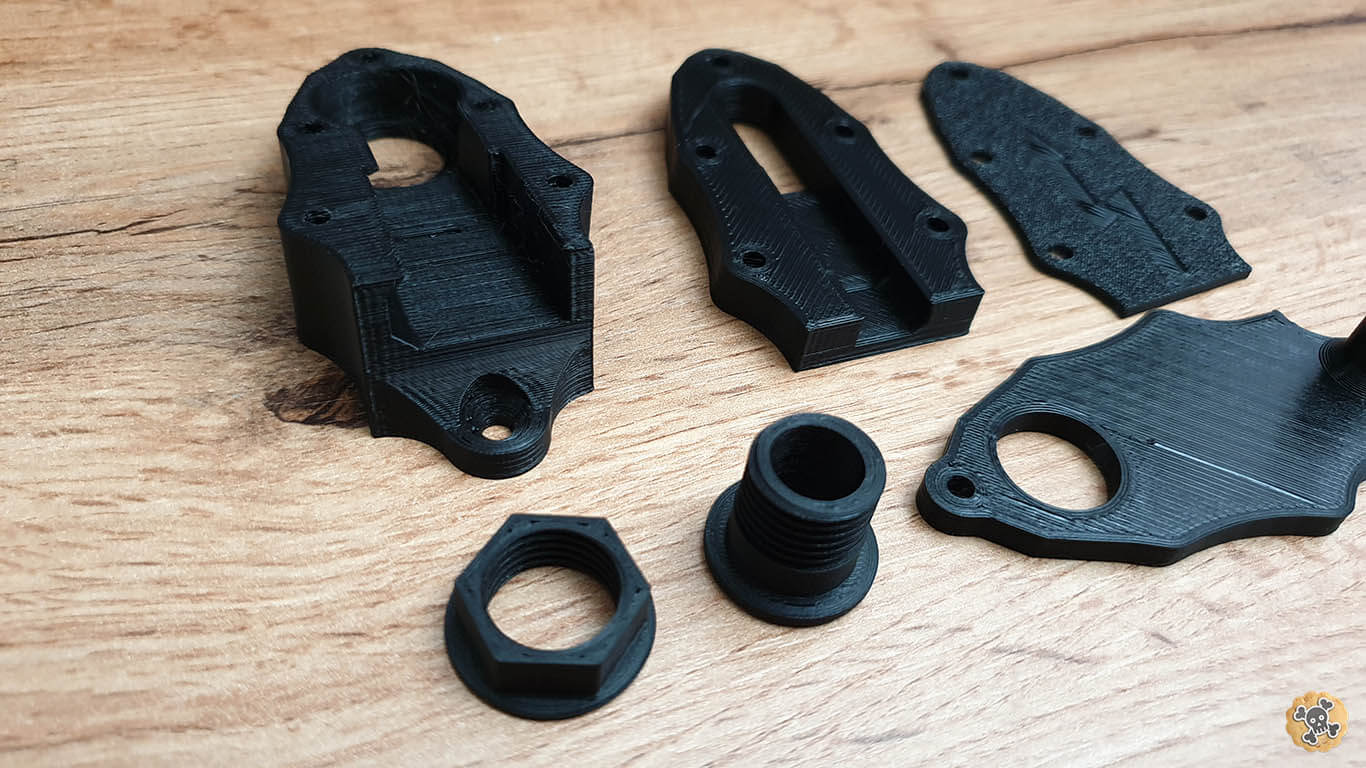
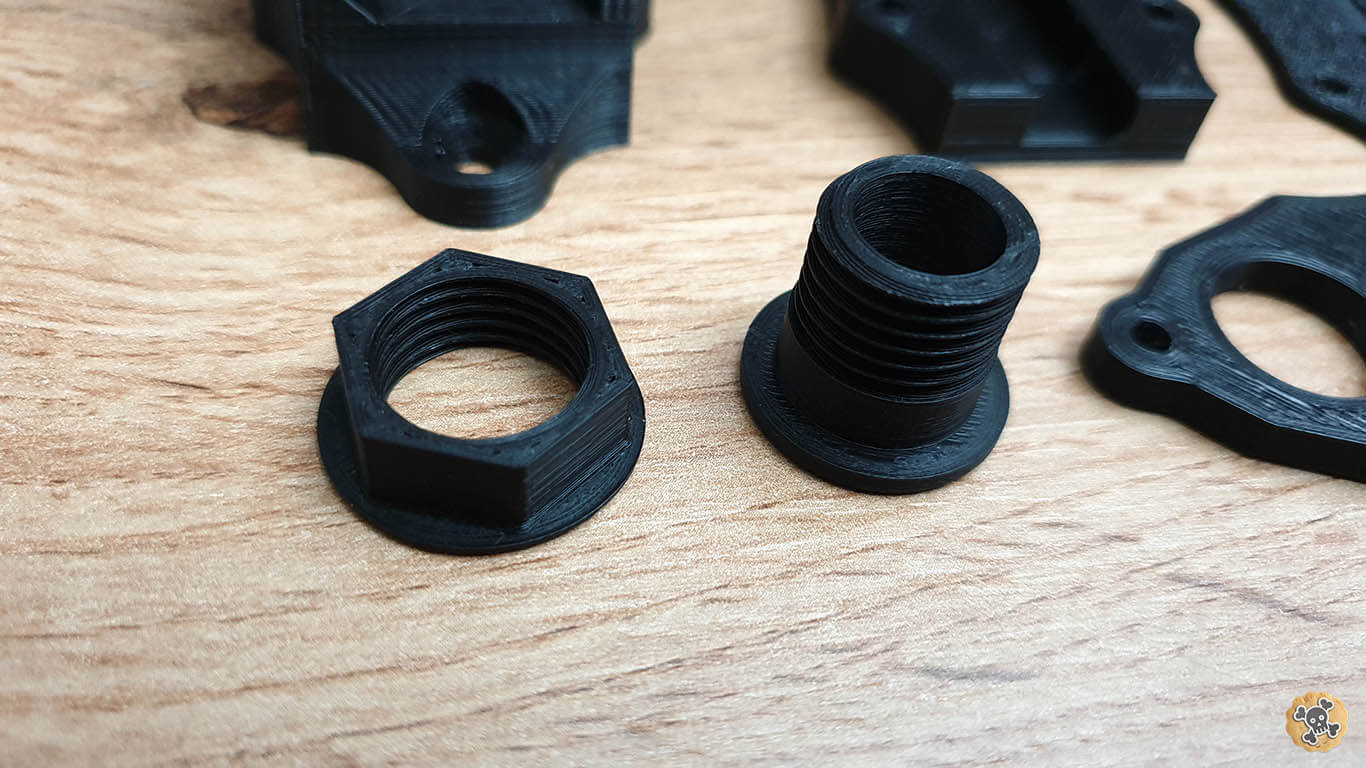
- Genuine XT90s connector set
- XT60 connector set x2
- Genuine XT30 connector set
- 10AWG & 18 AWG wires
- 2x Bullet connector set 8mm
- Extra shrink tubes and cover mesh
How to do it
This is NOT easy task, lots of soldering have to be done BUT I do recommend to try at least, great adventure and lots of experience will be gain.
Here is video for single loop key
Short foto story for Dual Loop Key
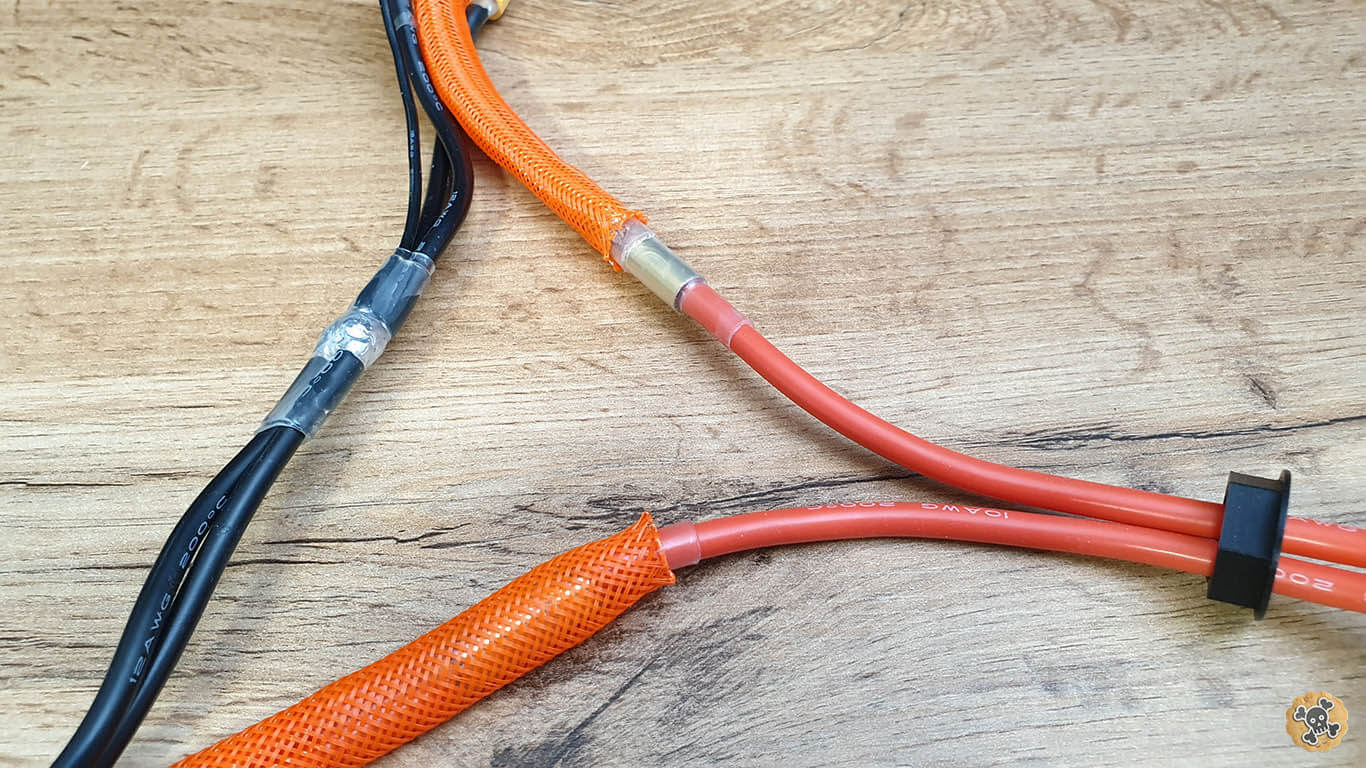
At first make wiring with XT and bullet connectors, the same way like I did.

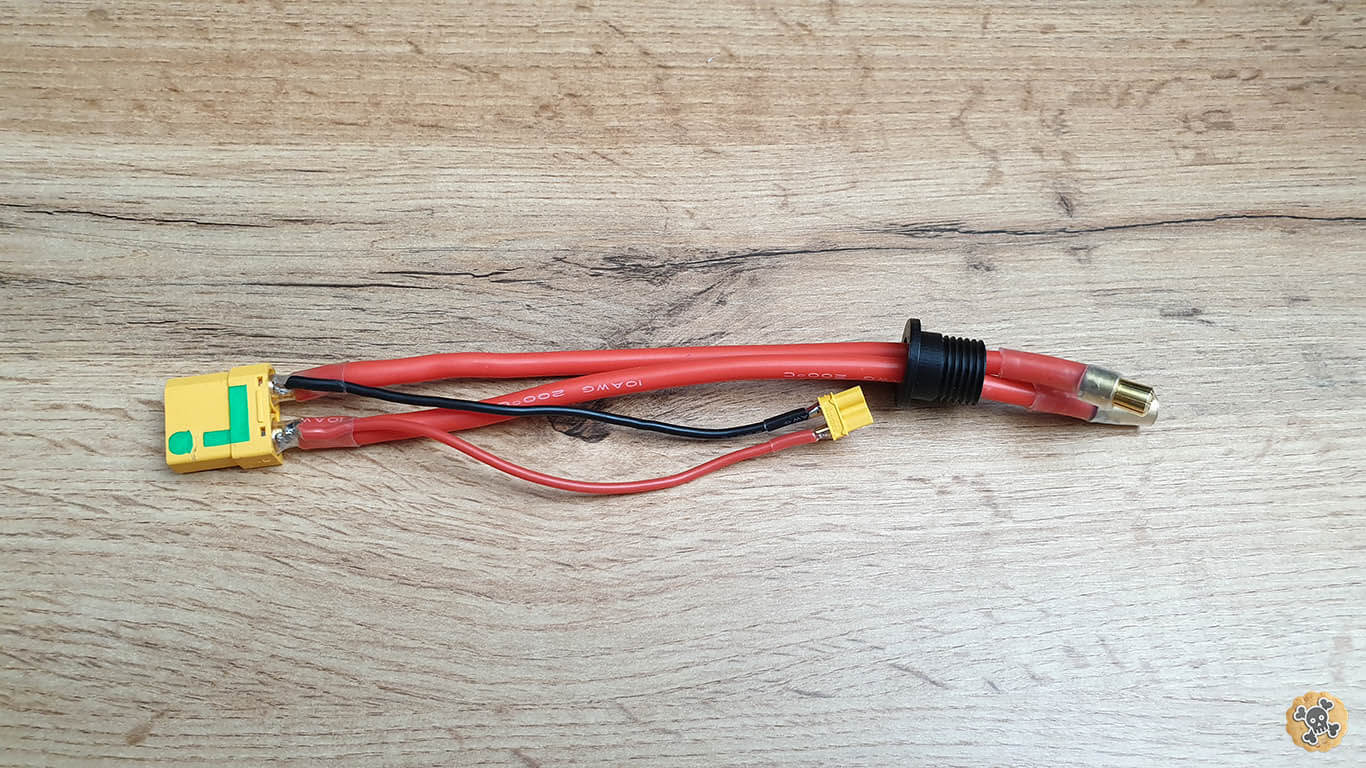
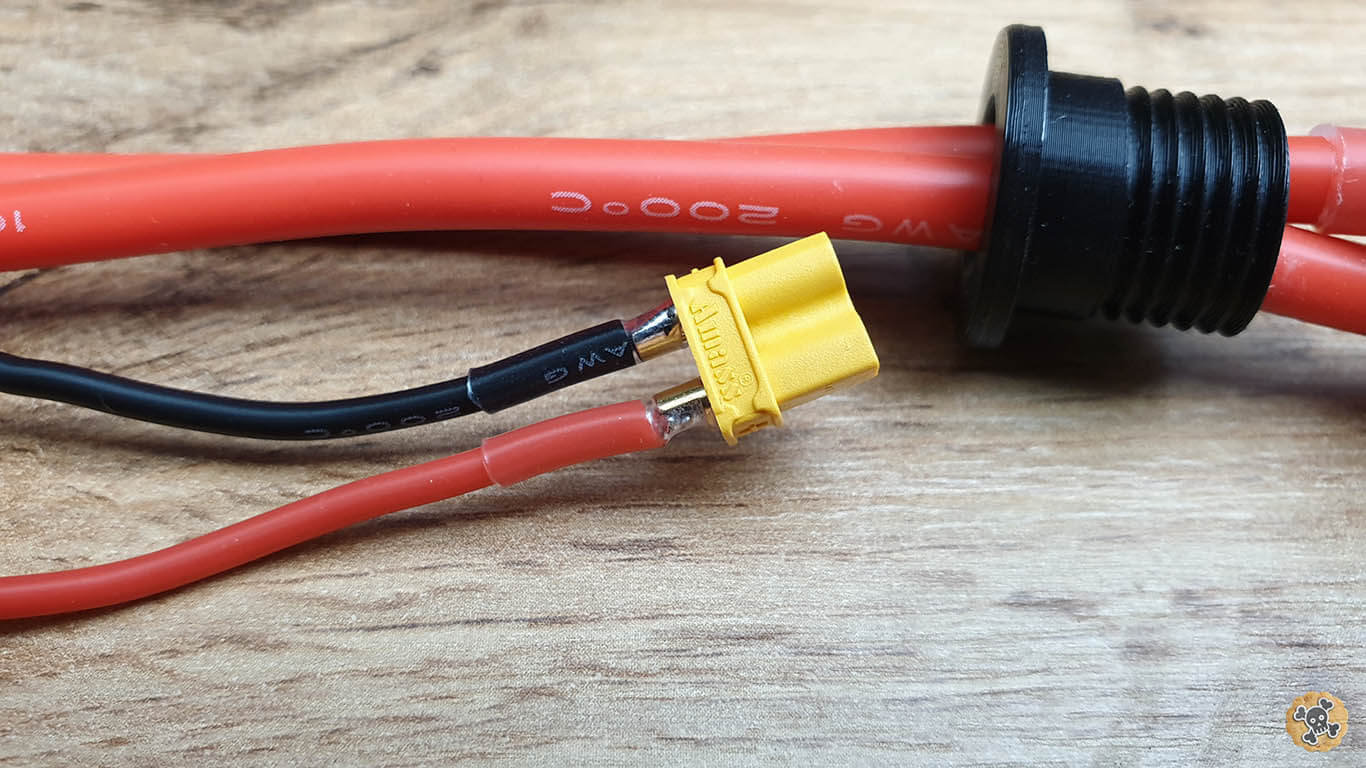
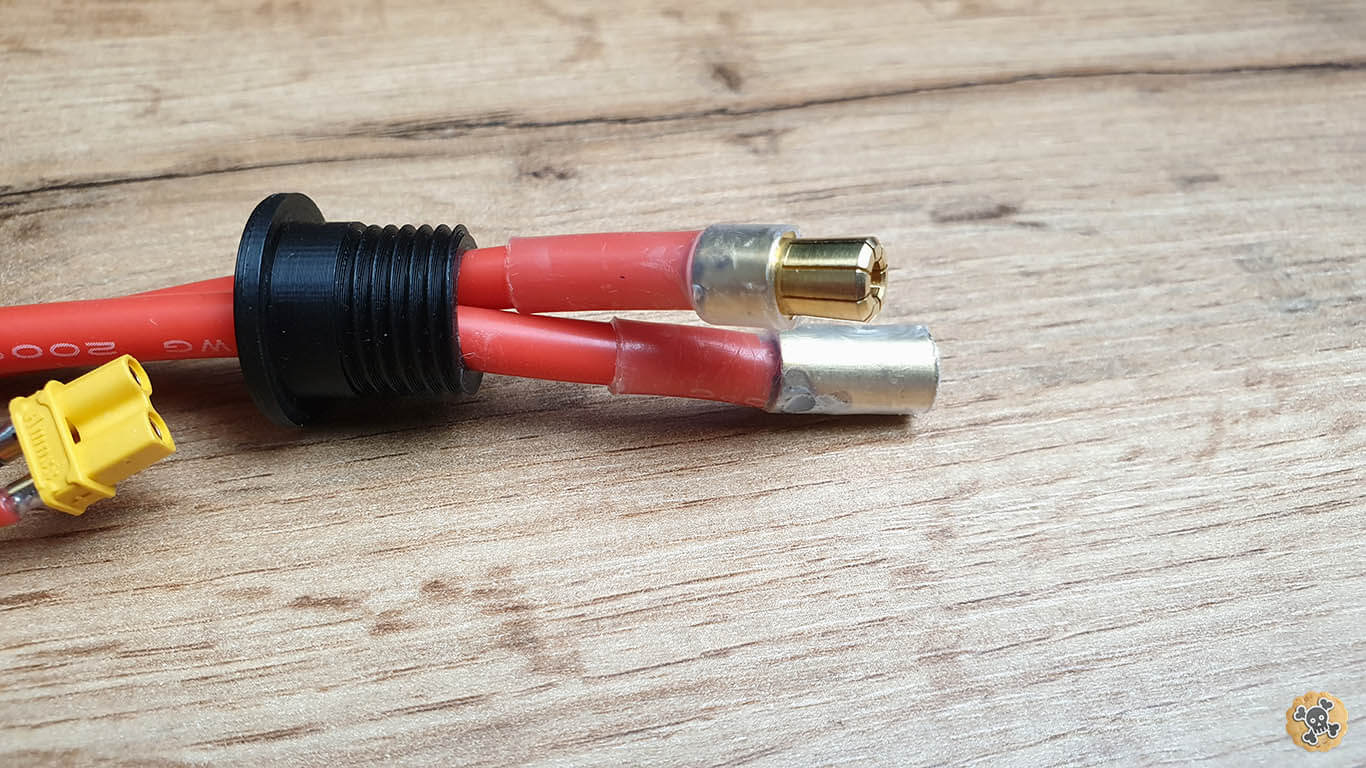
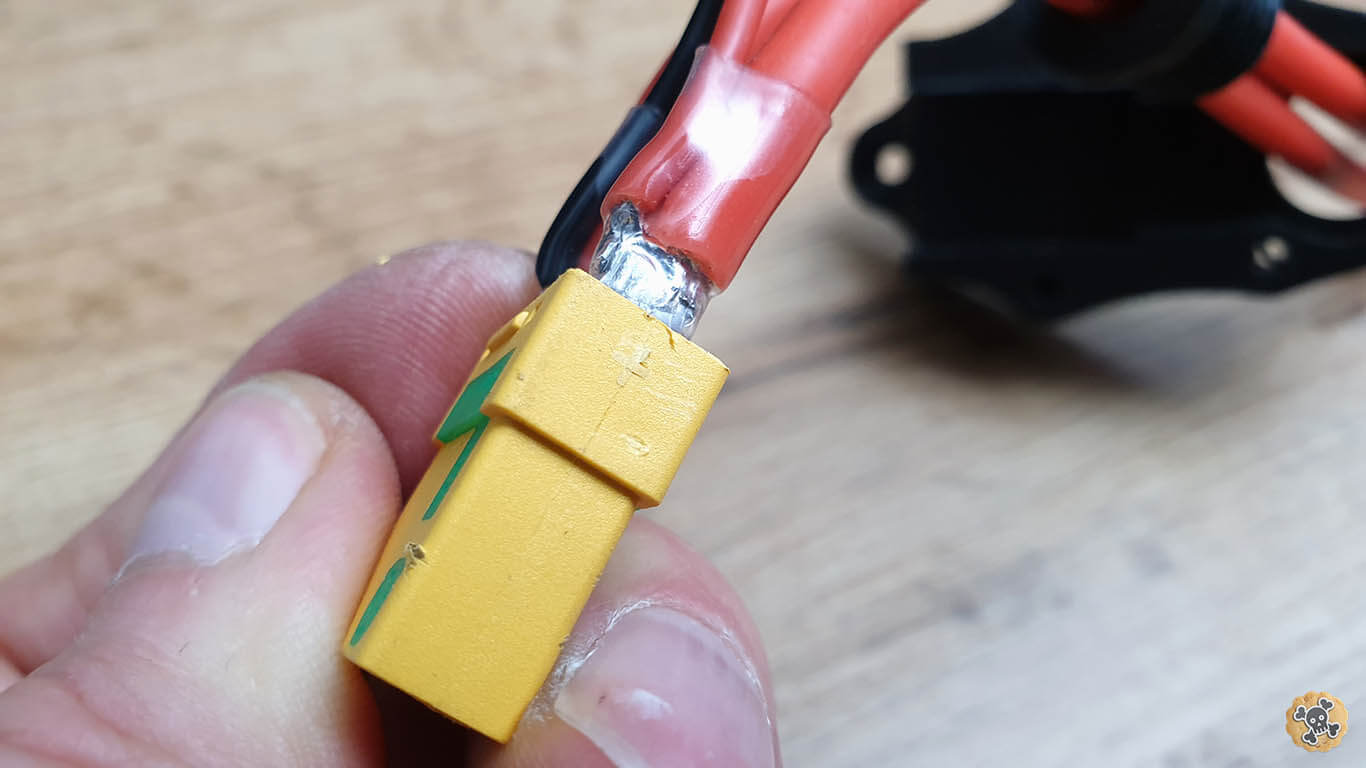
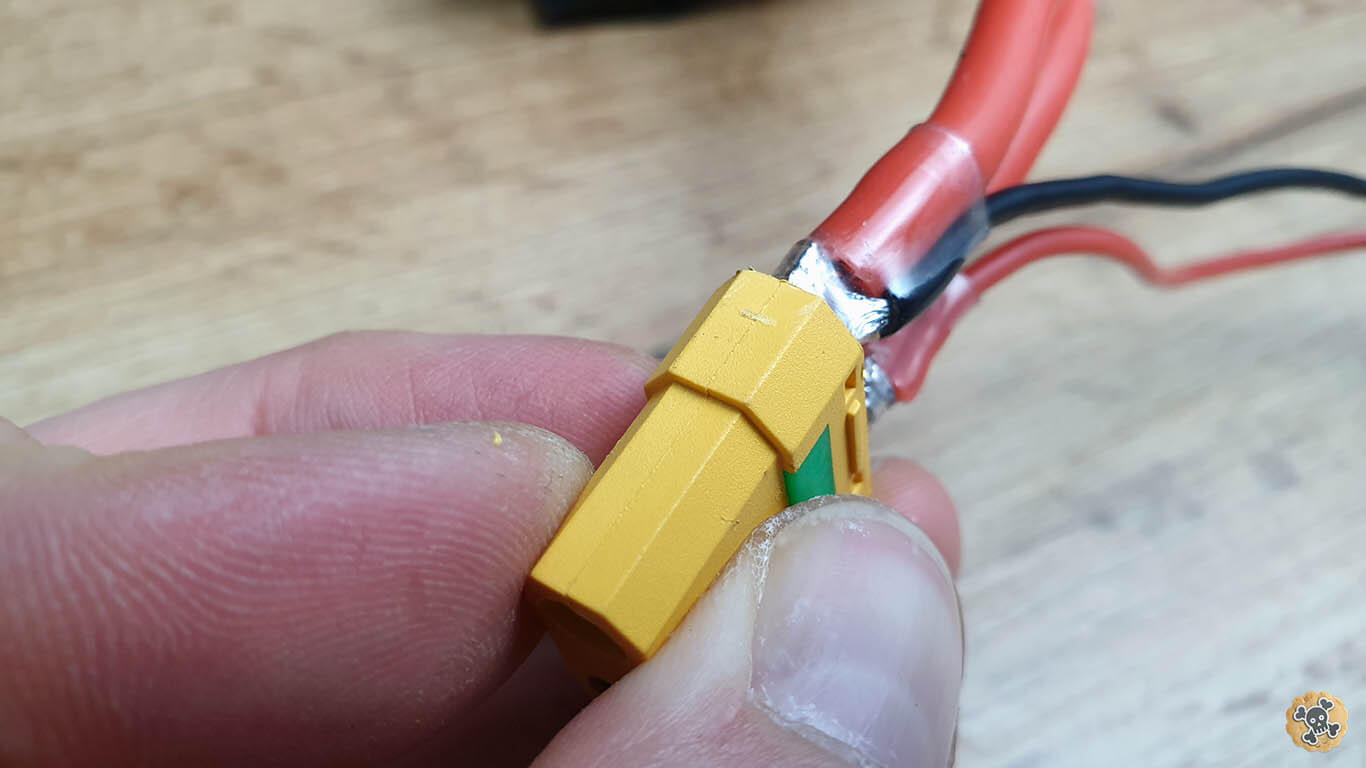
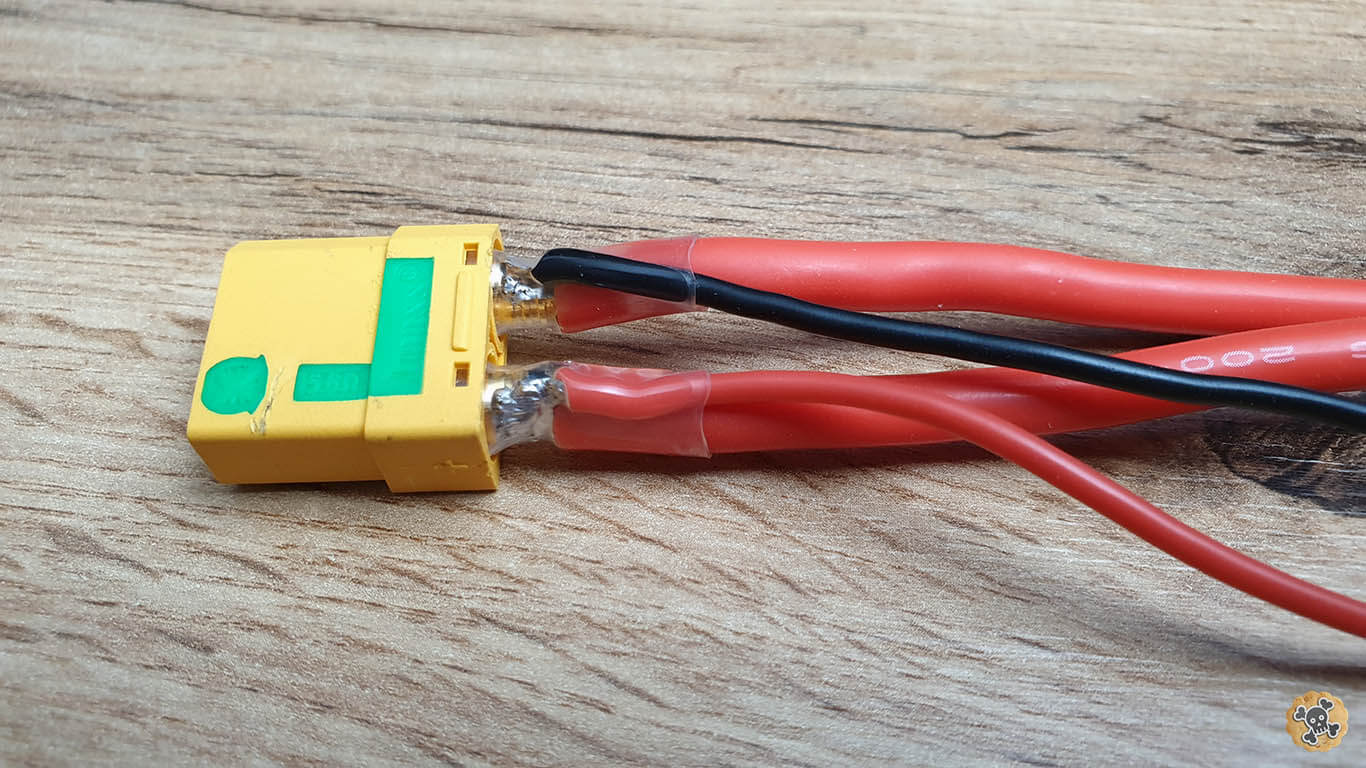
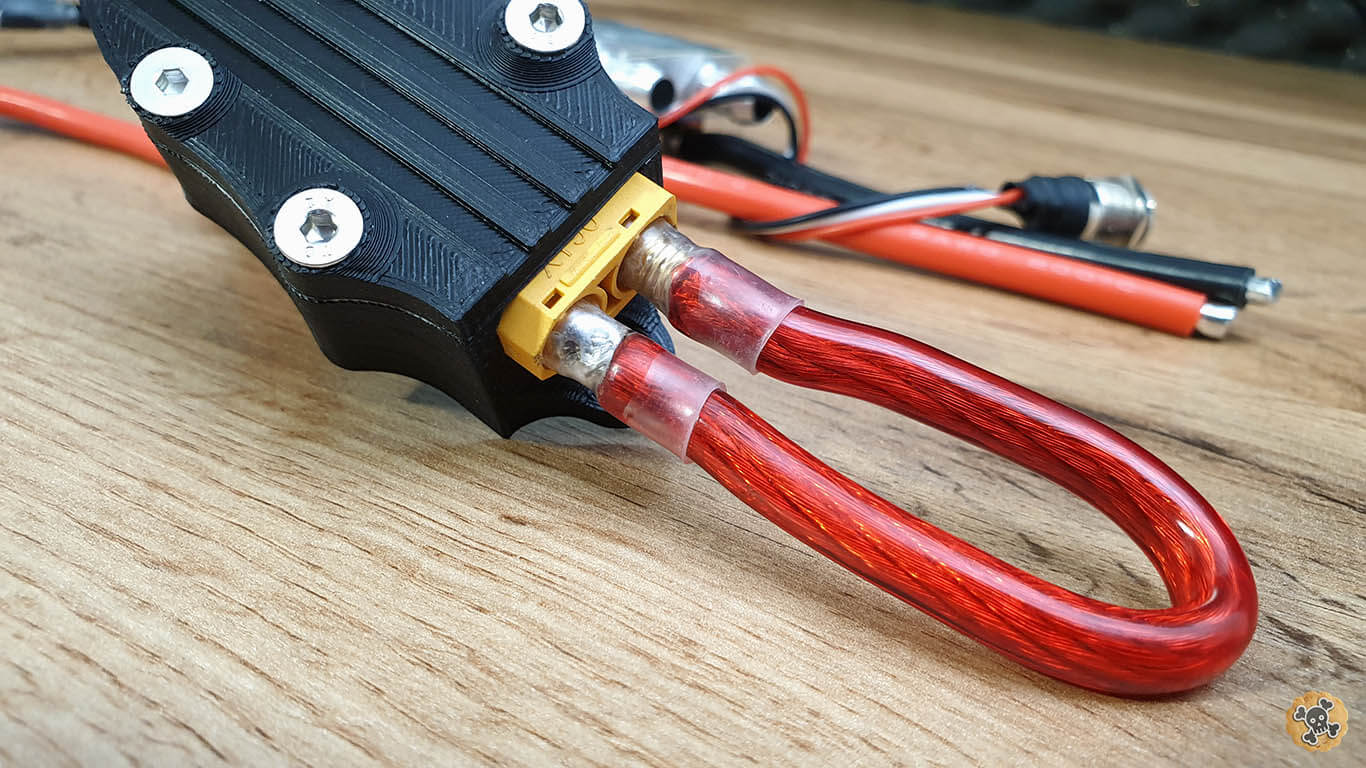
Slide in connectors to printed parts

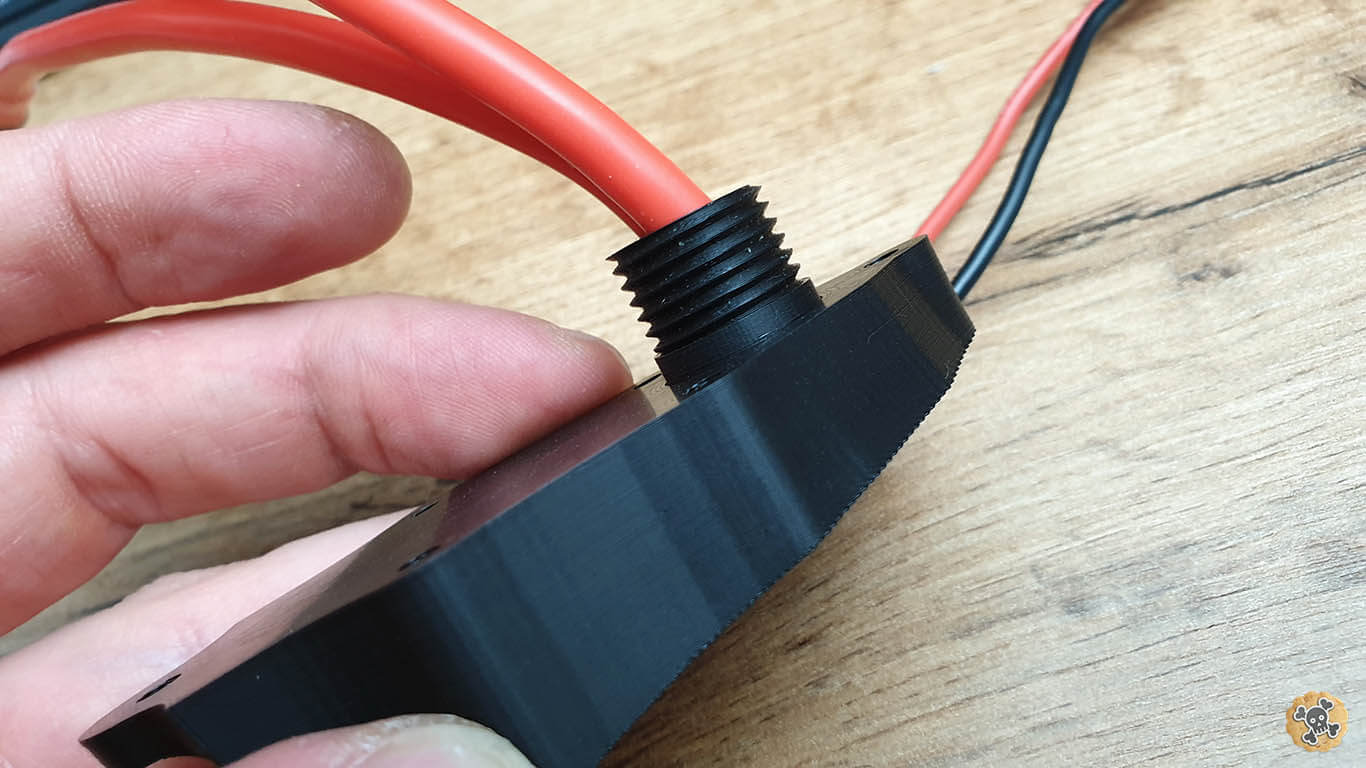

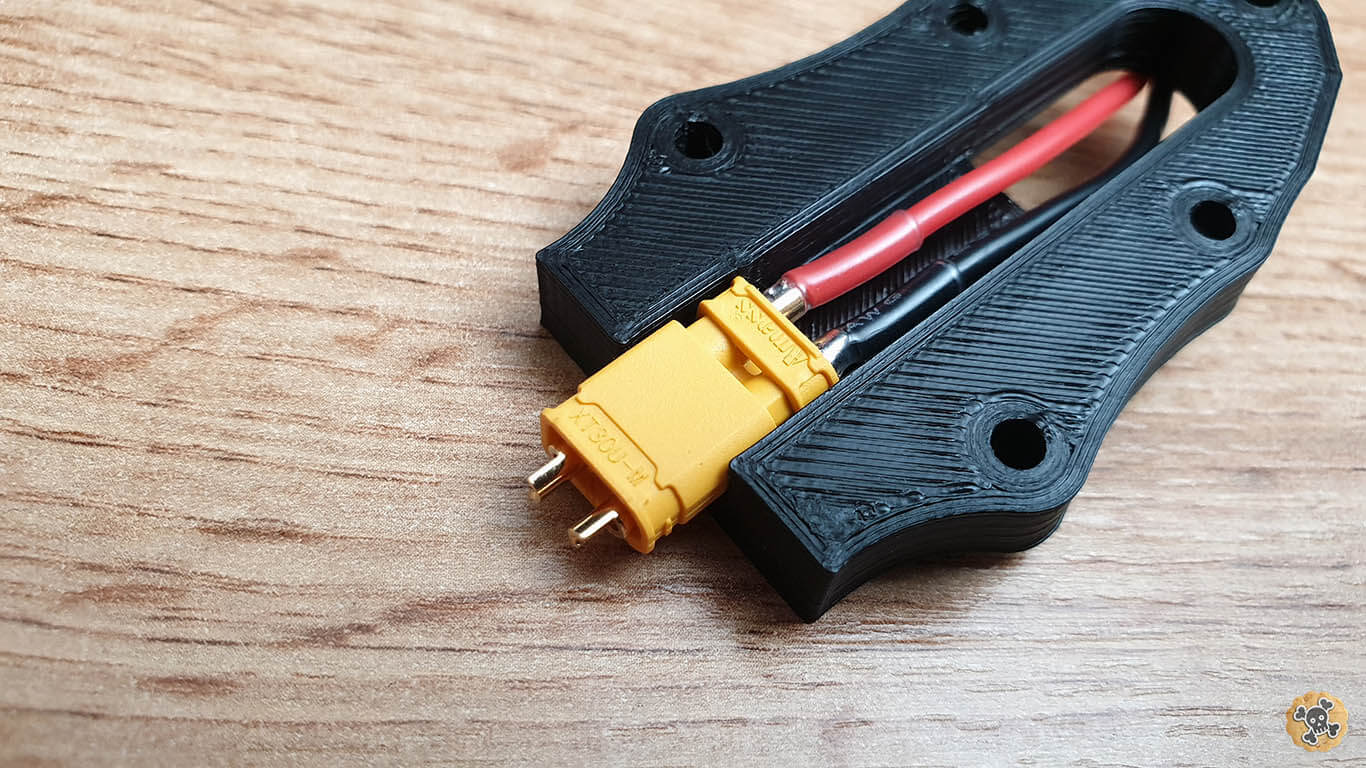
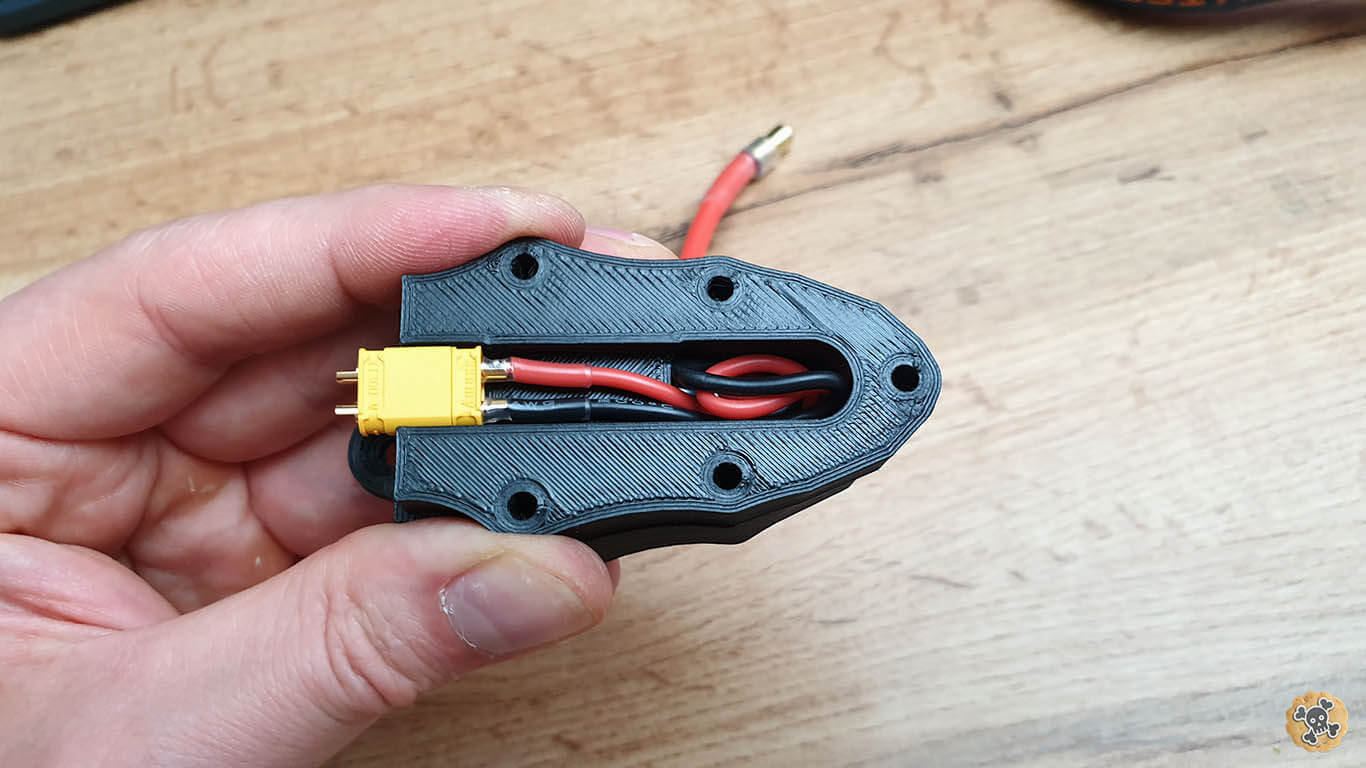
Between printed parts & behind connectors add lots of silicone , you can use simple kitchen siliocone ( it will work also as a glue when dried out )
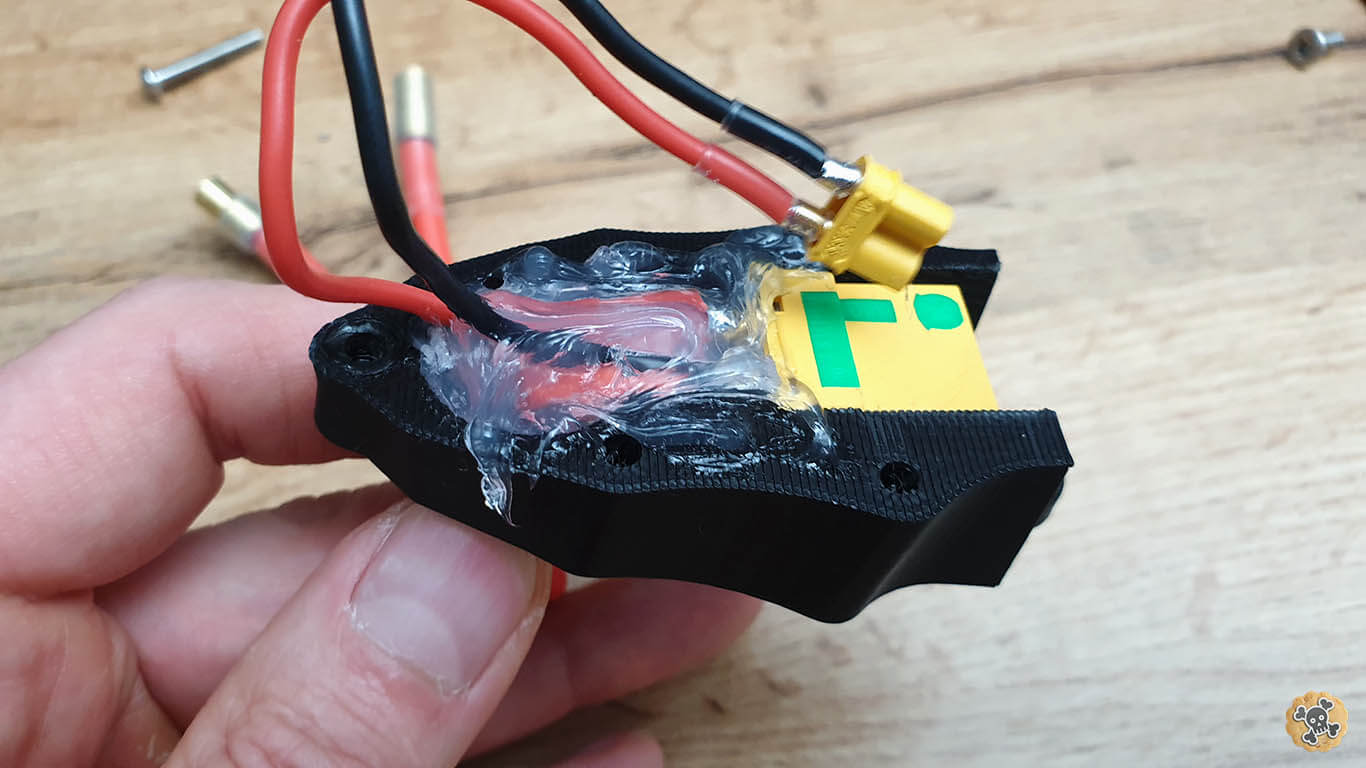
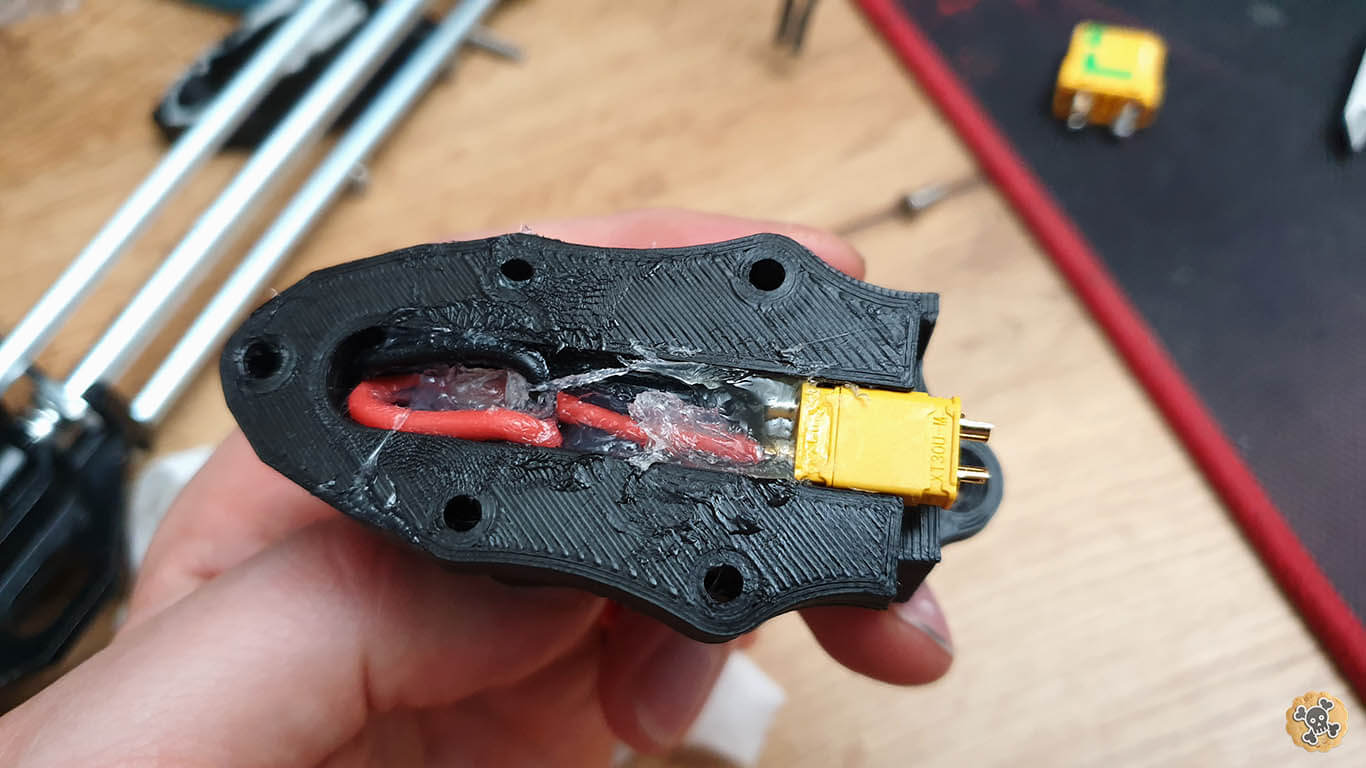
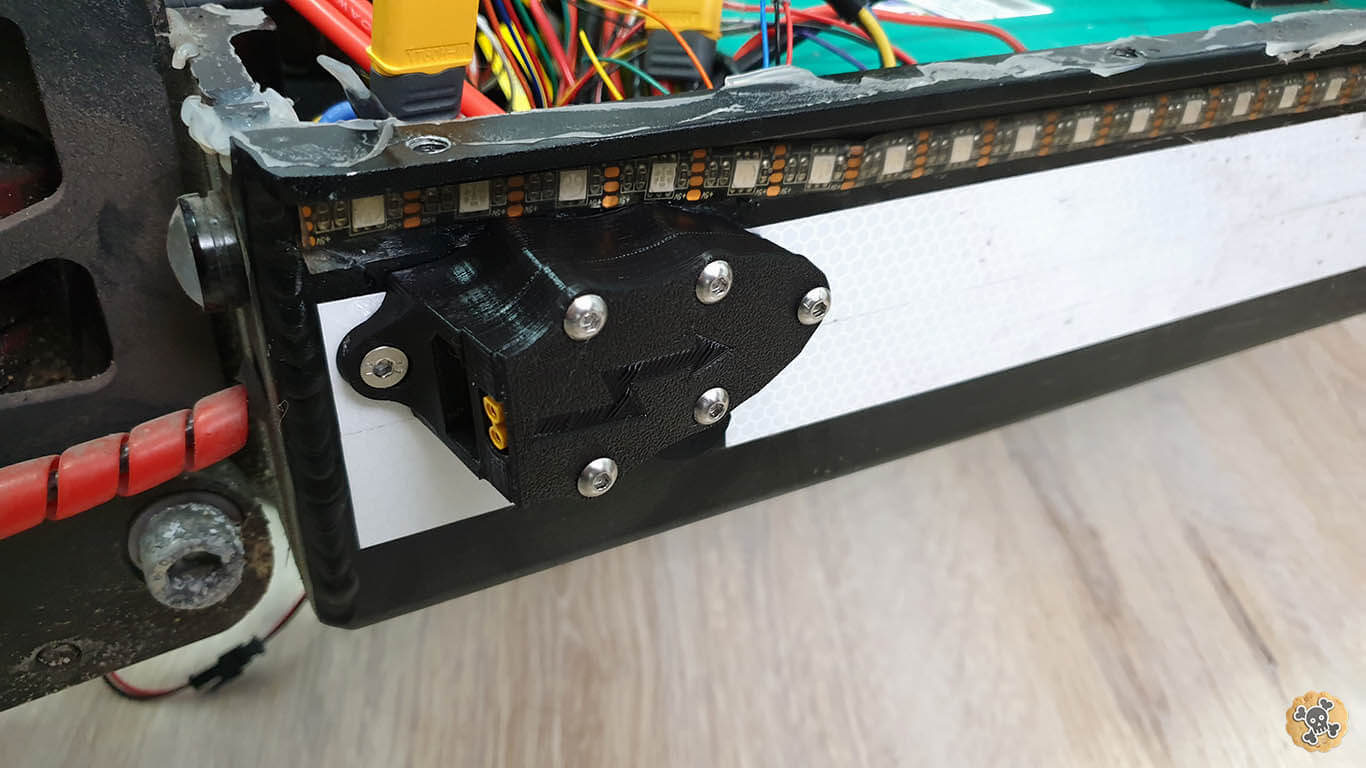
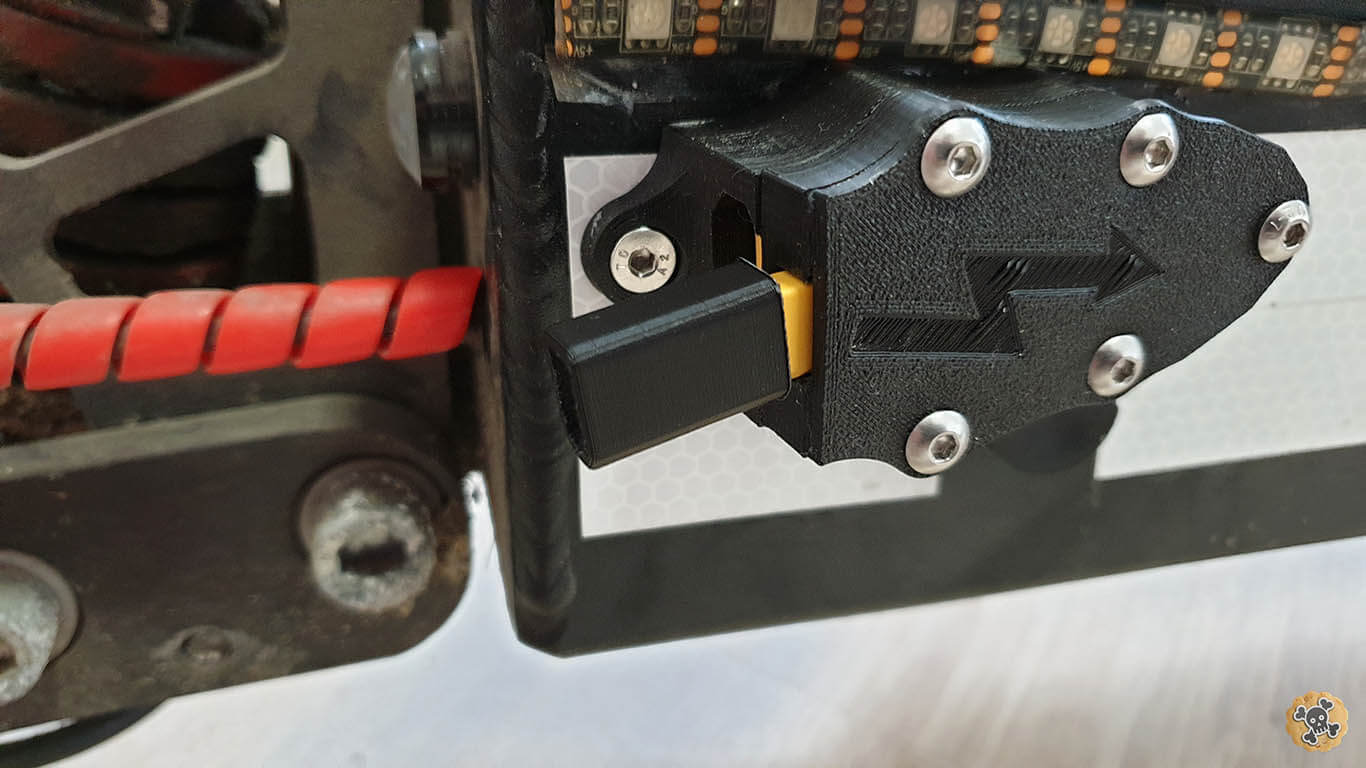
Use ” Printed drill plate ” to make 2 holes for screws m4 , you have to use drill bit 3,5 and then make thread M4. Those 2 extra screws will secure pretty good Dual loop key to the frame.
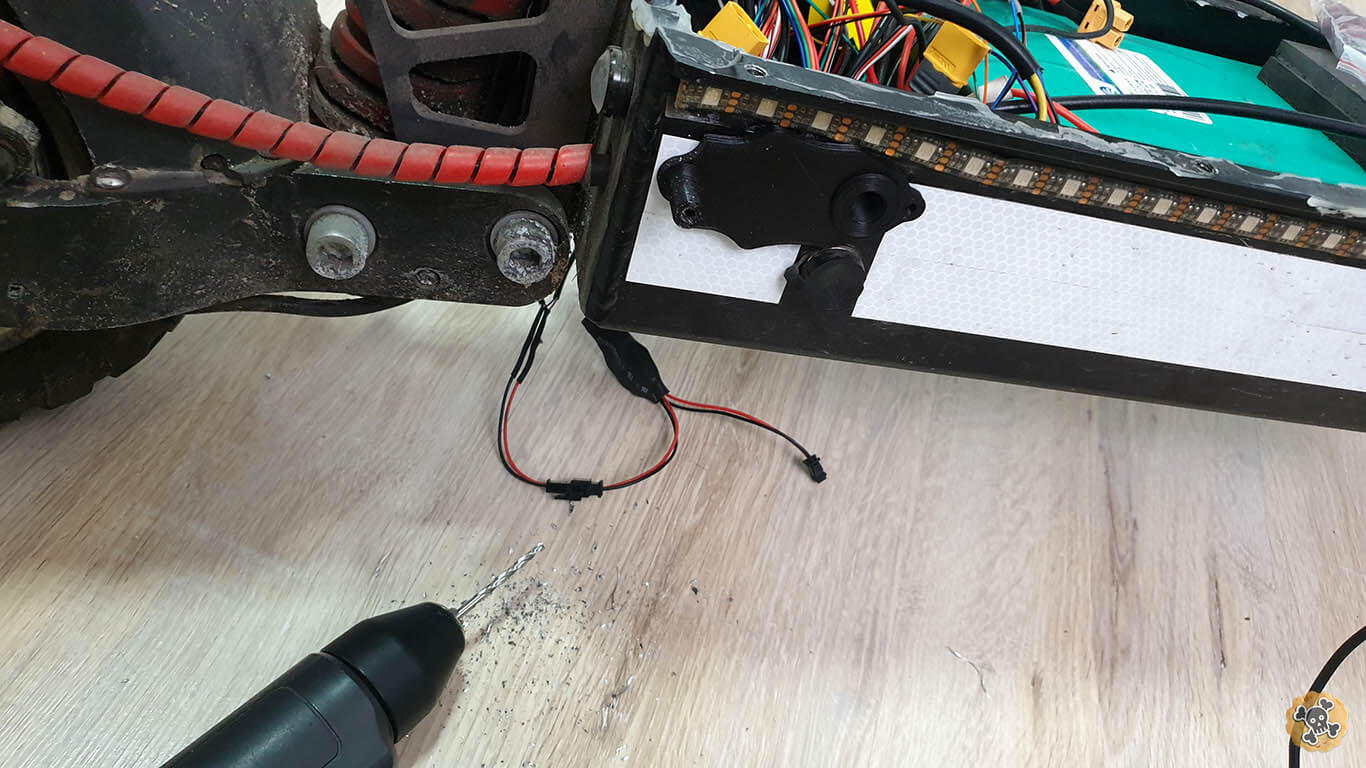
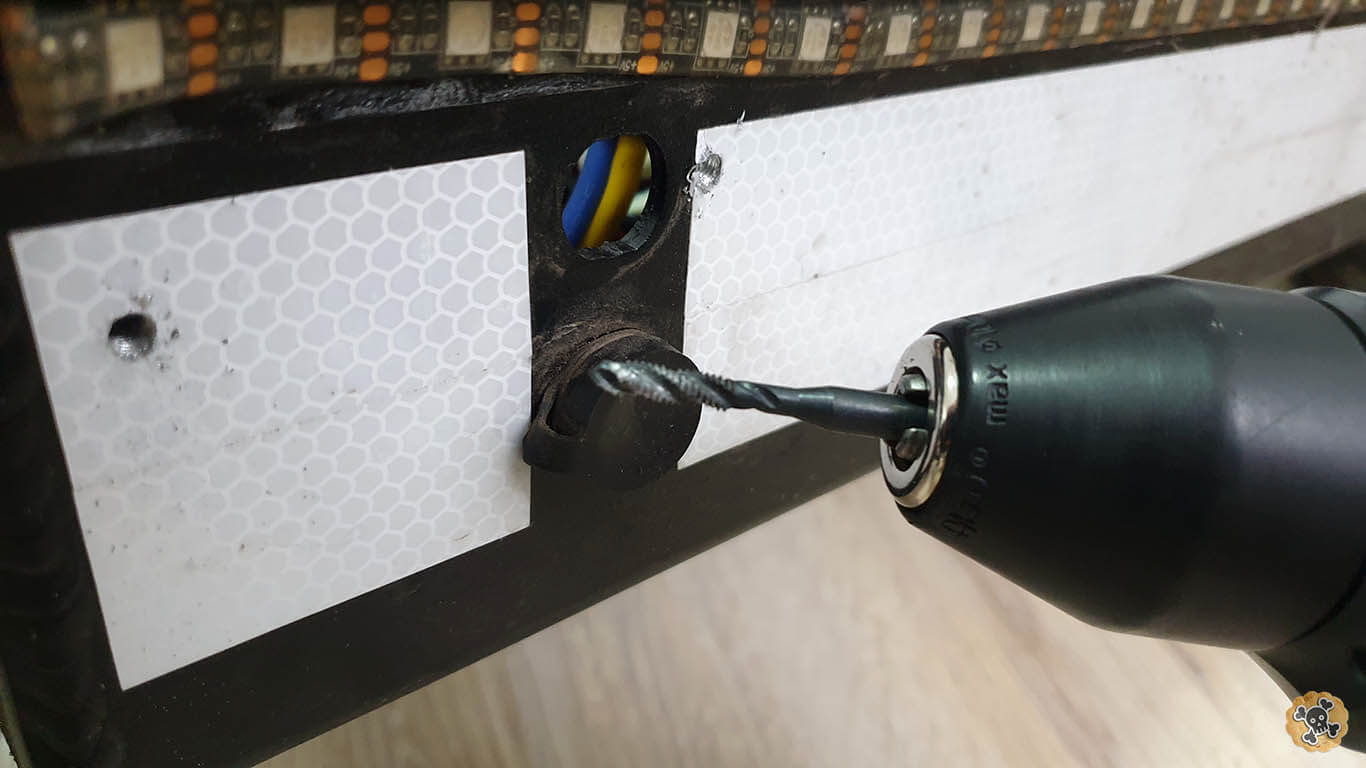
Between Dual loop key & Frame add some extra silicone, and tighten all screws & printed nut on the inside.
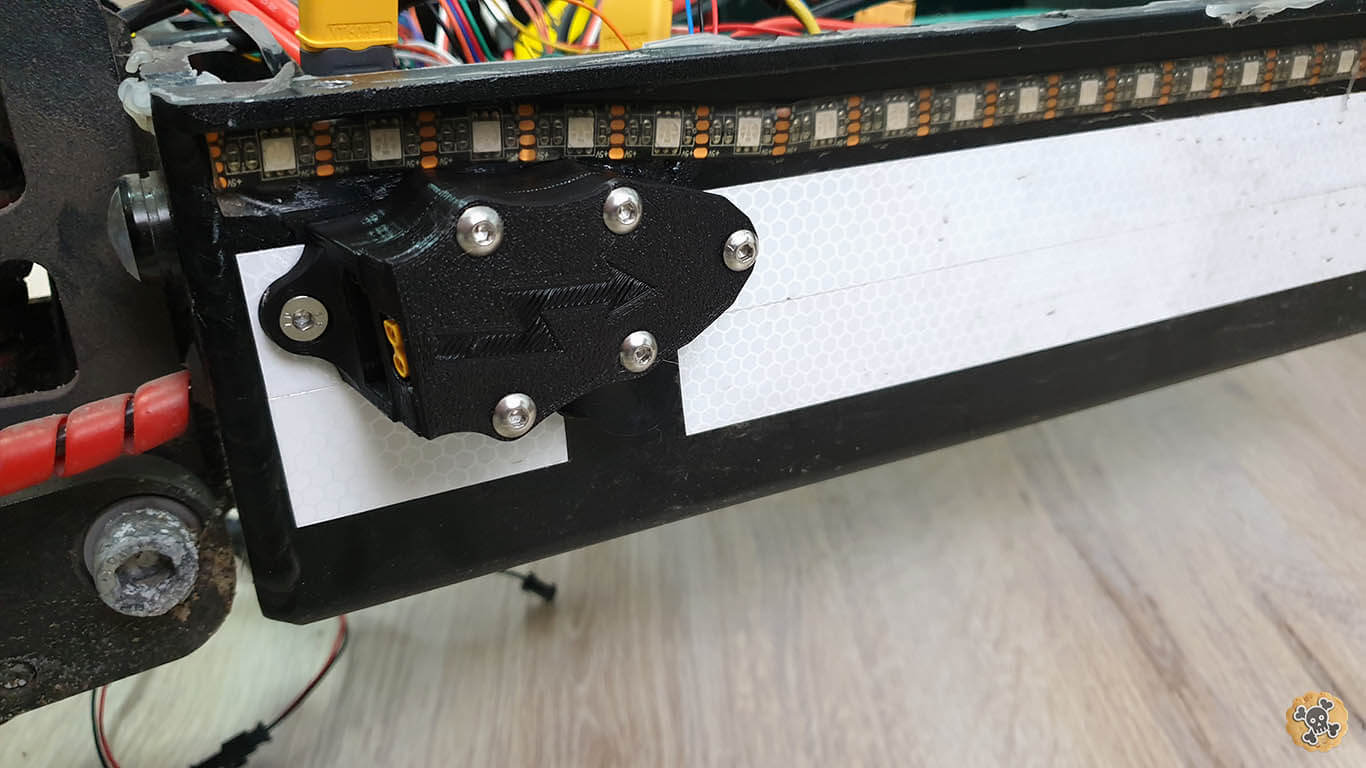
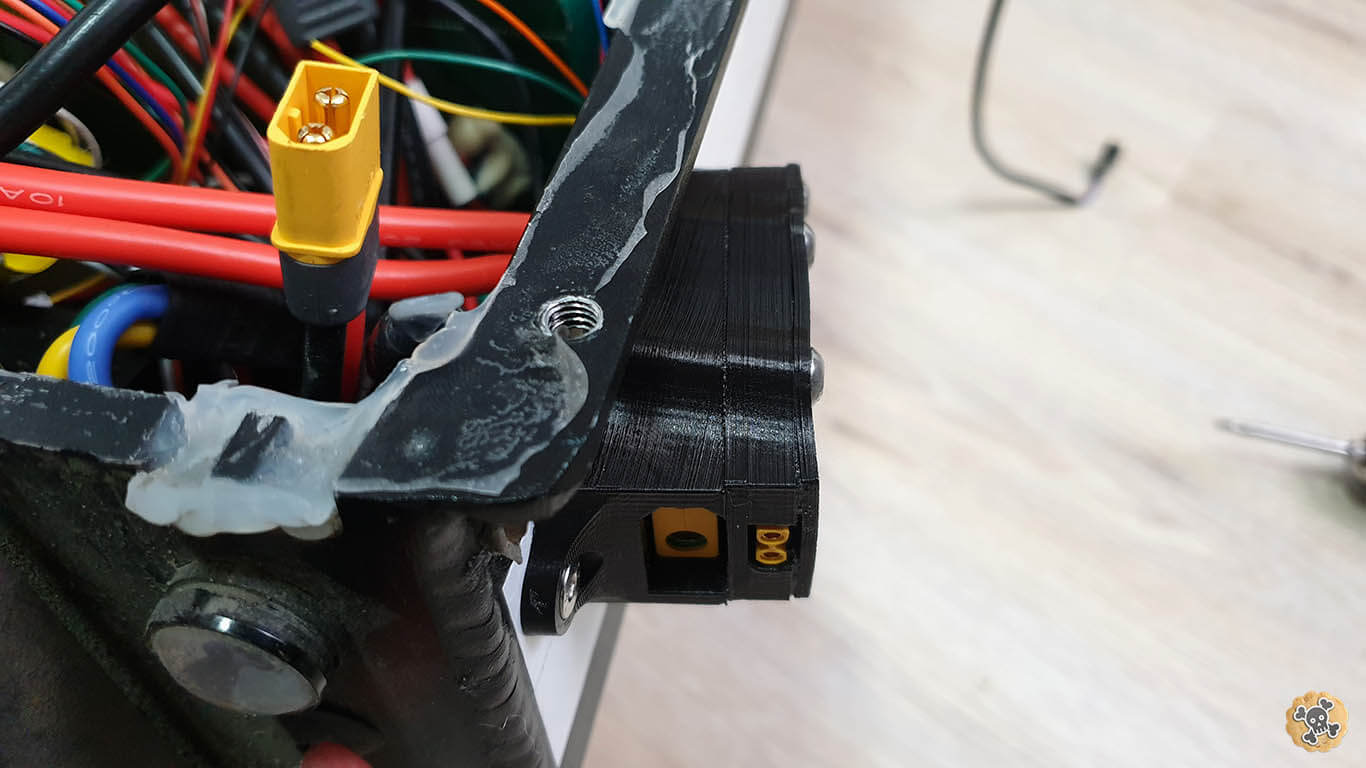

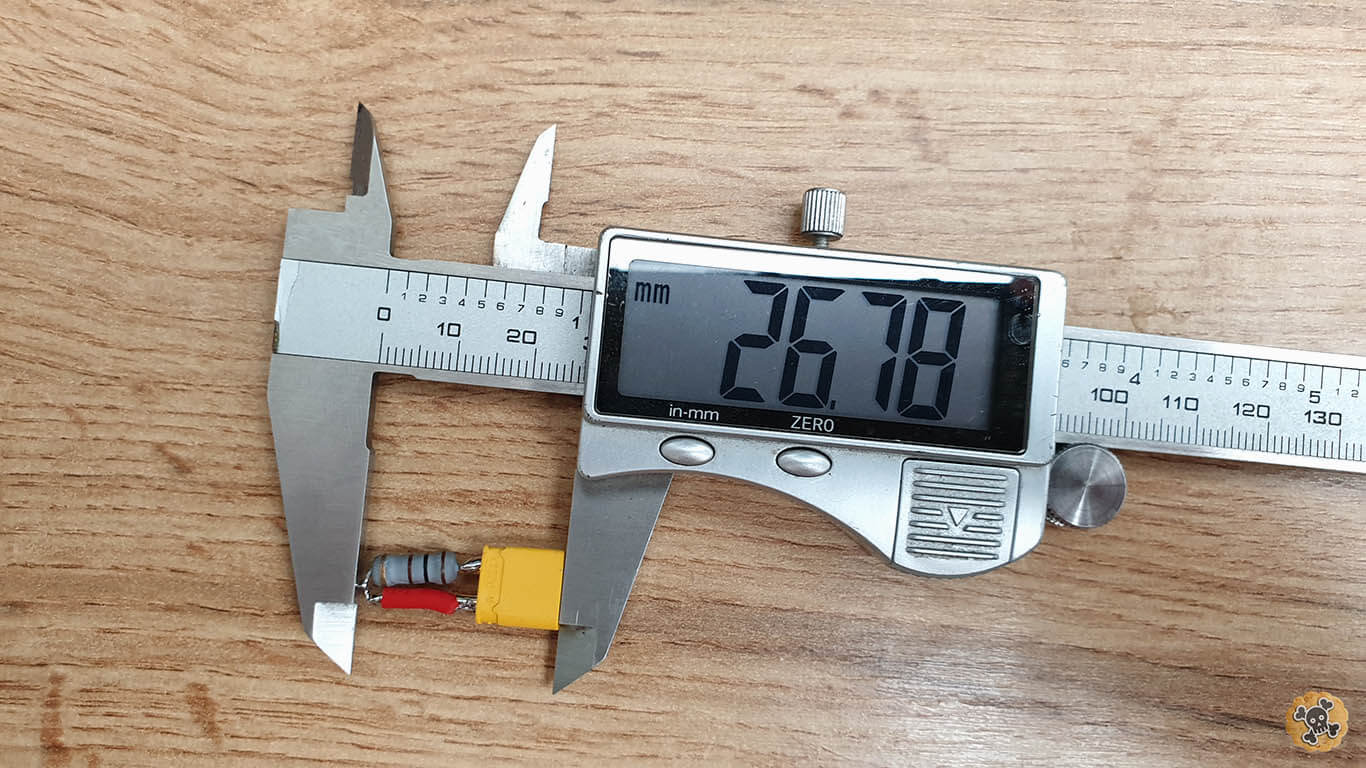
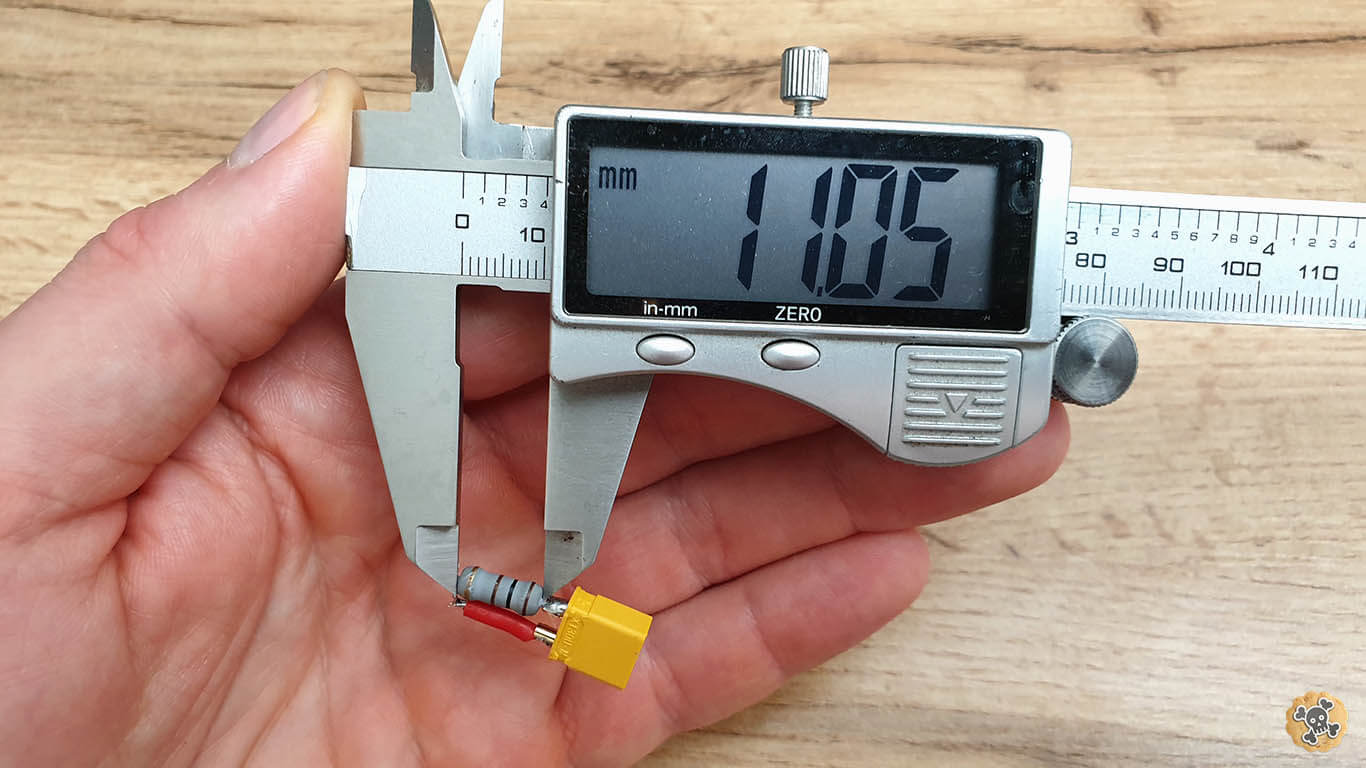
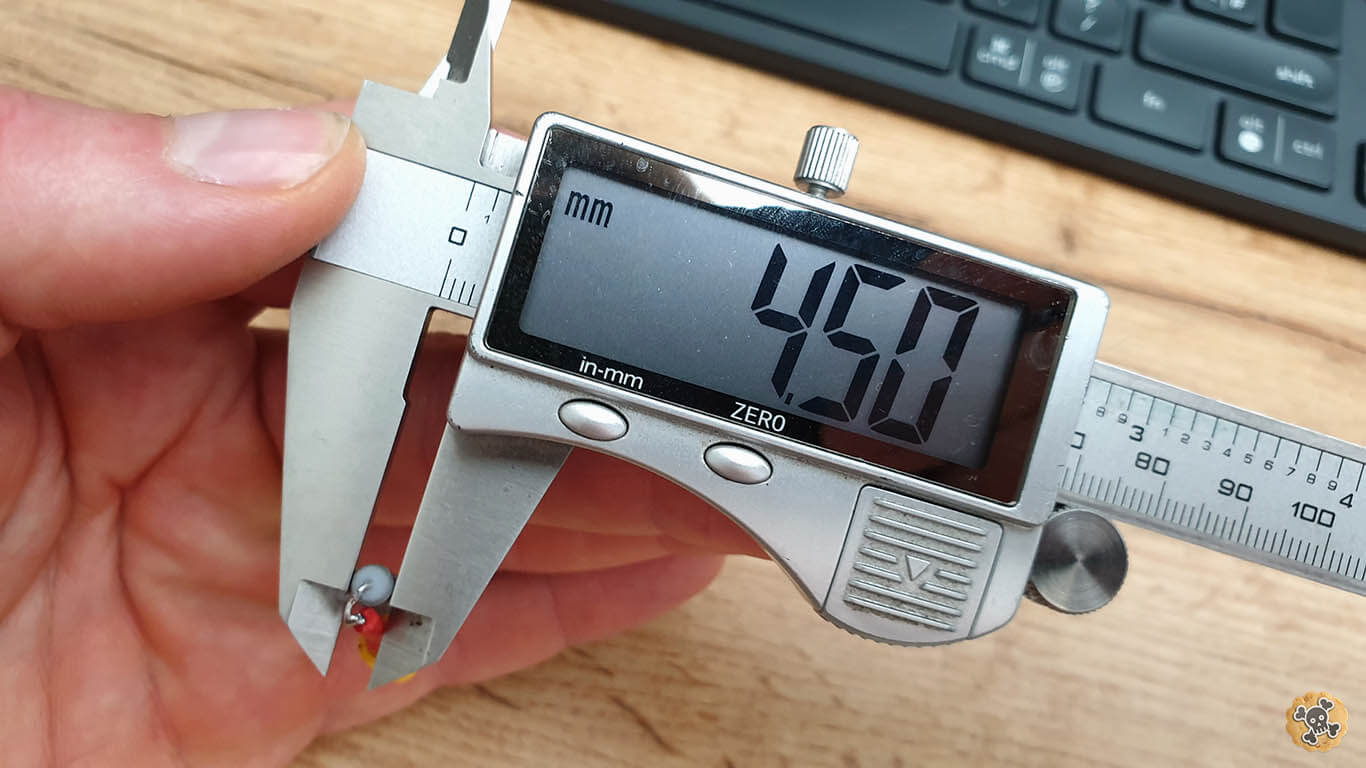
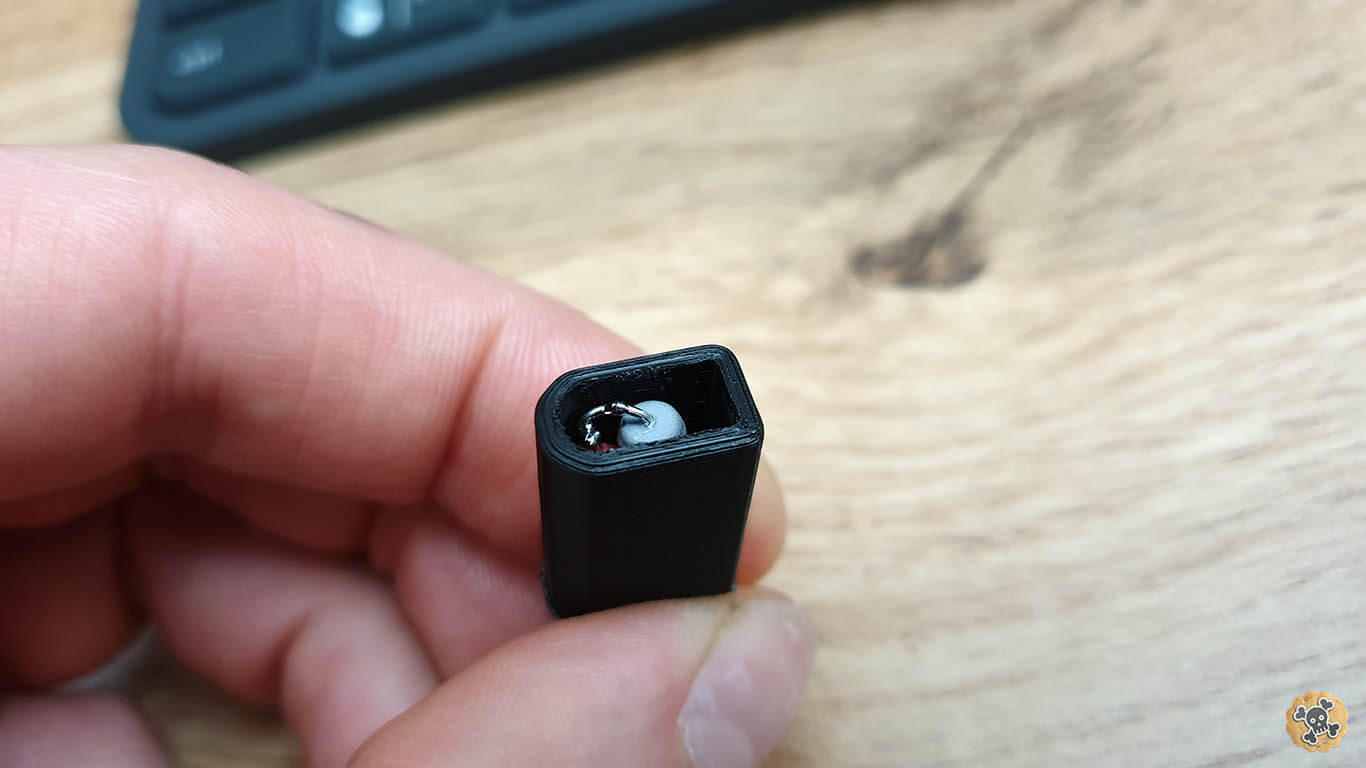
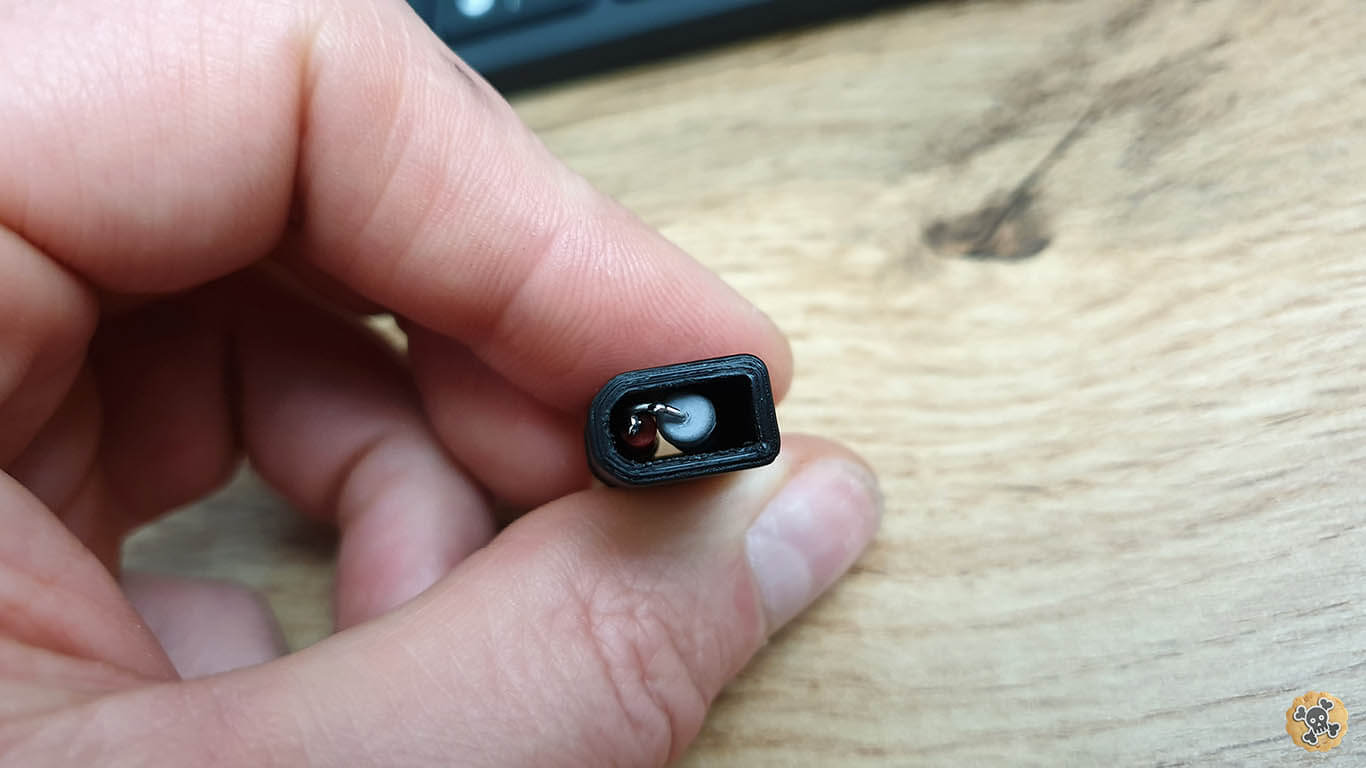
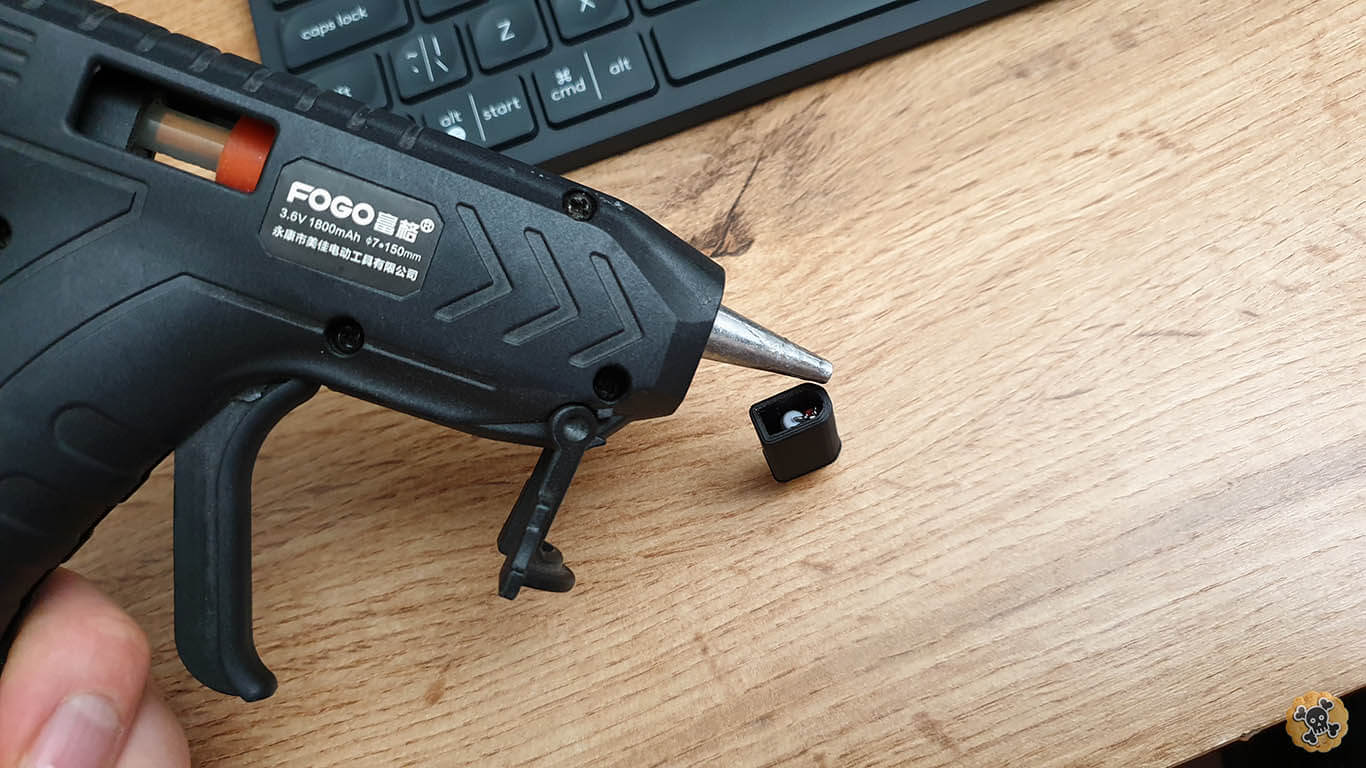
Now you have to solder big resistor between 20-100ohm to XT30 connector, slide in to printed part , then connecto to dual loop key and check if all fits. If so, add lots of hot glue inside printed part.
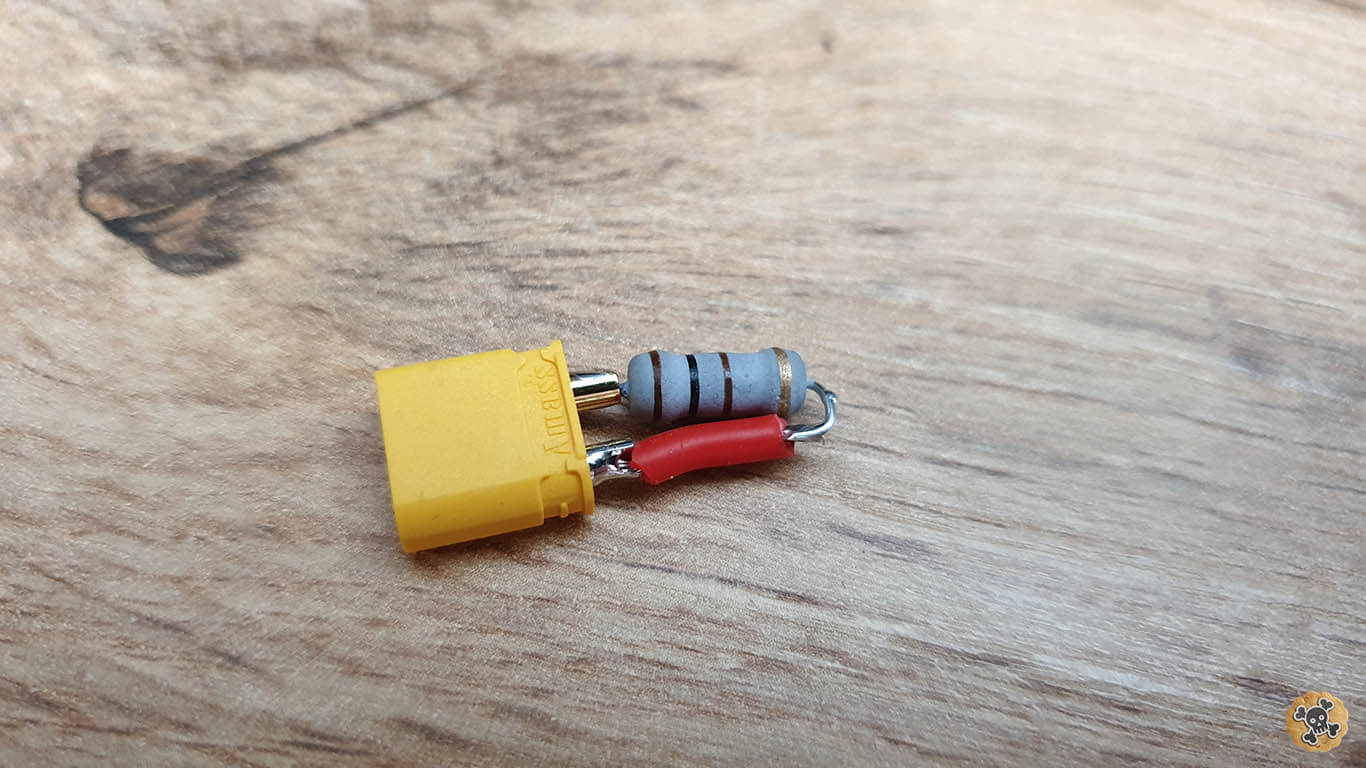

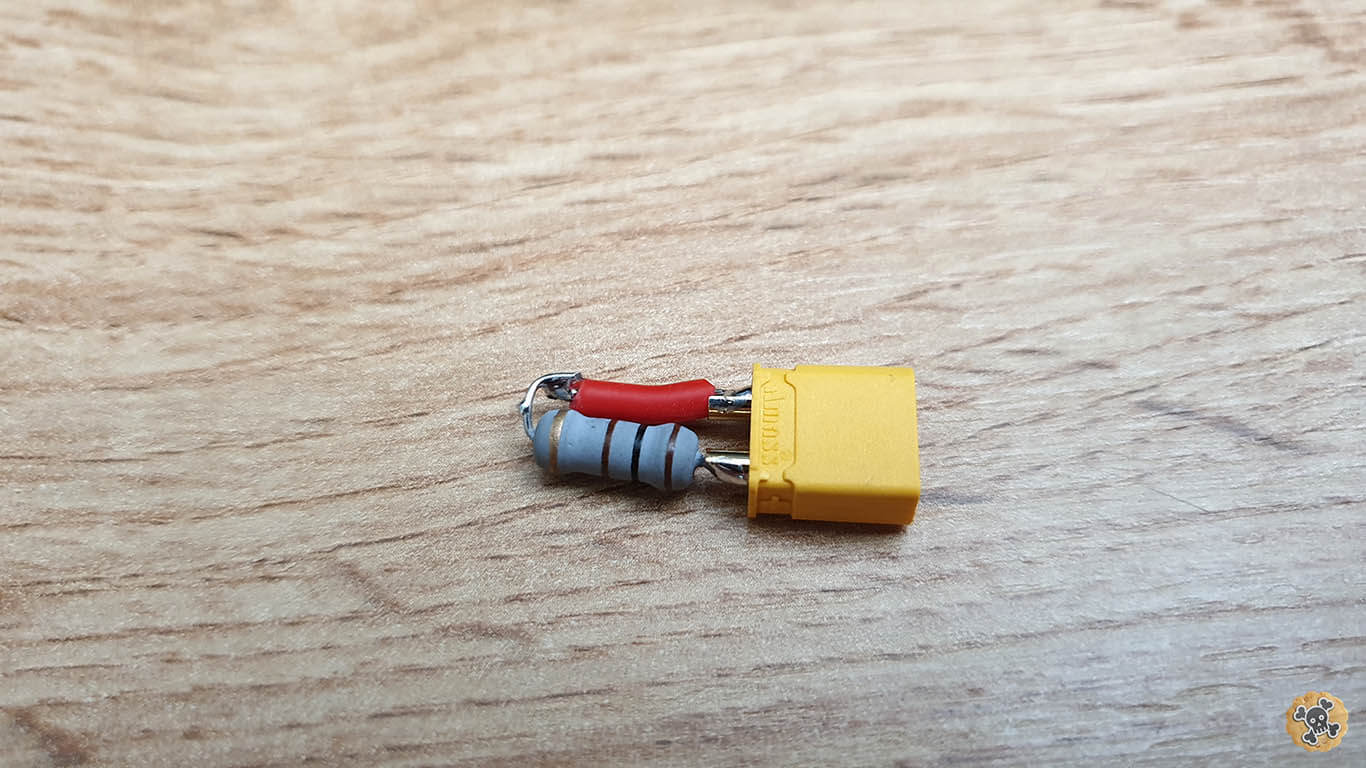
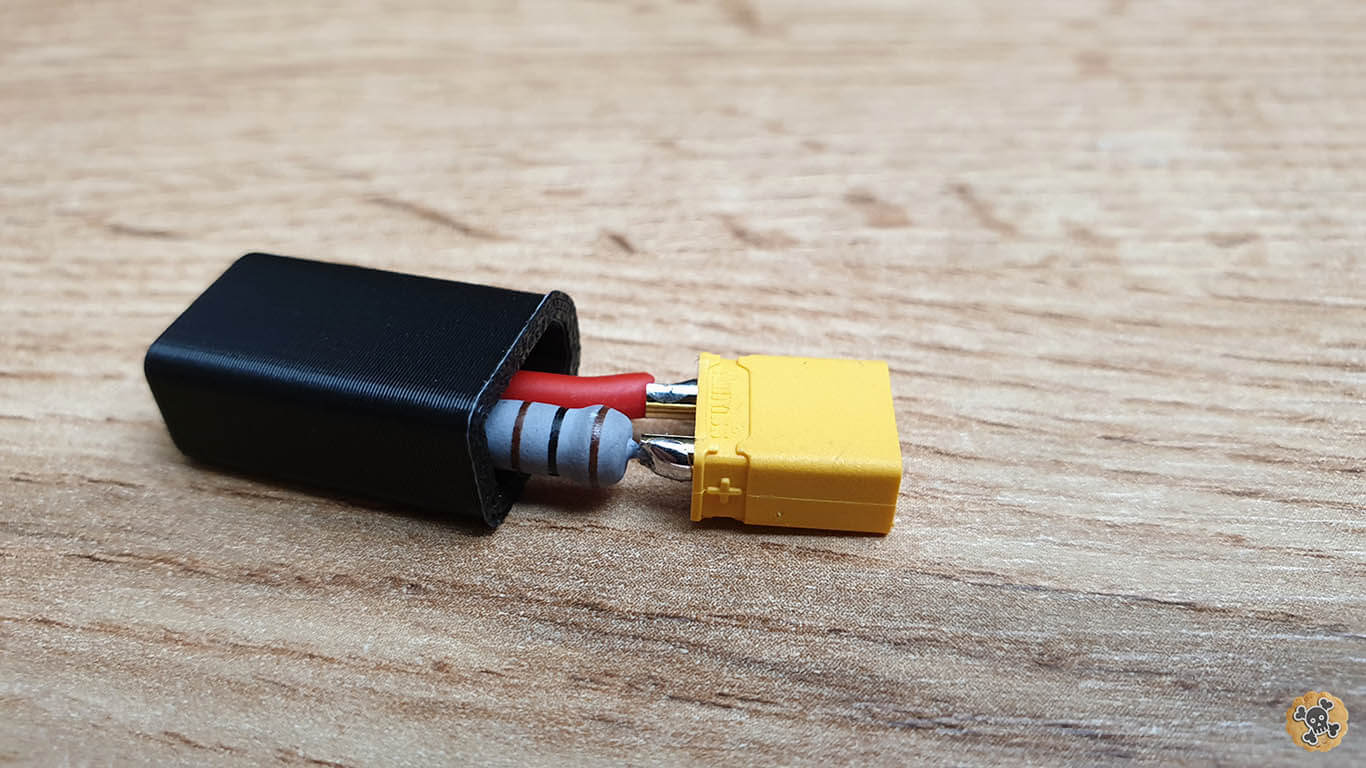

Check couple times all wiring and connect battery & controllers to dual loop key
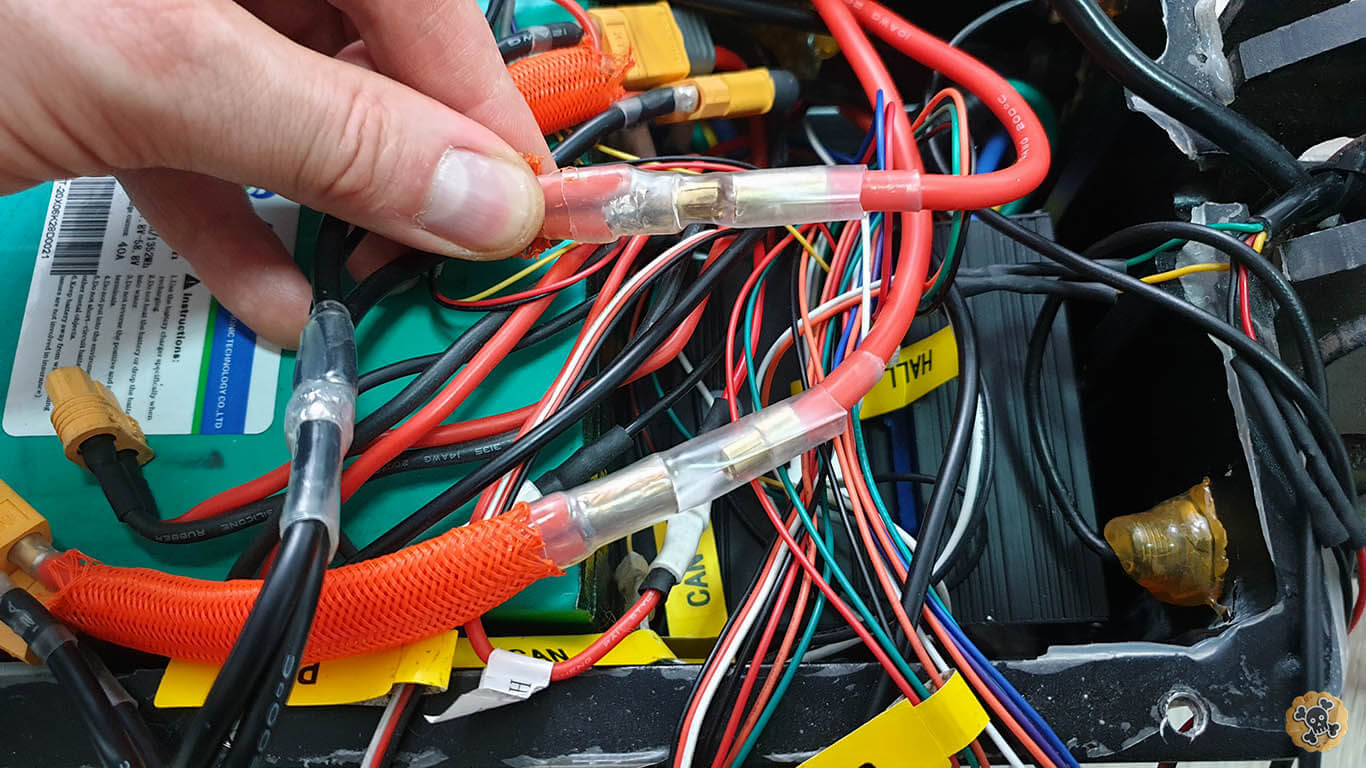
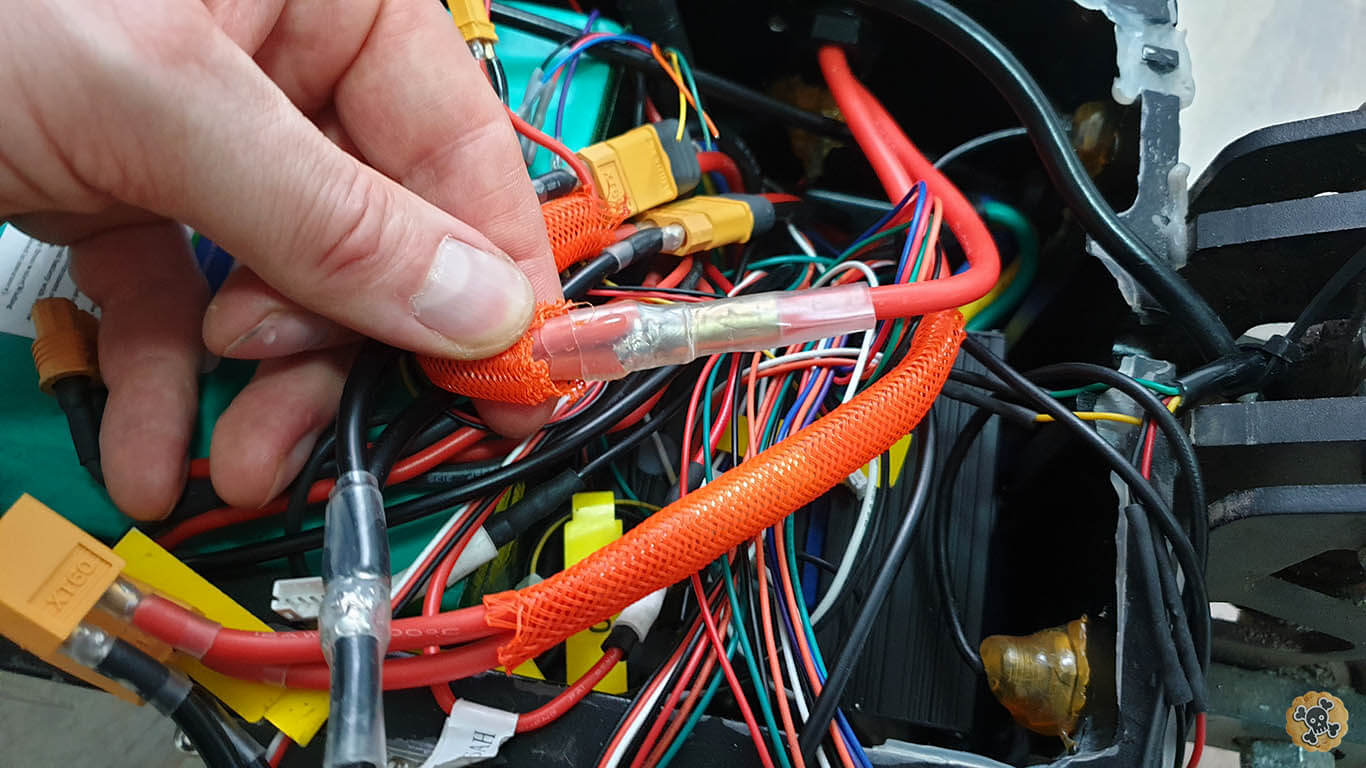
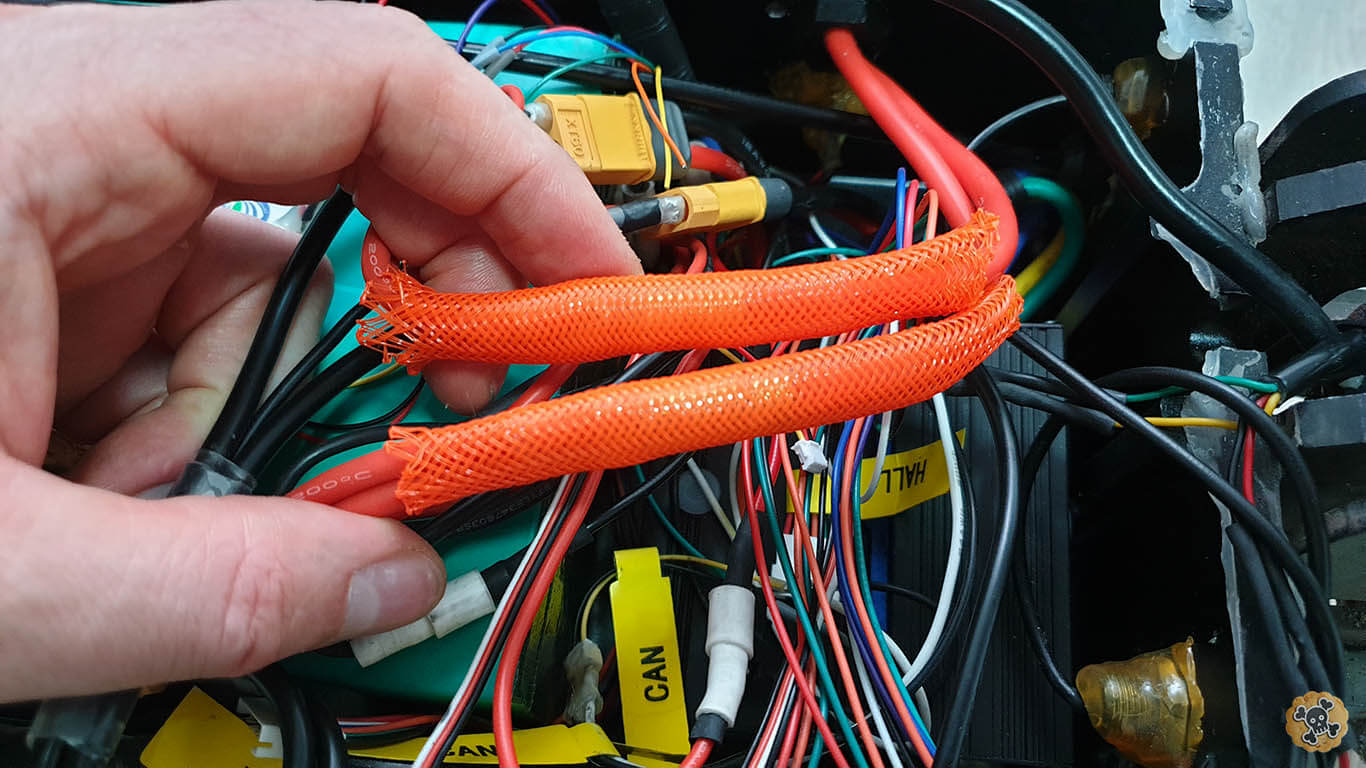
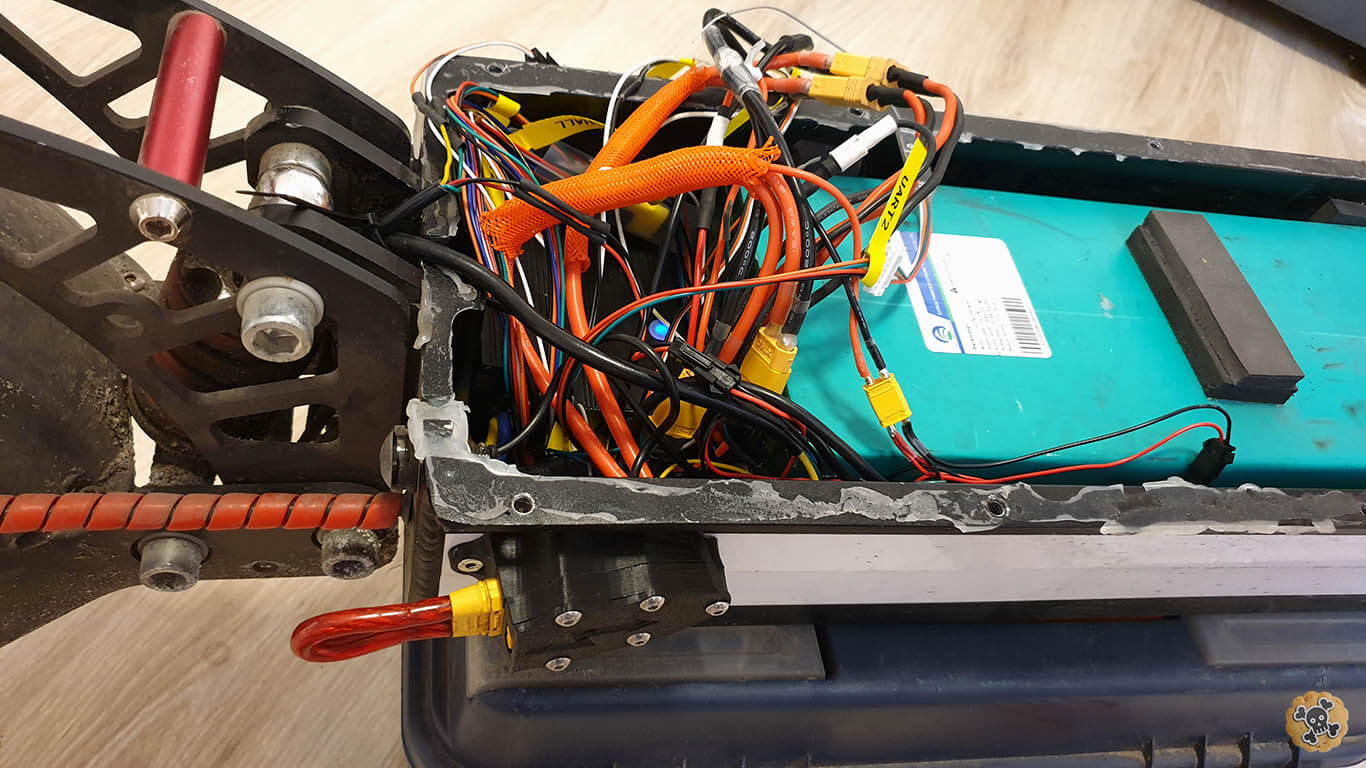
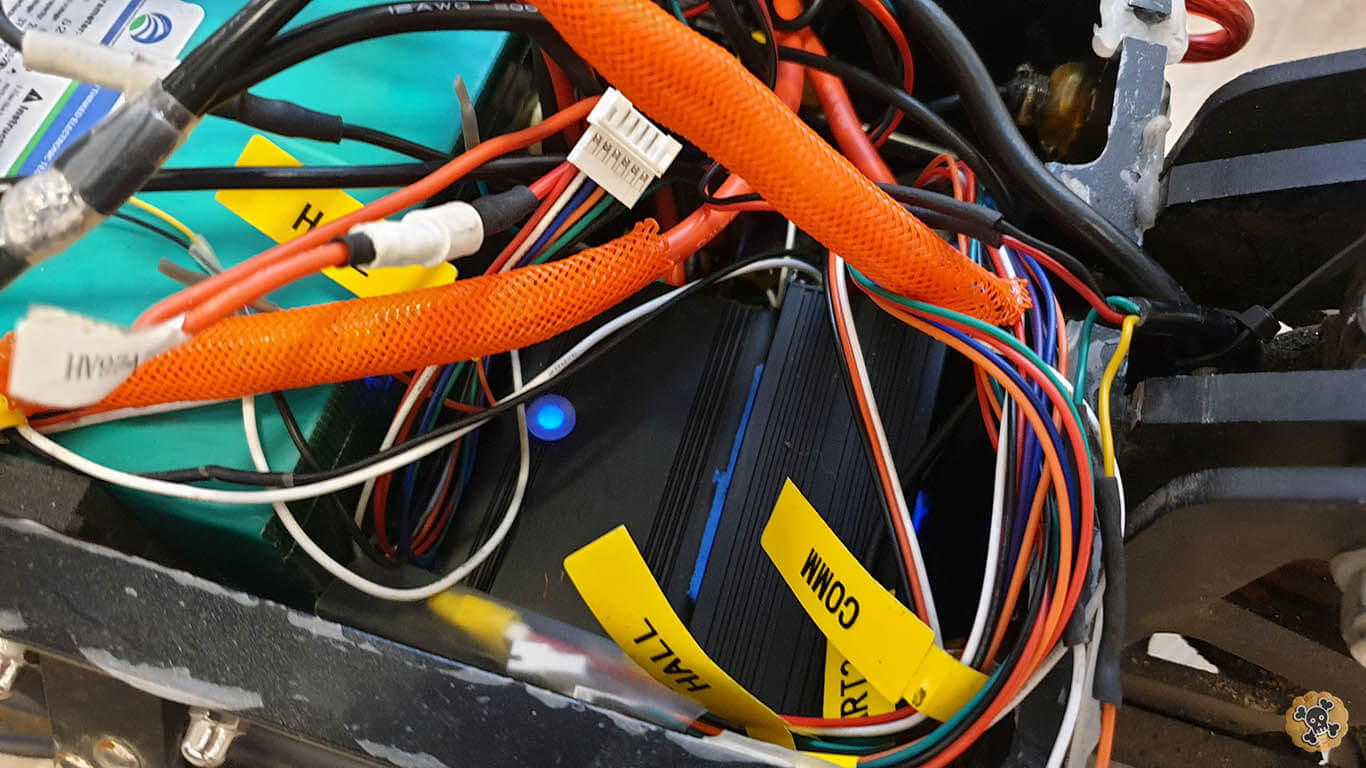
!! Dual loop connection order !! . To power up your Ewheel , at first connect XT30 > wait 2sec > then XT90 connector > after it remove XT30 connector.
This post will be updated…
JOIN THE CONVERSATION
WHAT WOULD YOU CHANGE IN THIS PROJECT?