
We do like simple things like one USB charger to charge smartphone and some GoPro cameras and one USB PD charger to charge Laptop and Escoot 😉 , so today I will show you my idea. It’s crazy Easy to Build and Use. You make any charging connector to make it work with yours Ewheels.
What do you need:

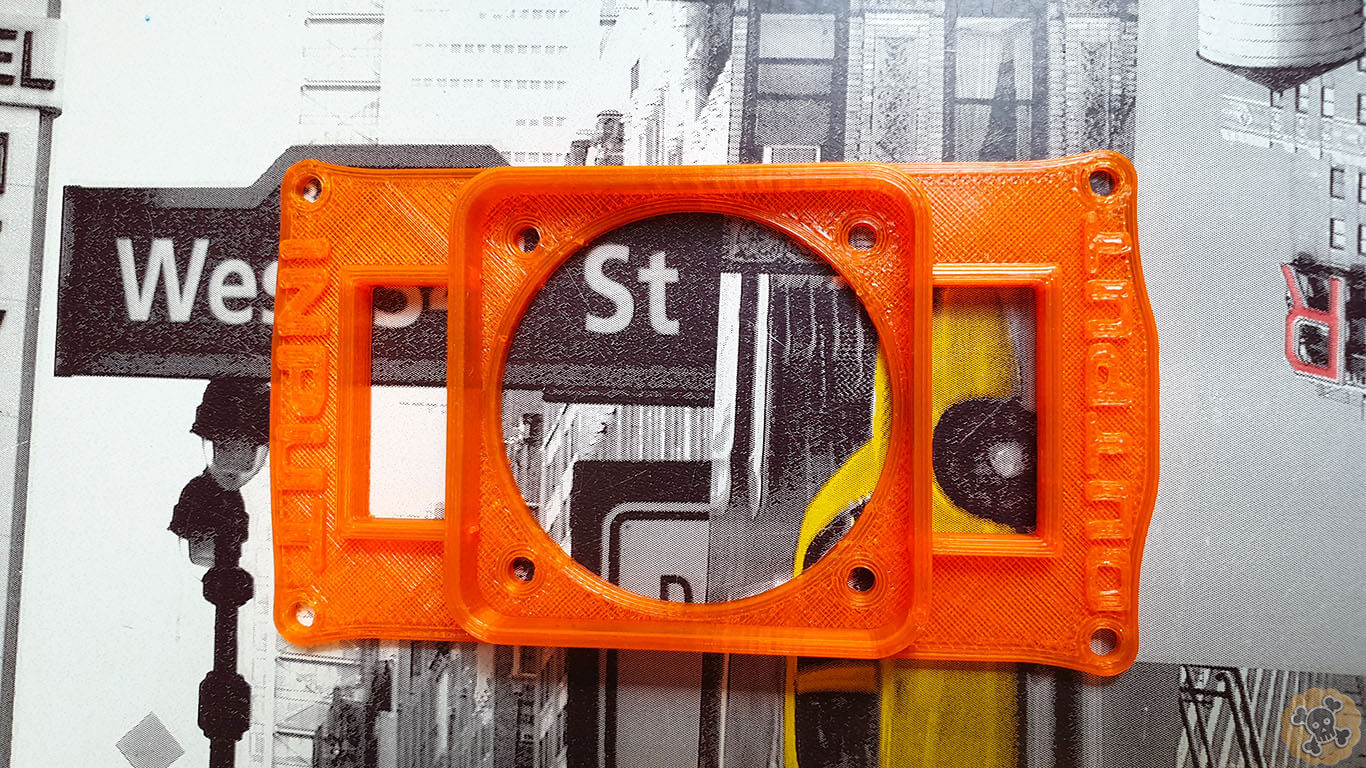
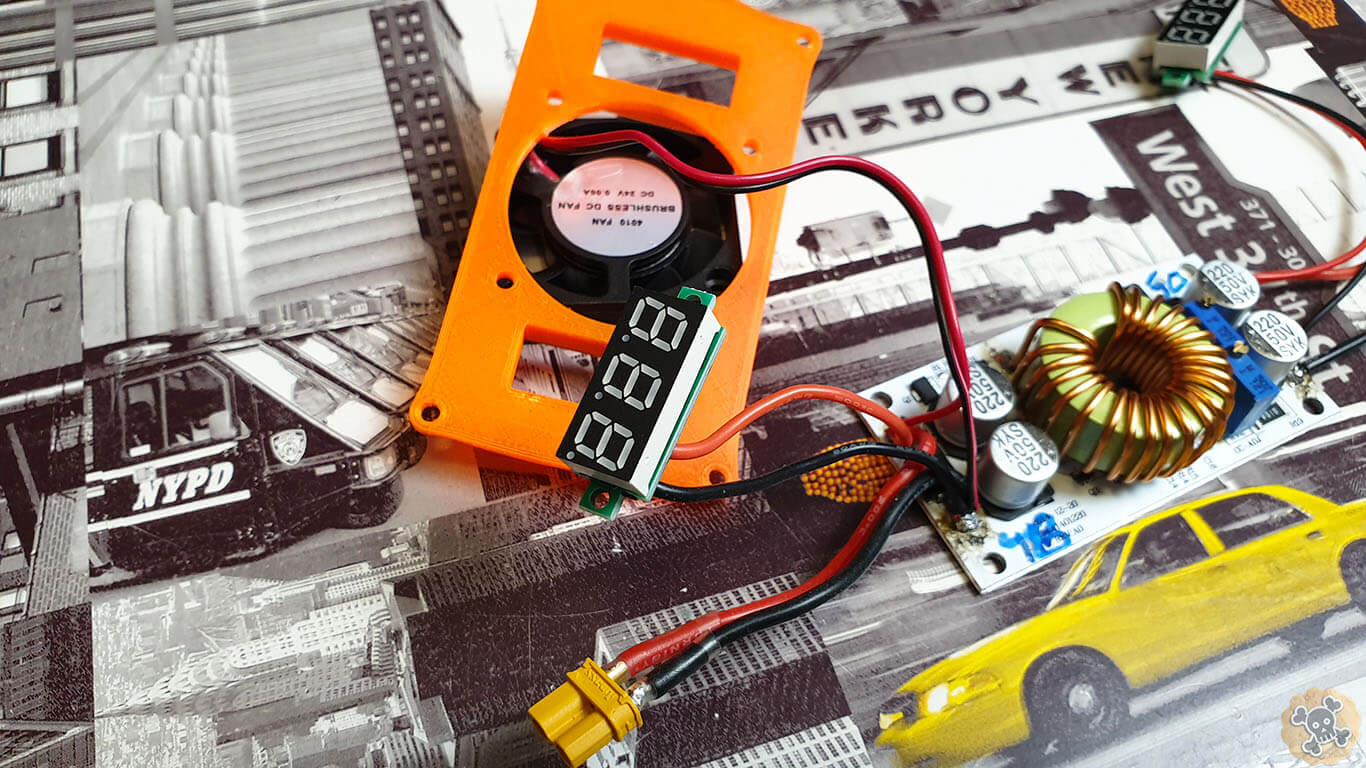
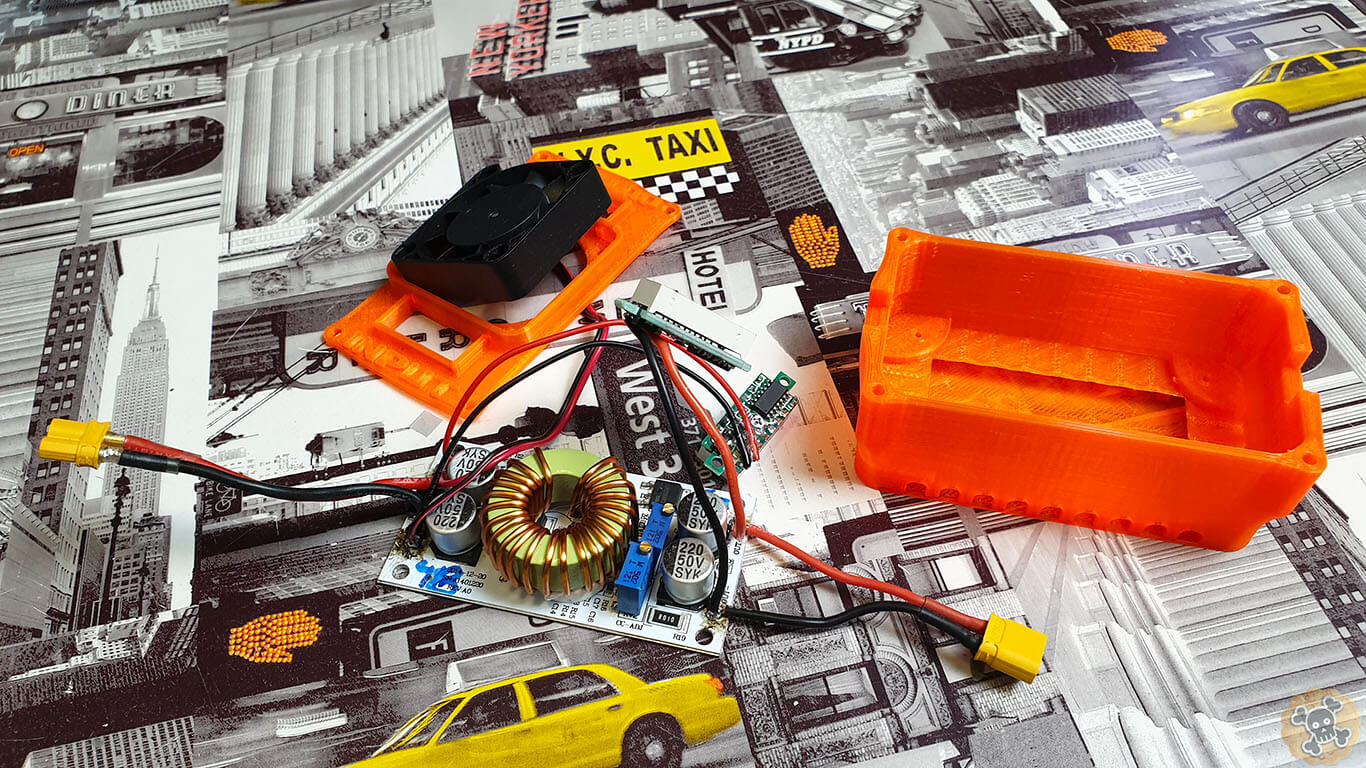
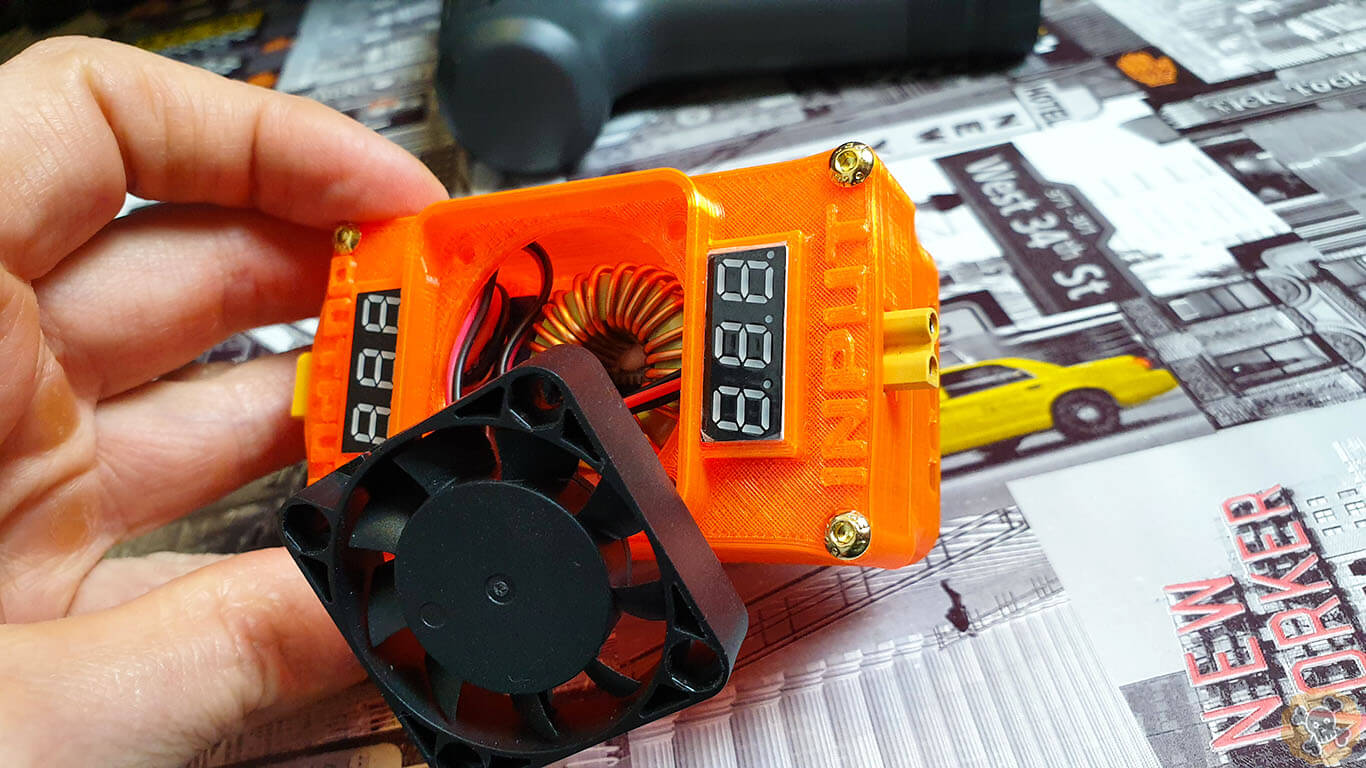
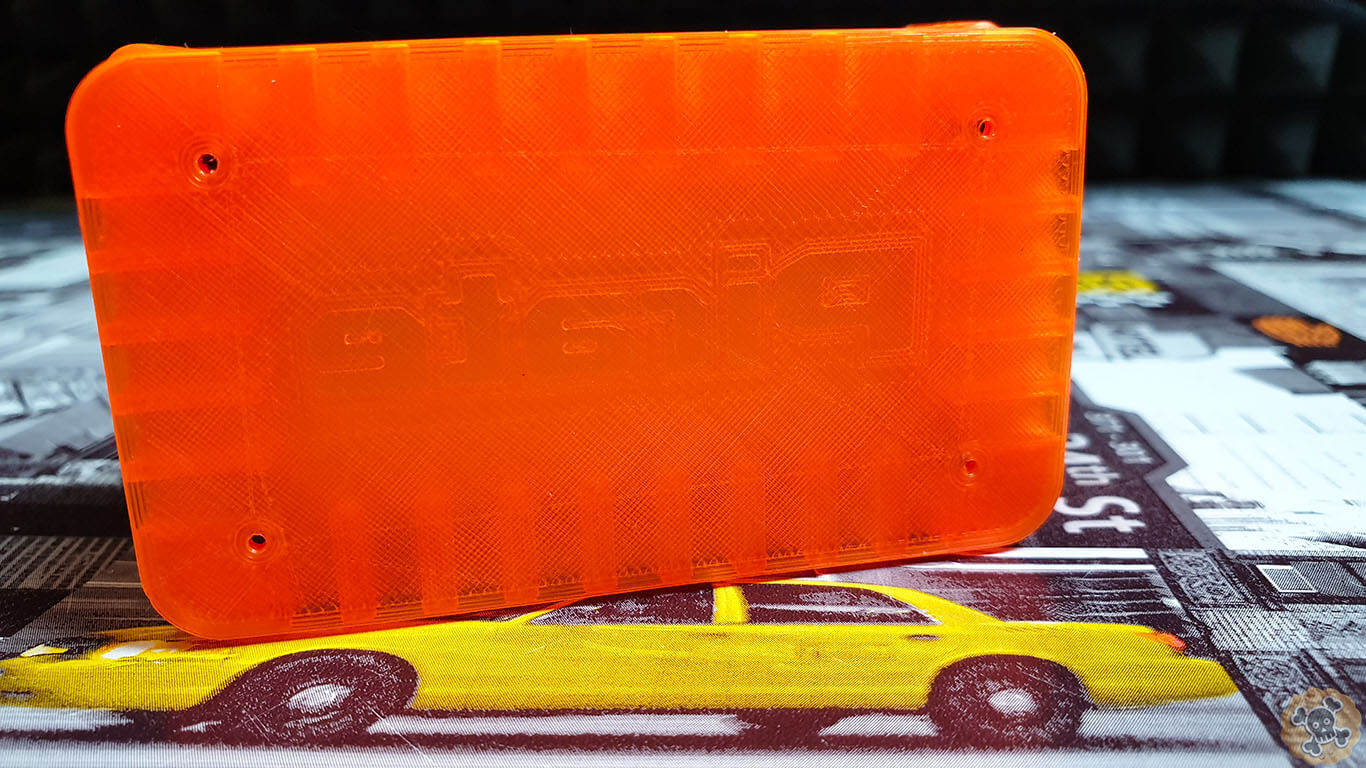
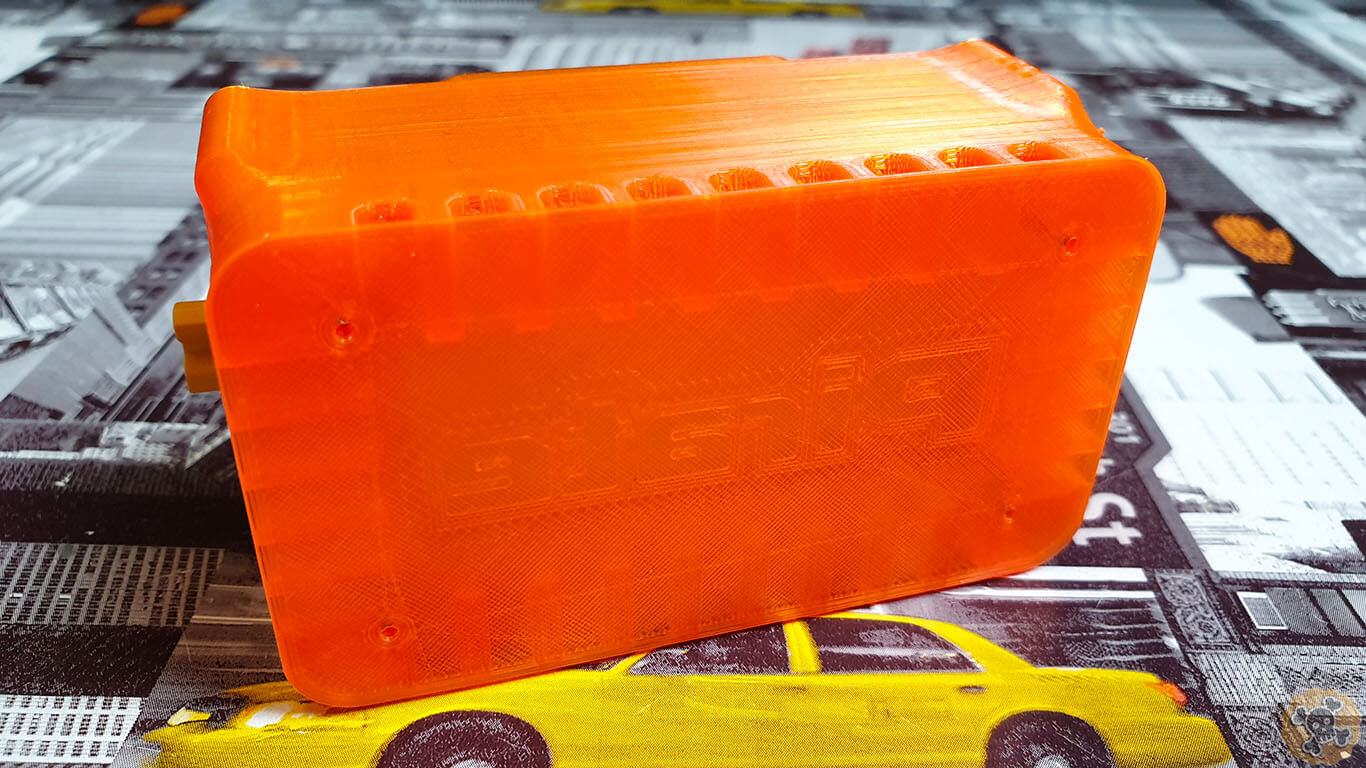
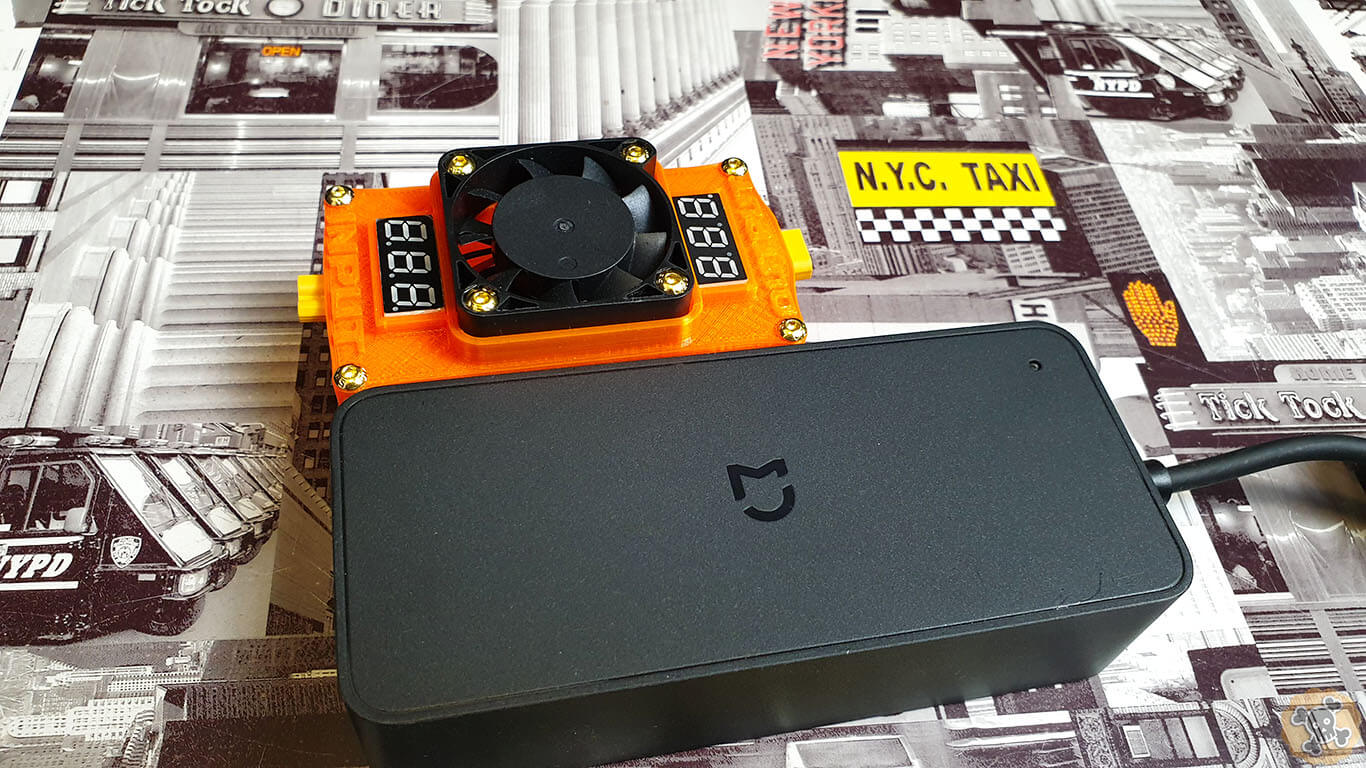
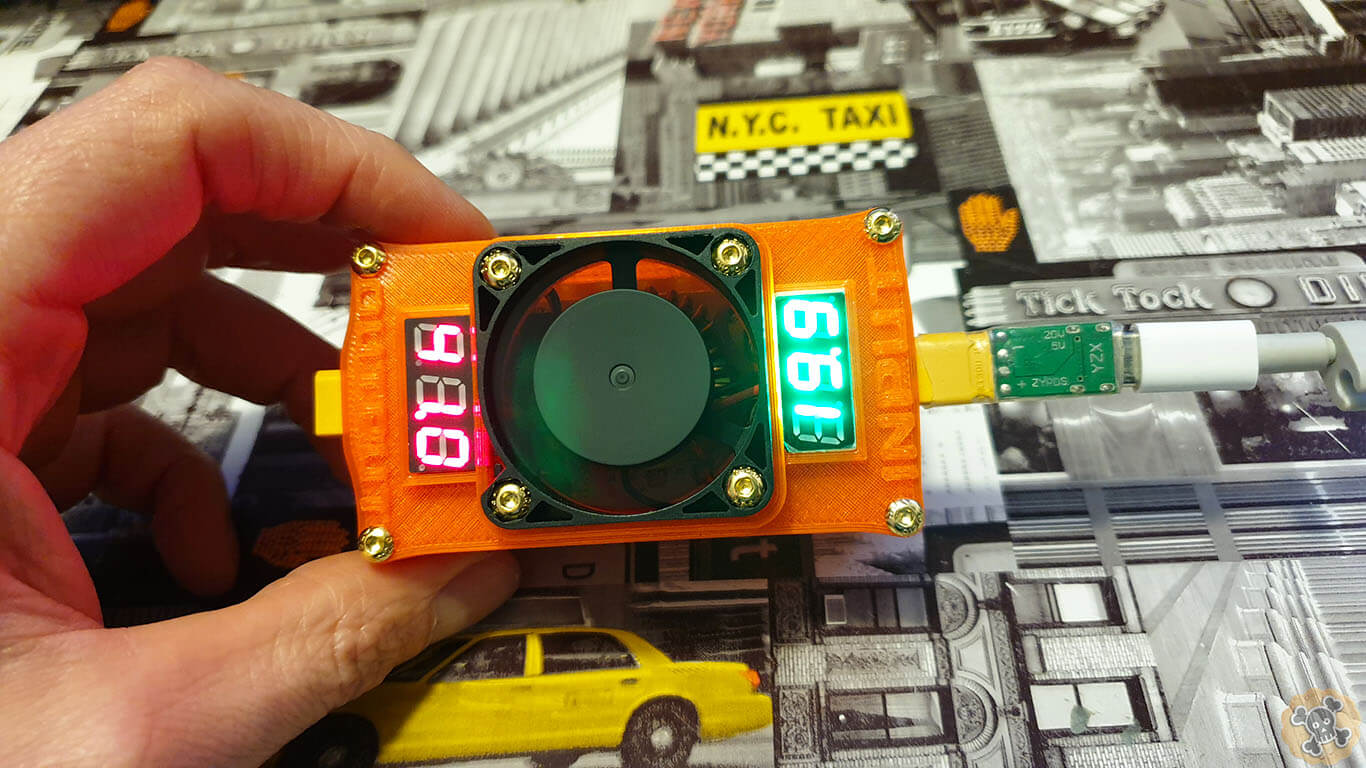
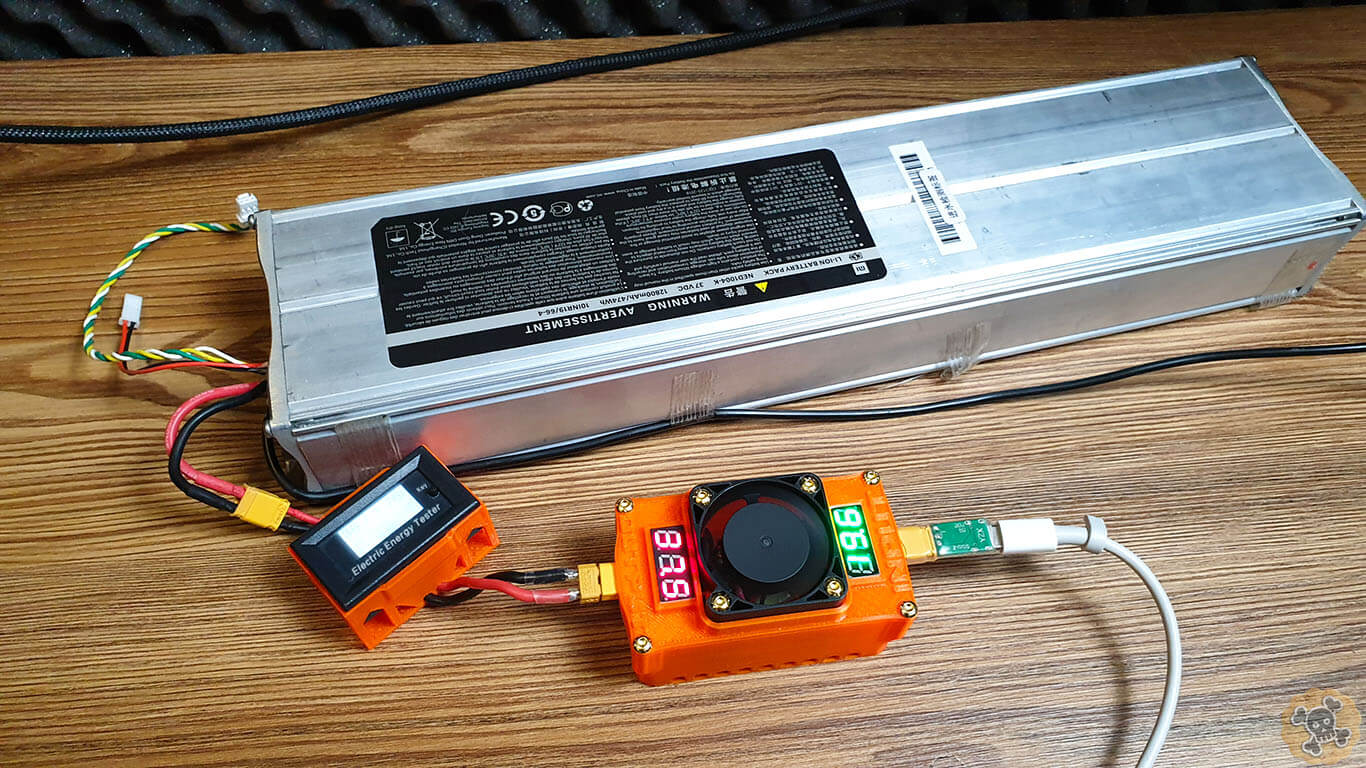
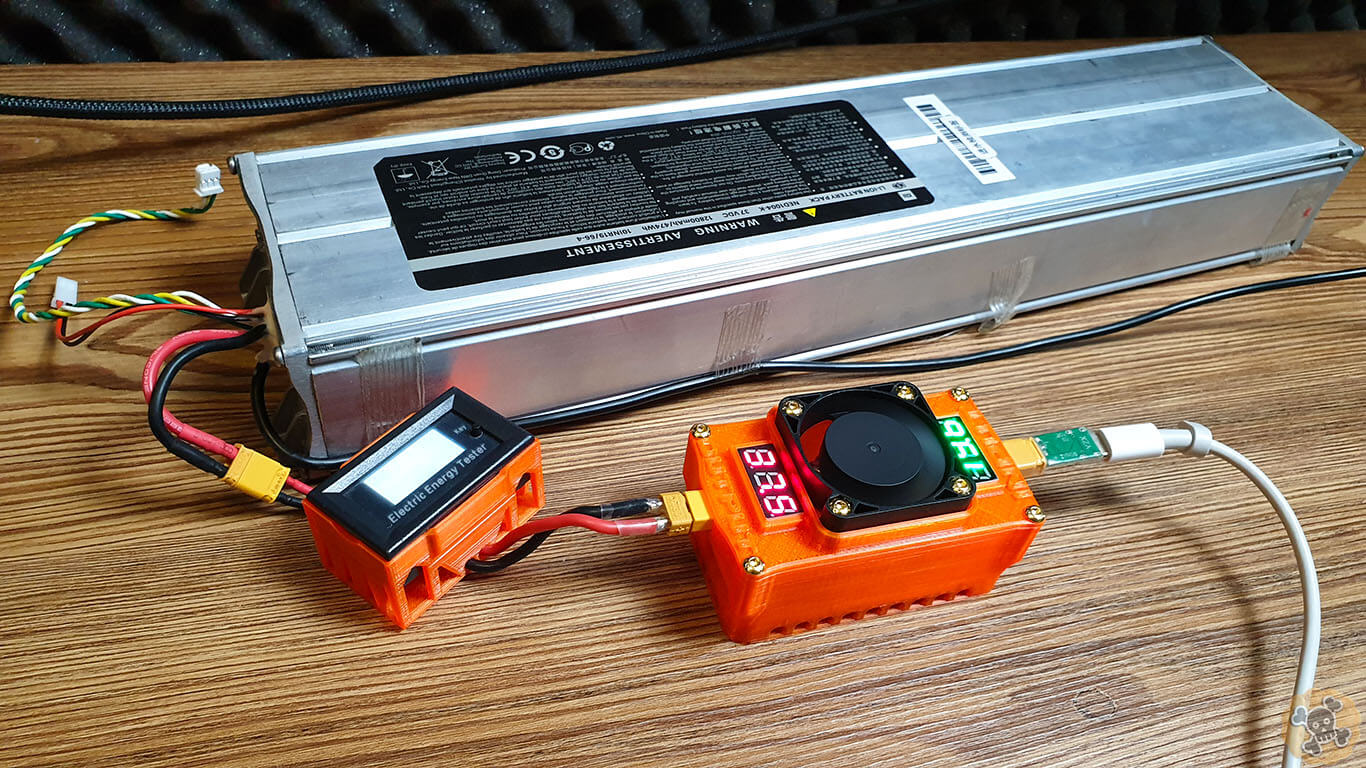
- My printed shell ( 3d project free for my Patrons ), shell is designed to have great airflow which helps to cool down converter


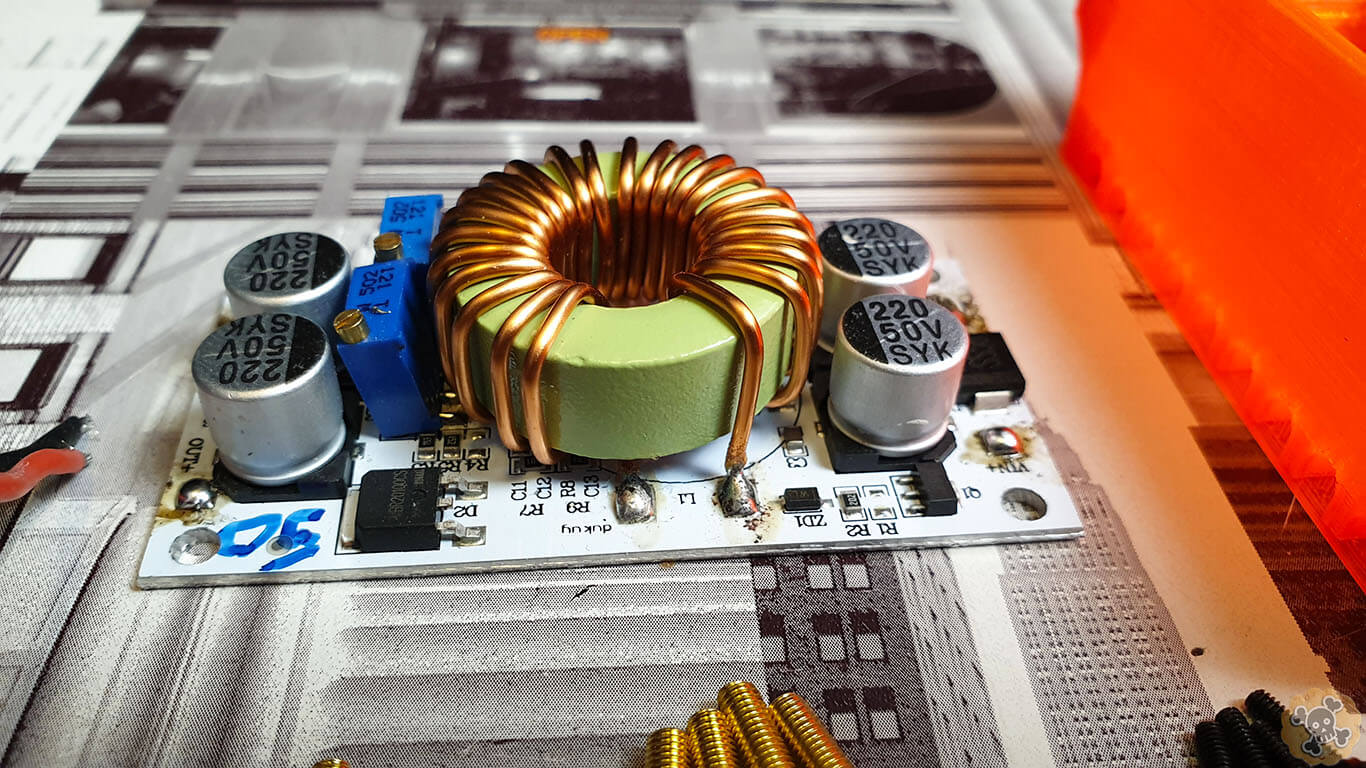
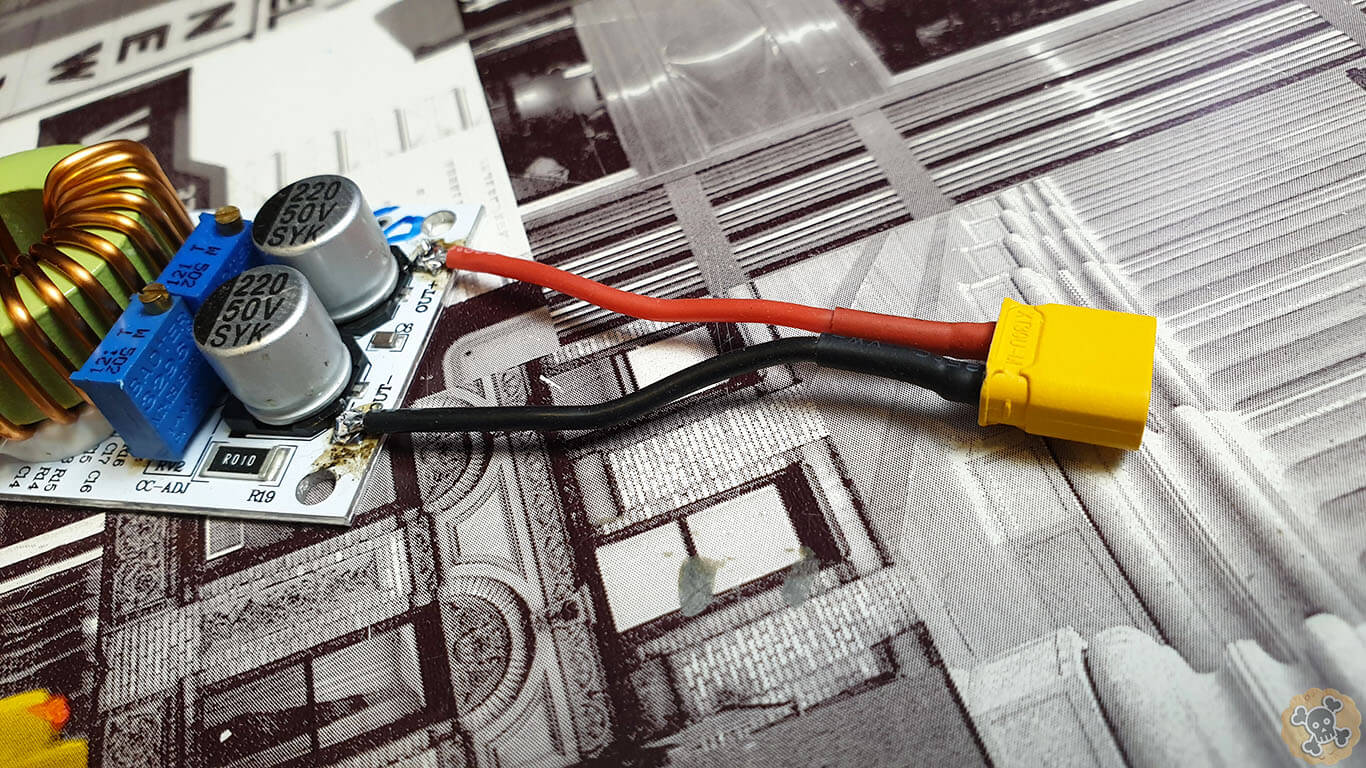
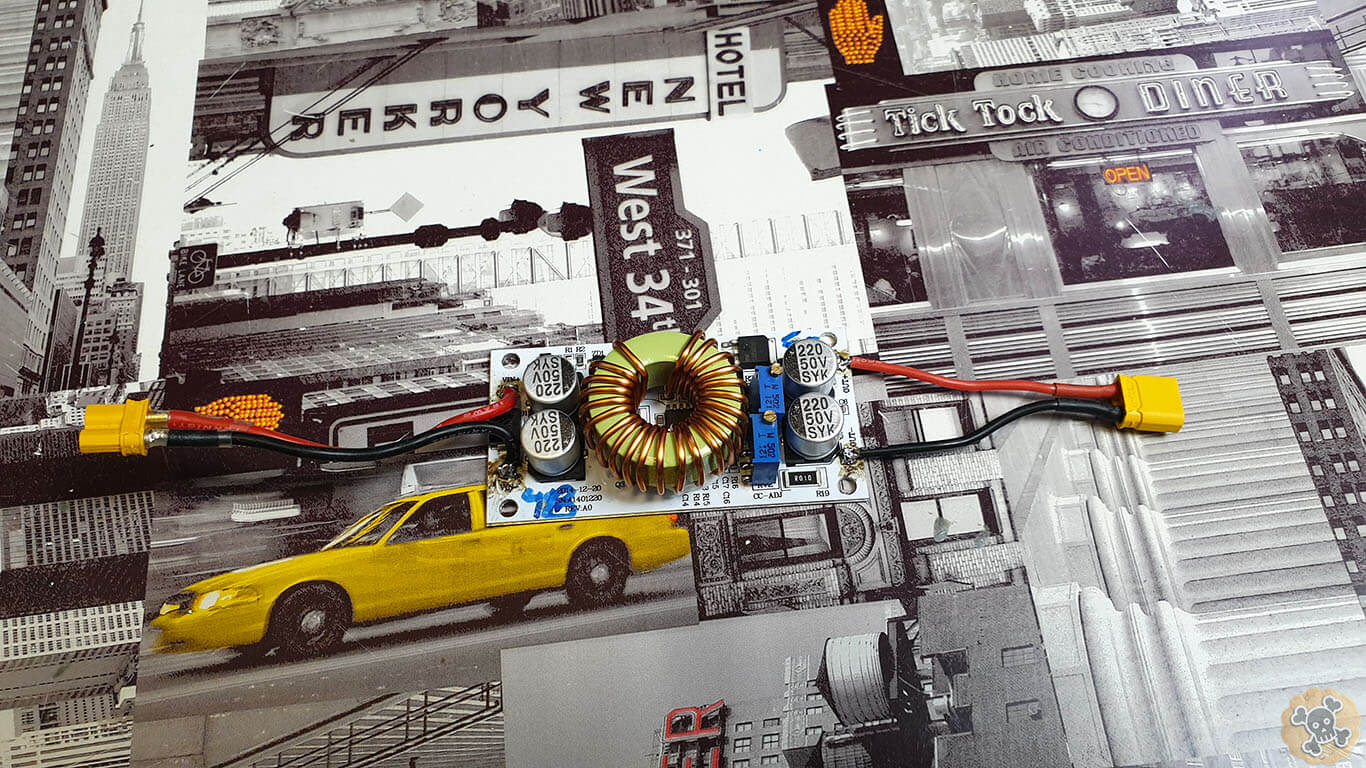
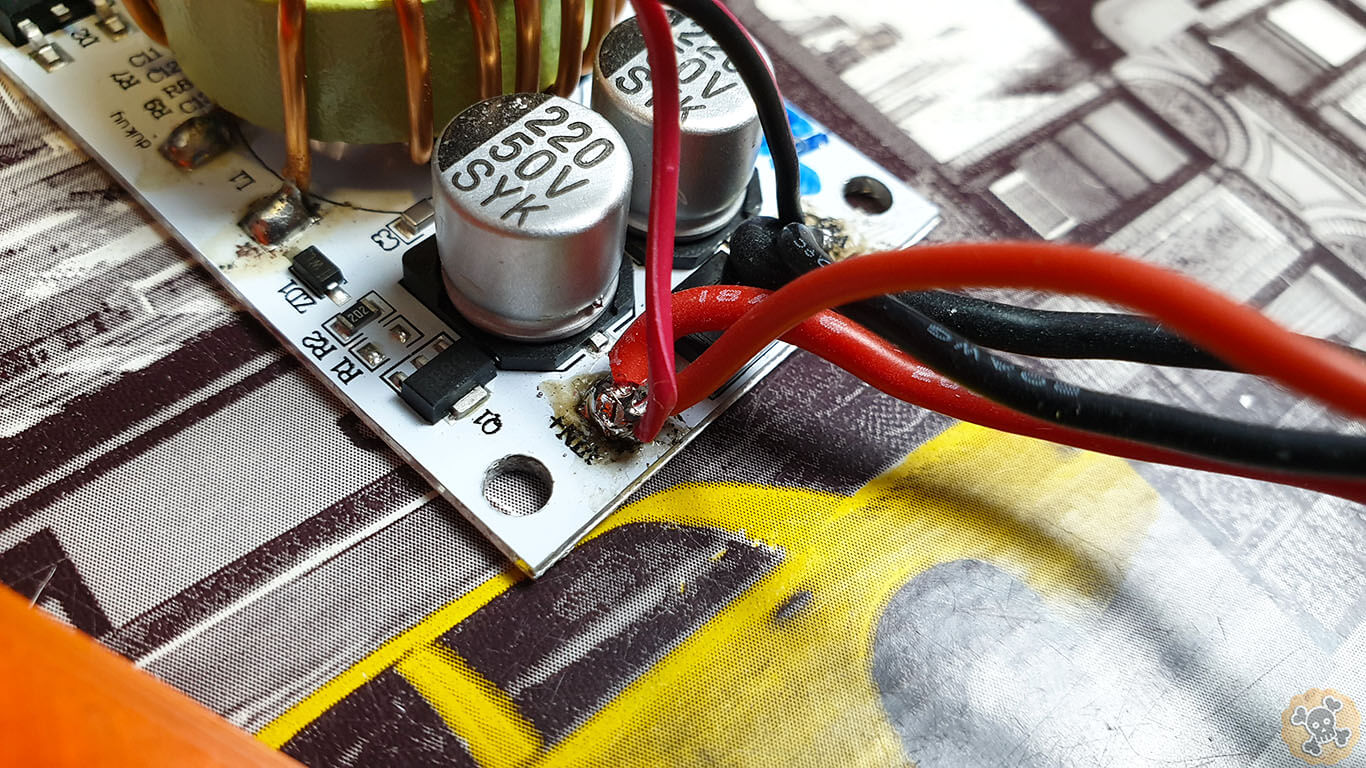
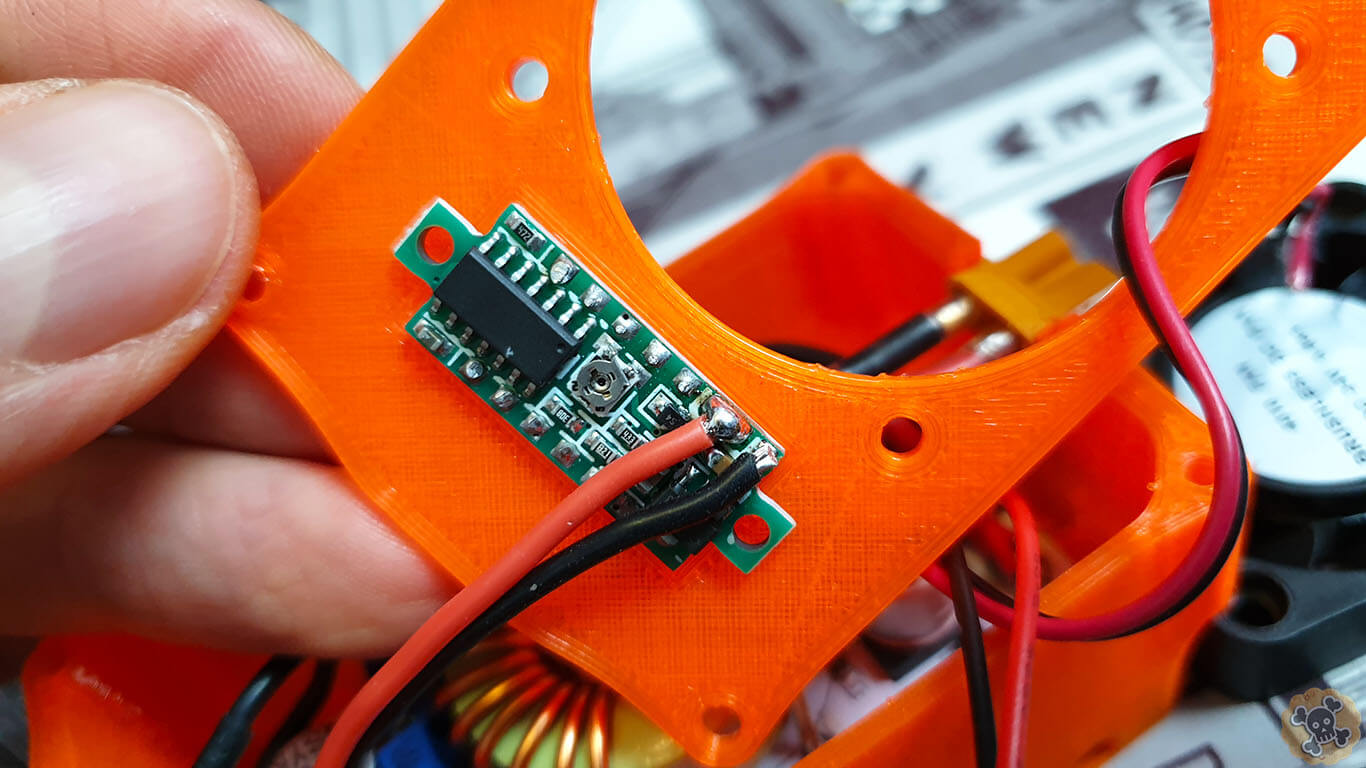
- Step Up converter 5-50V BG http://bit.ly/StepUpAlloy50v ( this one which I used is perfect cause whole bottom part is alloy, so heat can be spread out easily , also I didn’t notice any overheating problems even after long time of use )
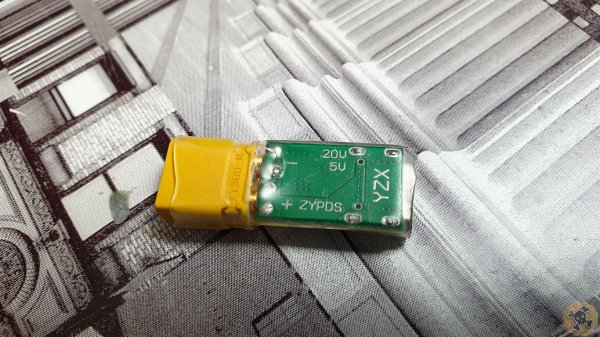
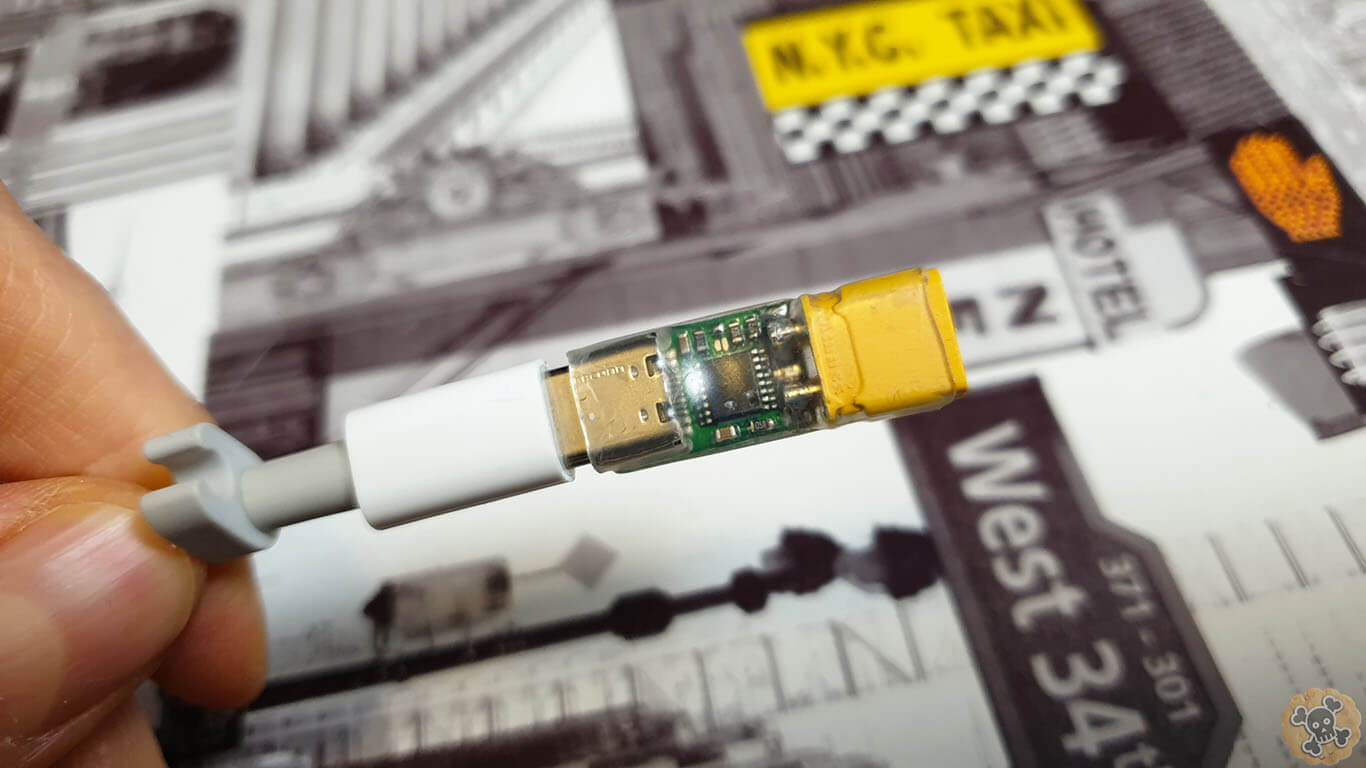
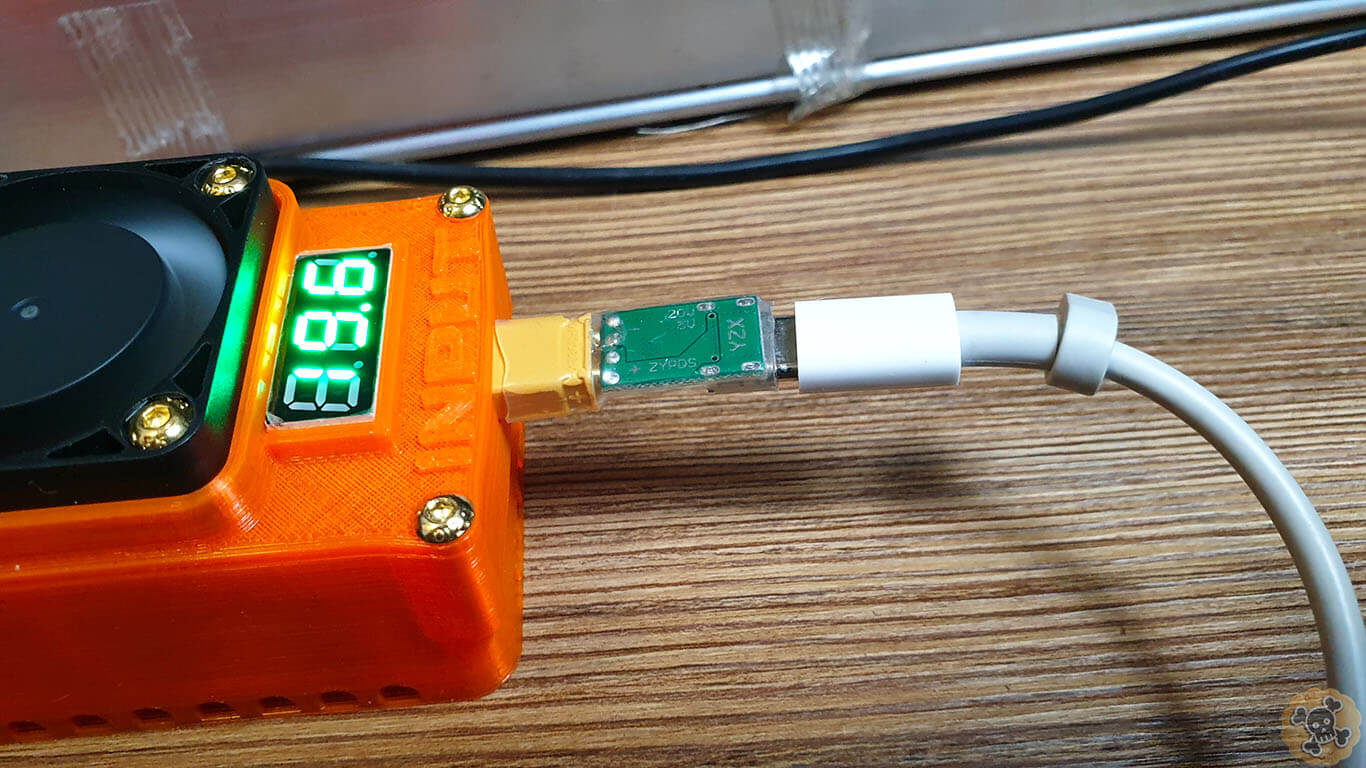
- USB PD trigger Ali https://s.click.aliexpress.com/e/_9AzYdb ( this thing triggers PD charger to works on full power so 20V 3,5A )
- Here is 120W USB PD charger ( True Beast ) https://s.click.aliexpress.com/e/_ASMFlB

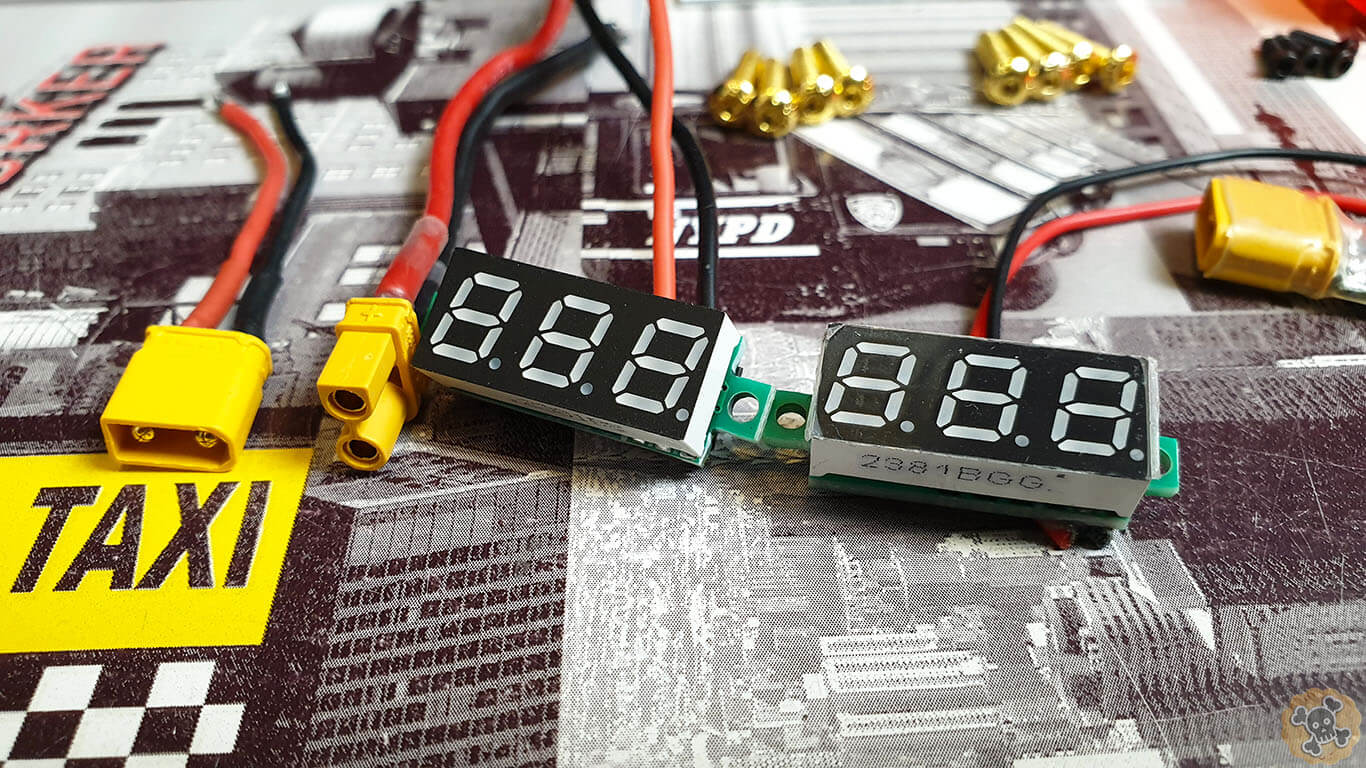
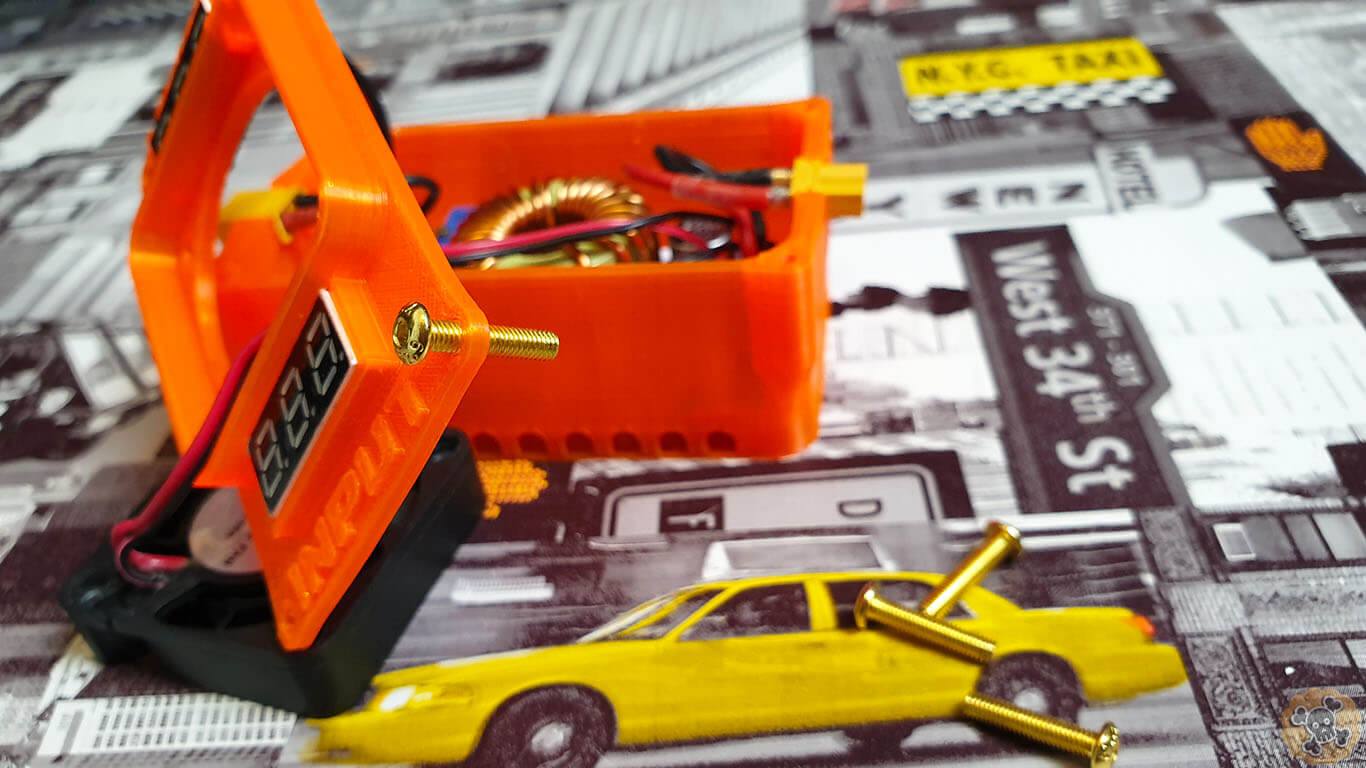
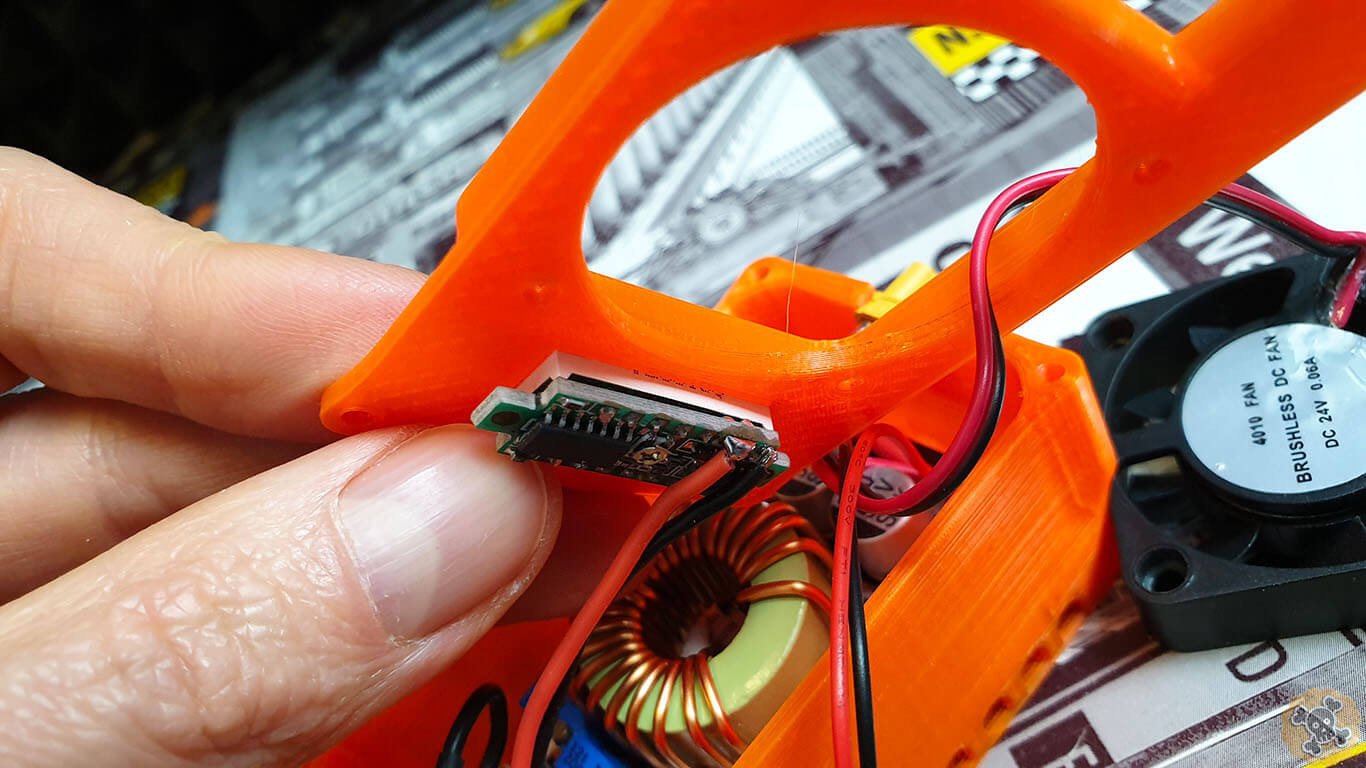
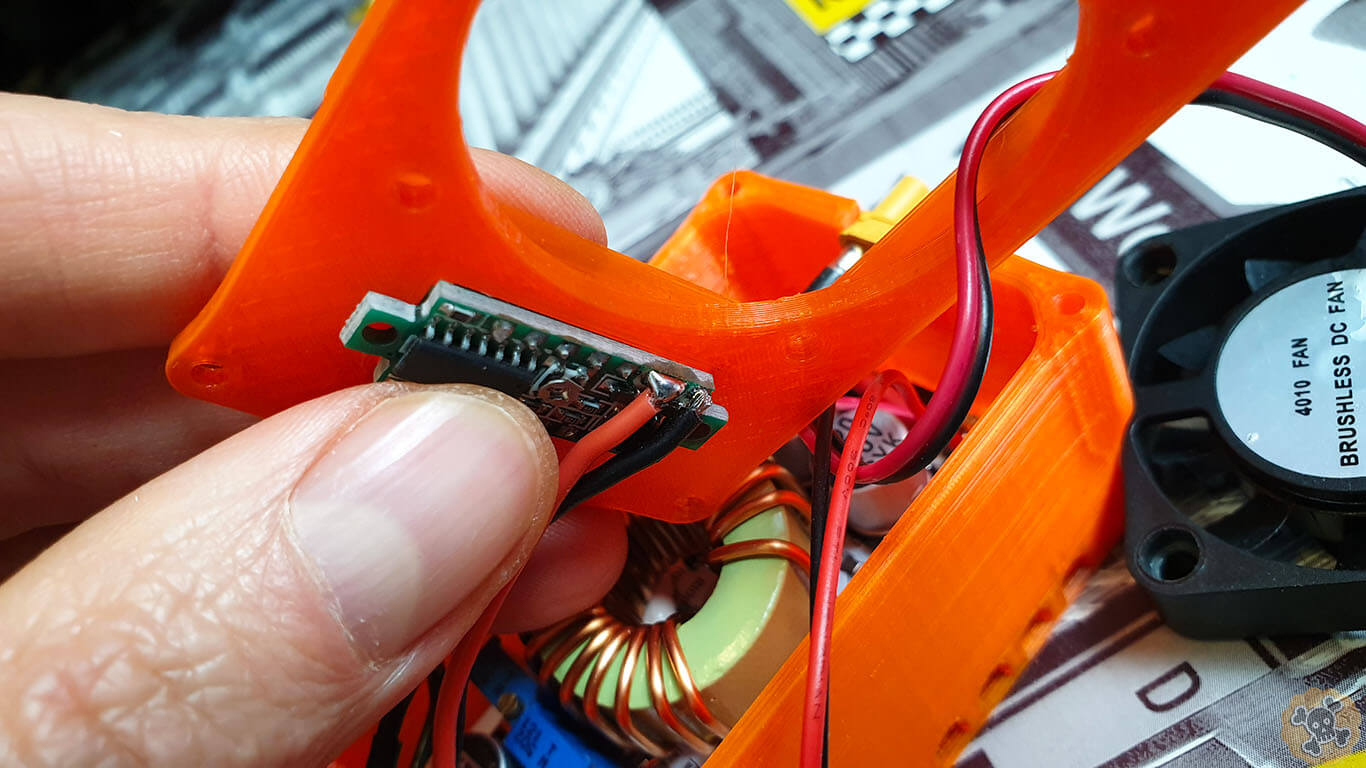
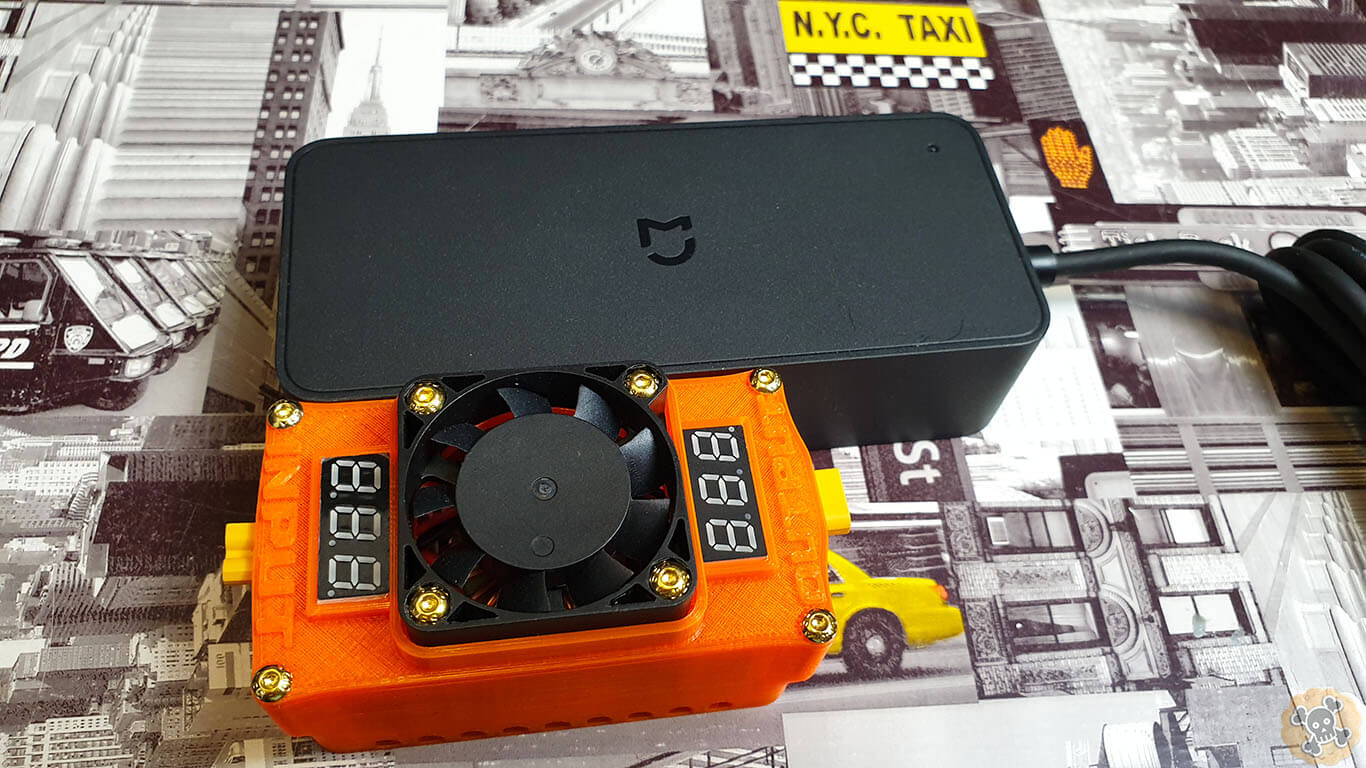
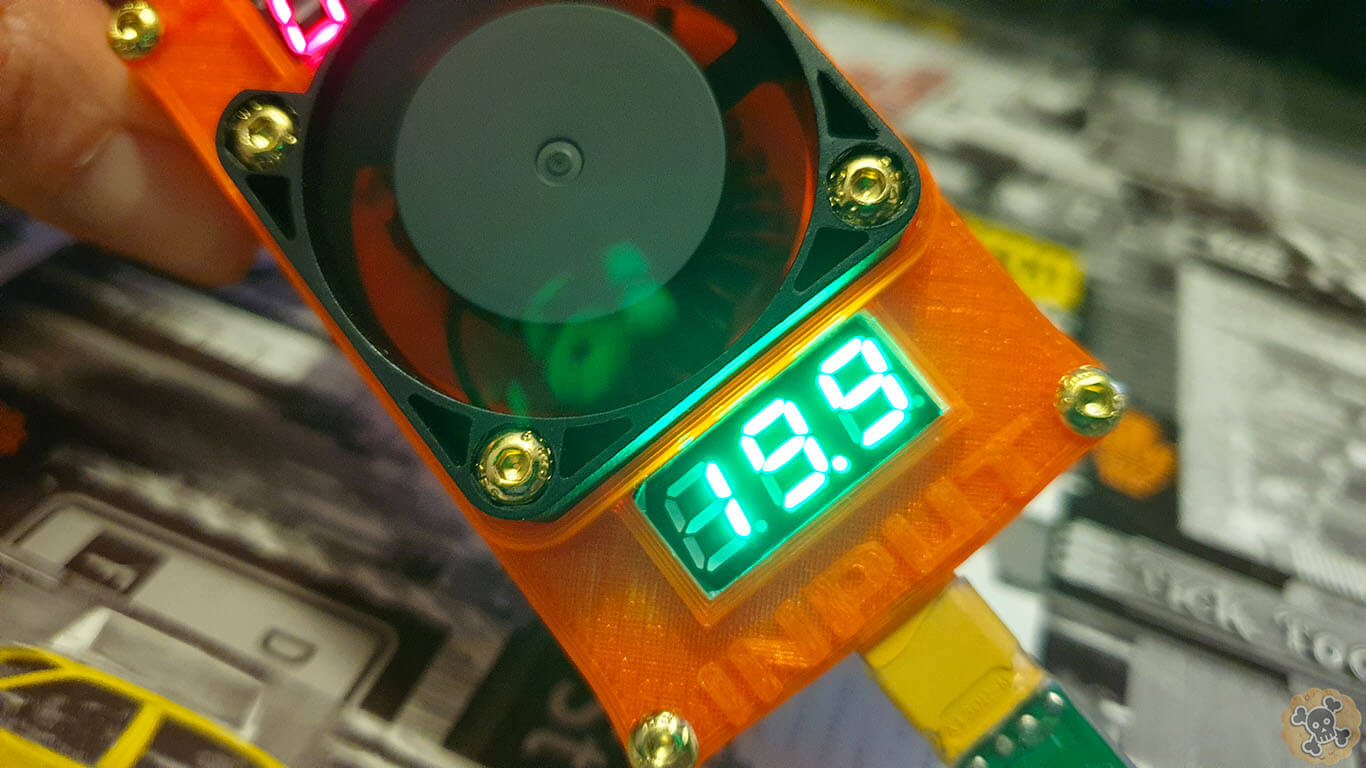
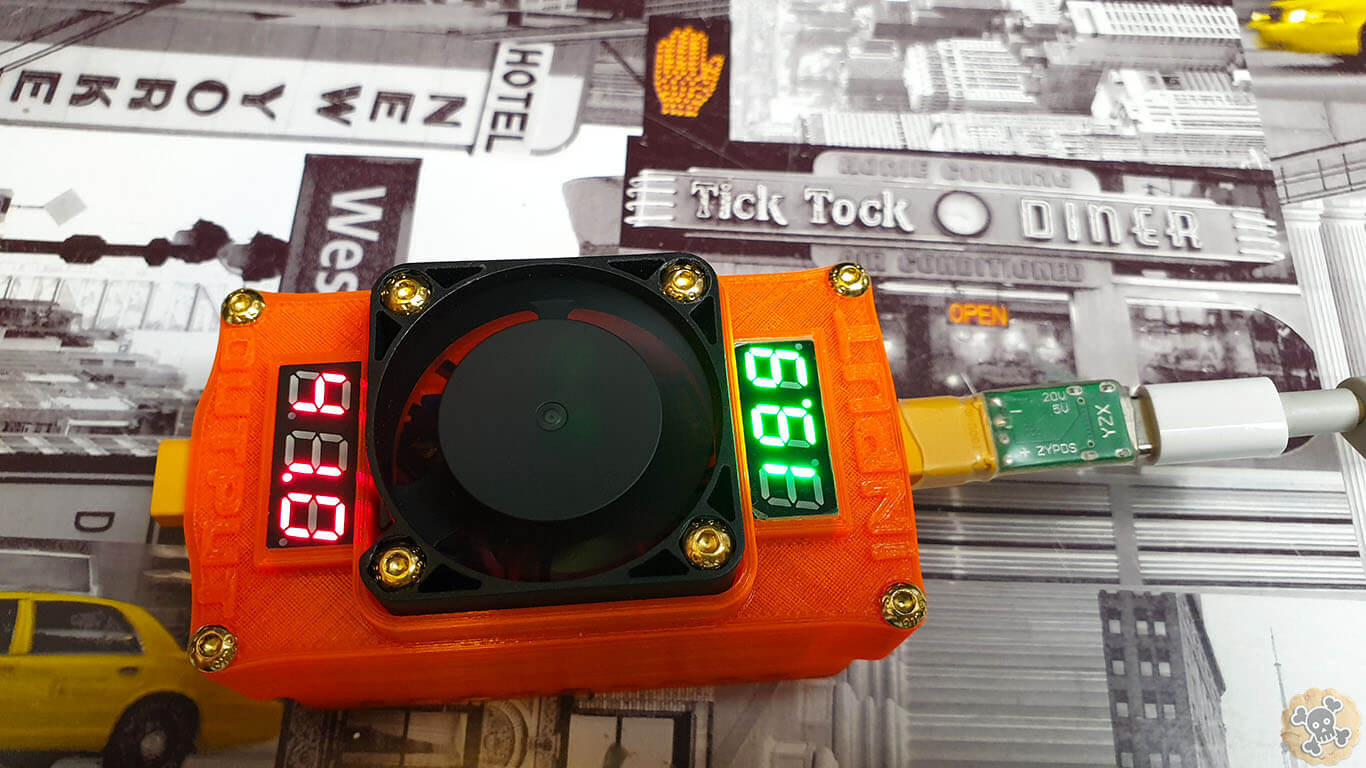
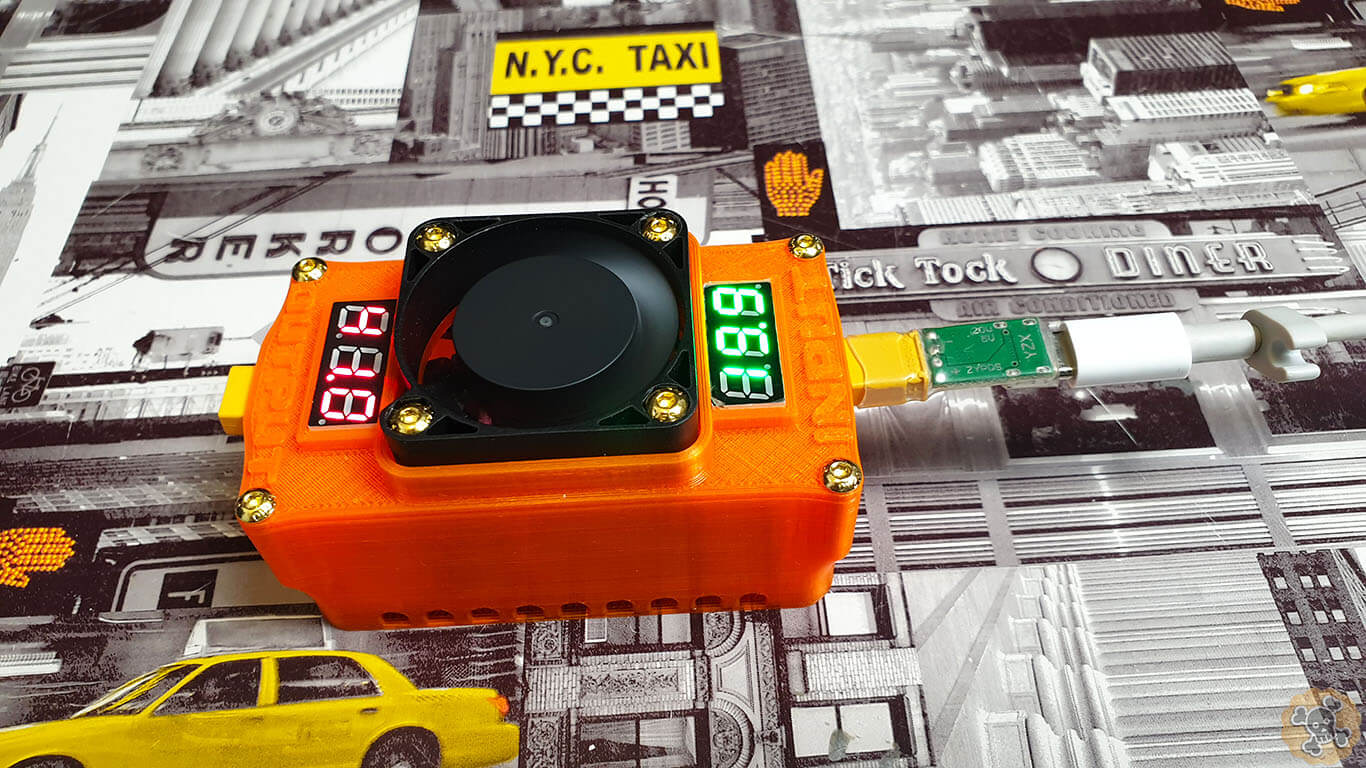
- 2x LCD DC Voltage meter 0.28inch ALI https://s.click.aliexpress.com/e/_9zbG2H / BG http://bit.ly/LCDmeter100VBG
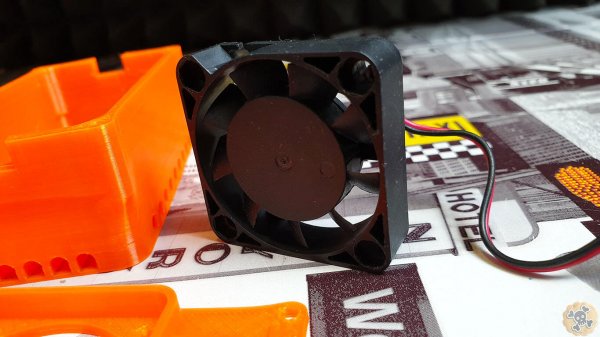
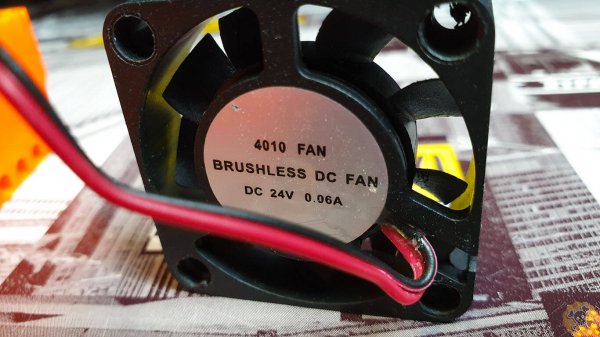
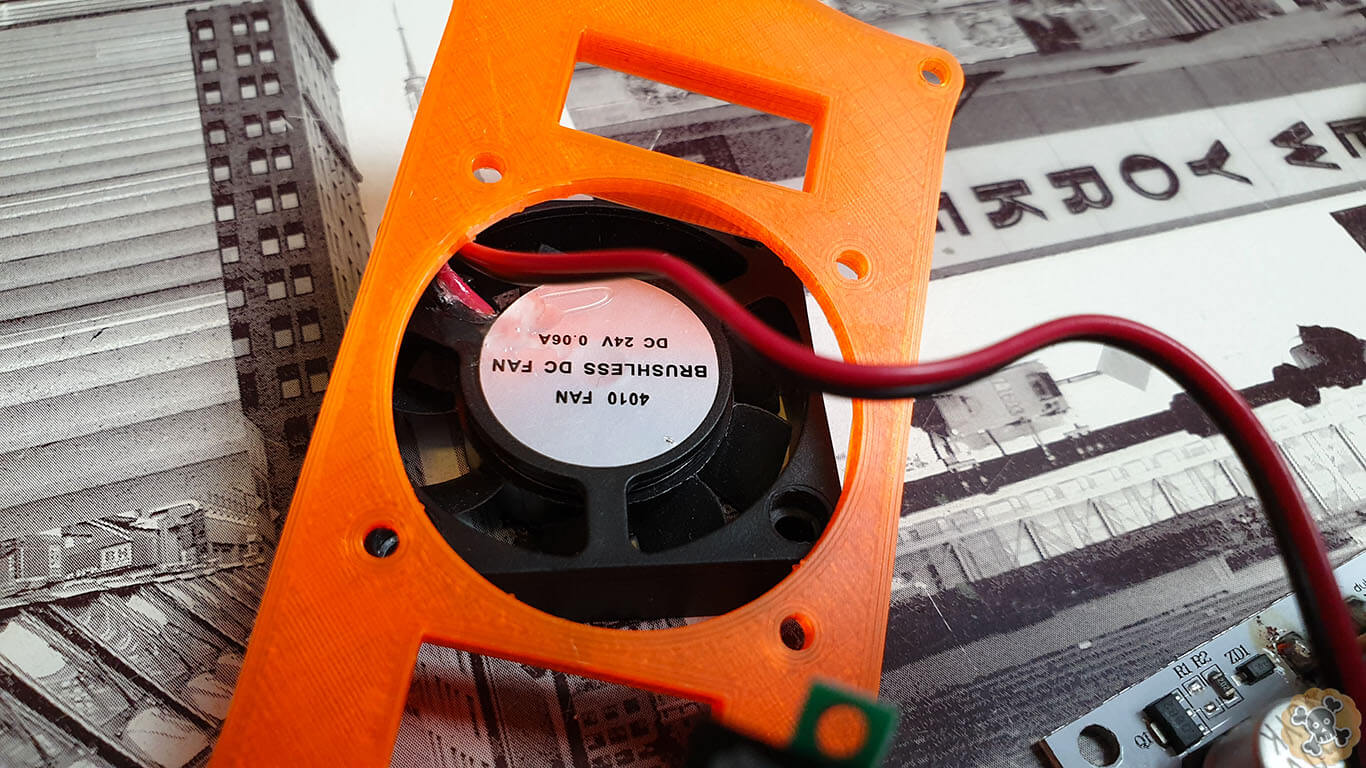
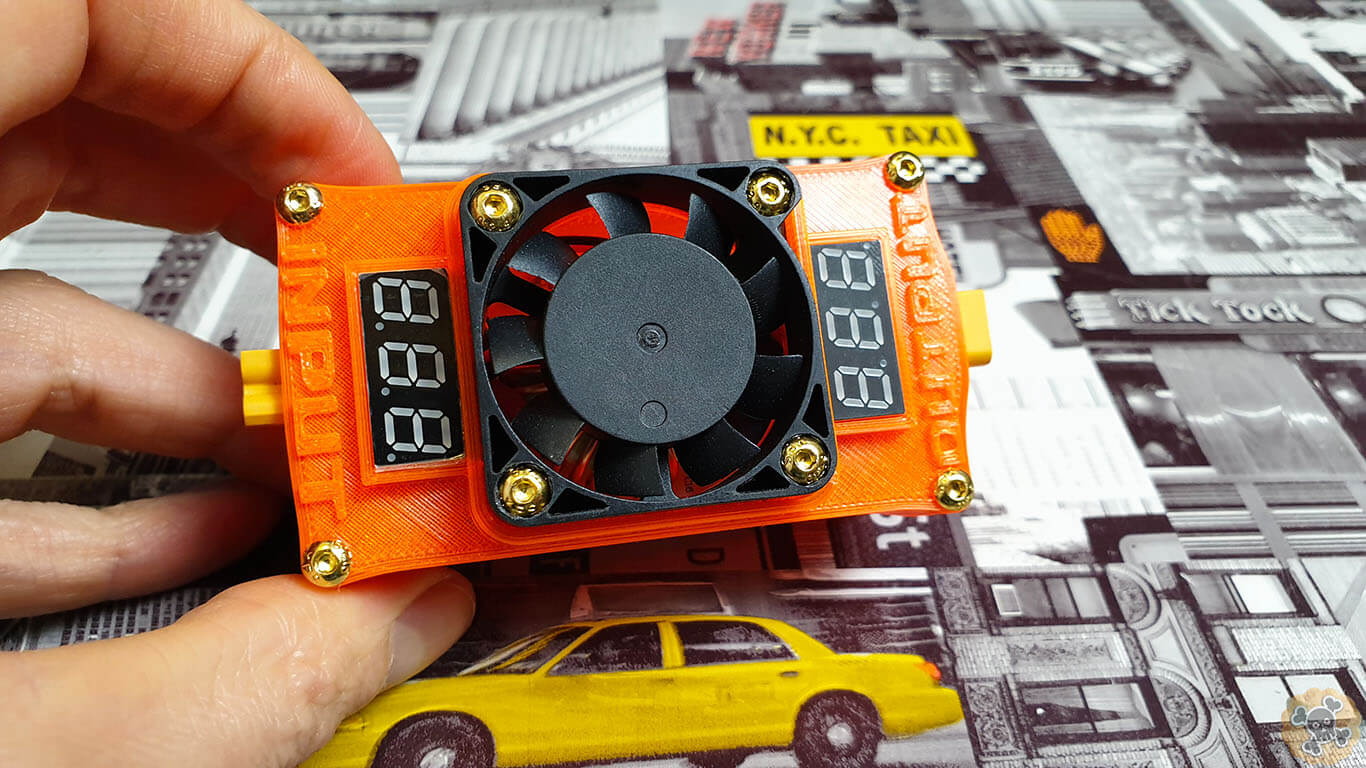
- Fan 24V 4010 BG http://bit.ly/Fan24V4010BG
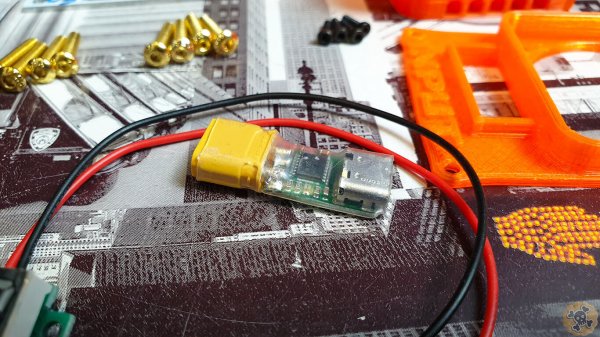
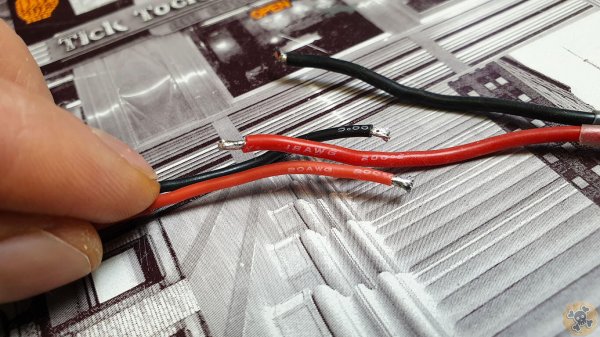
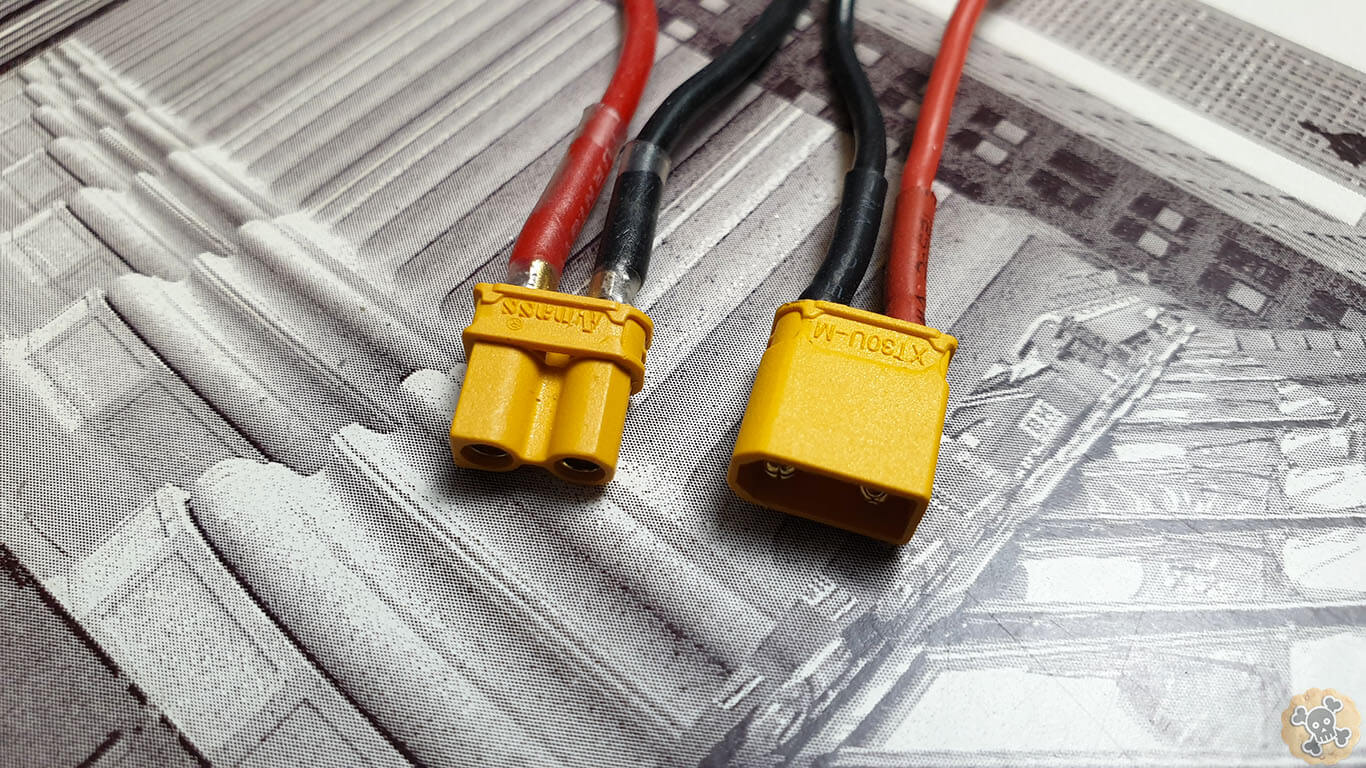
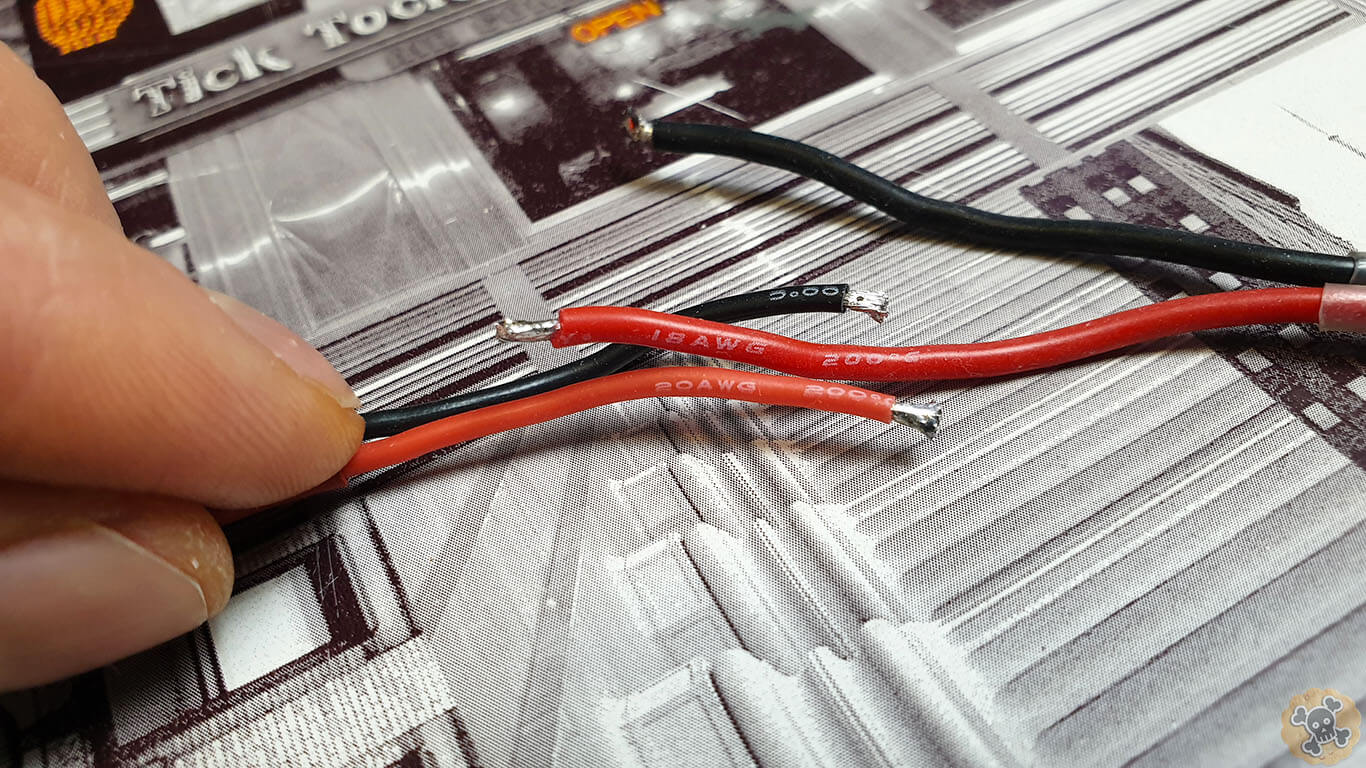
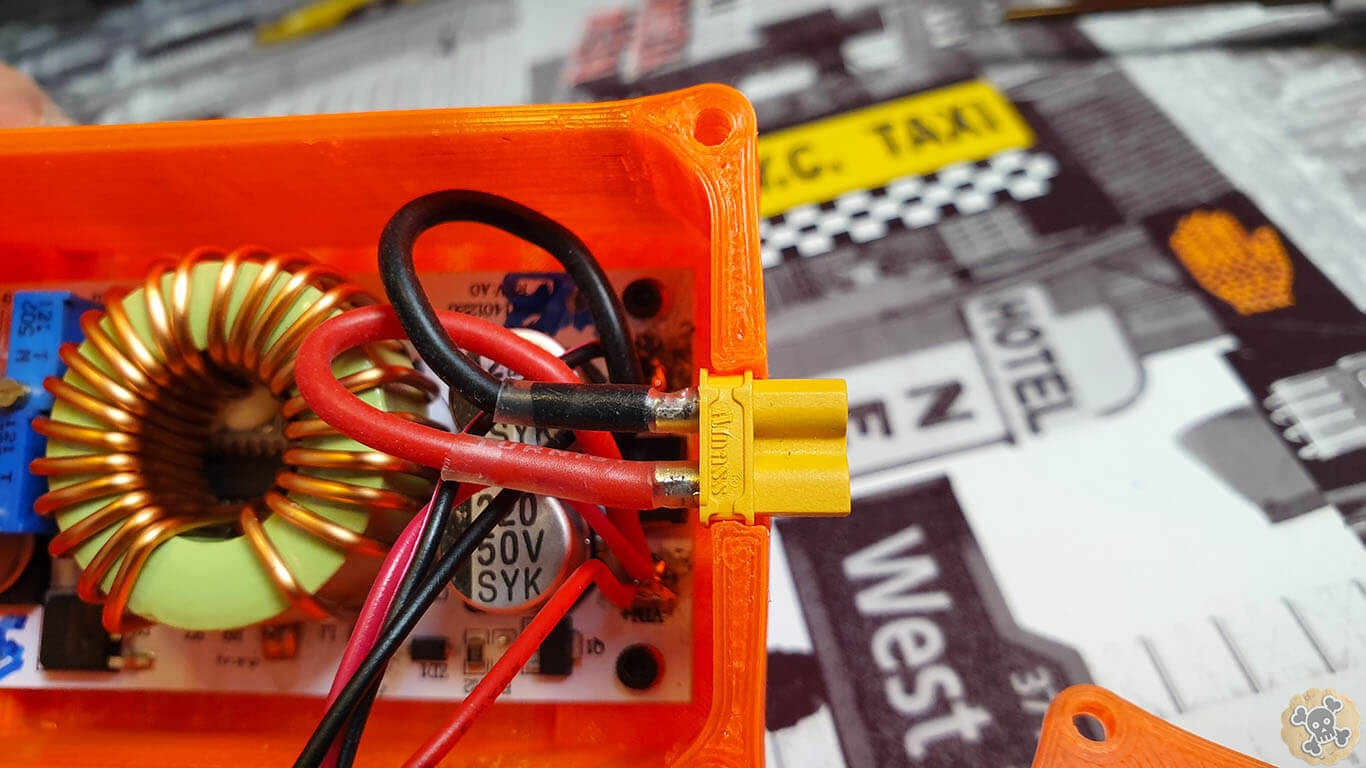
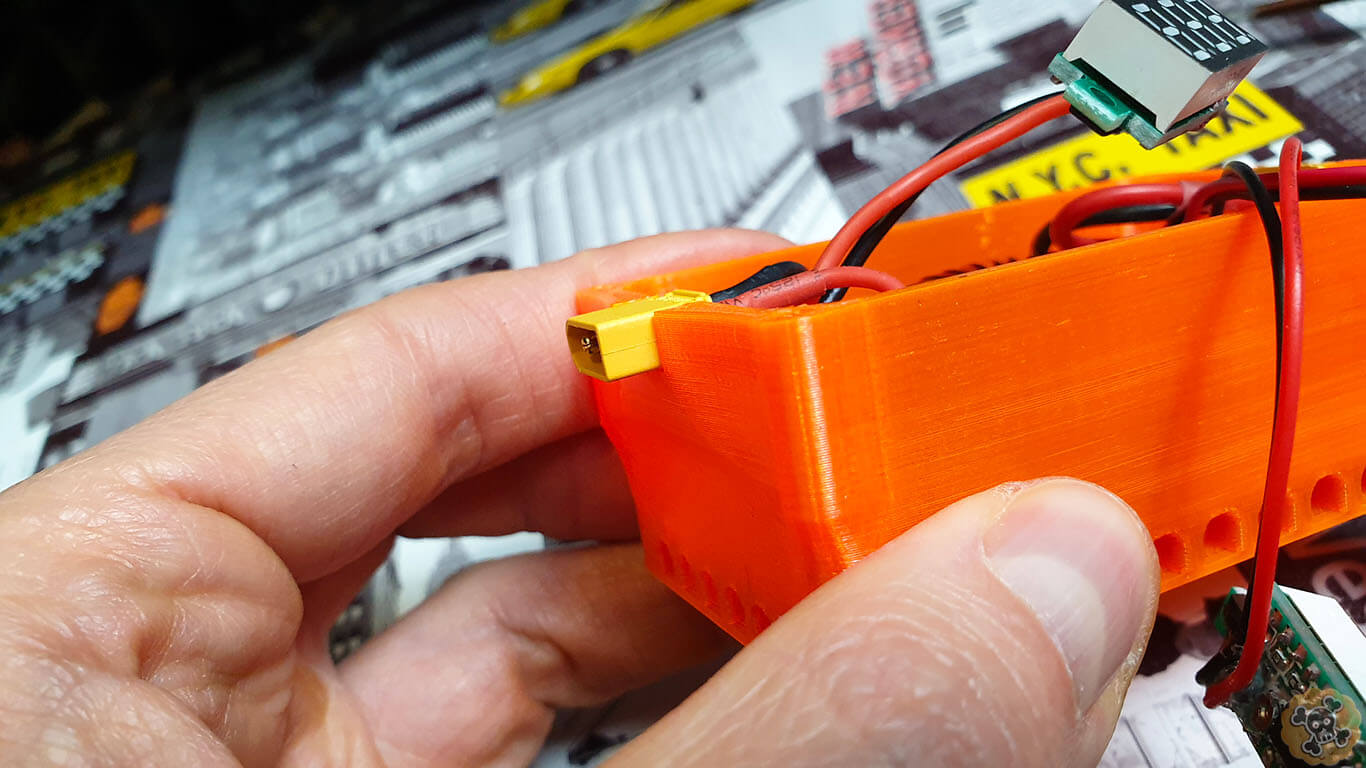
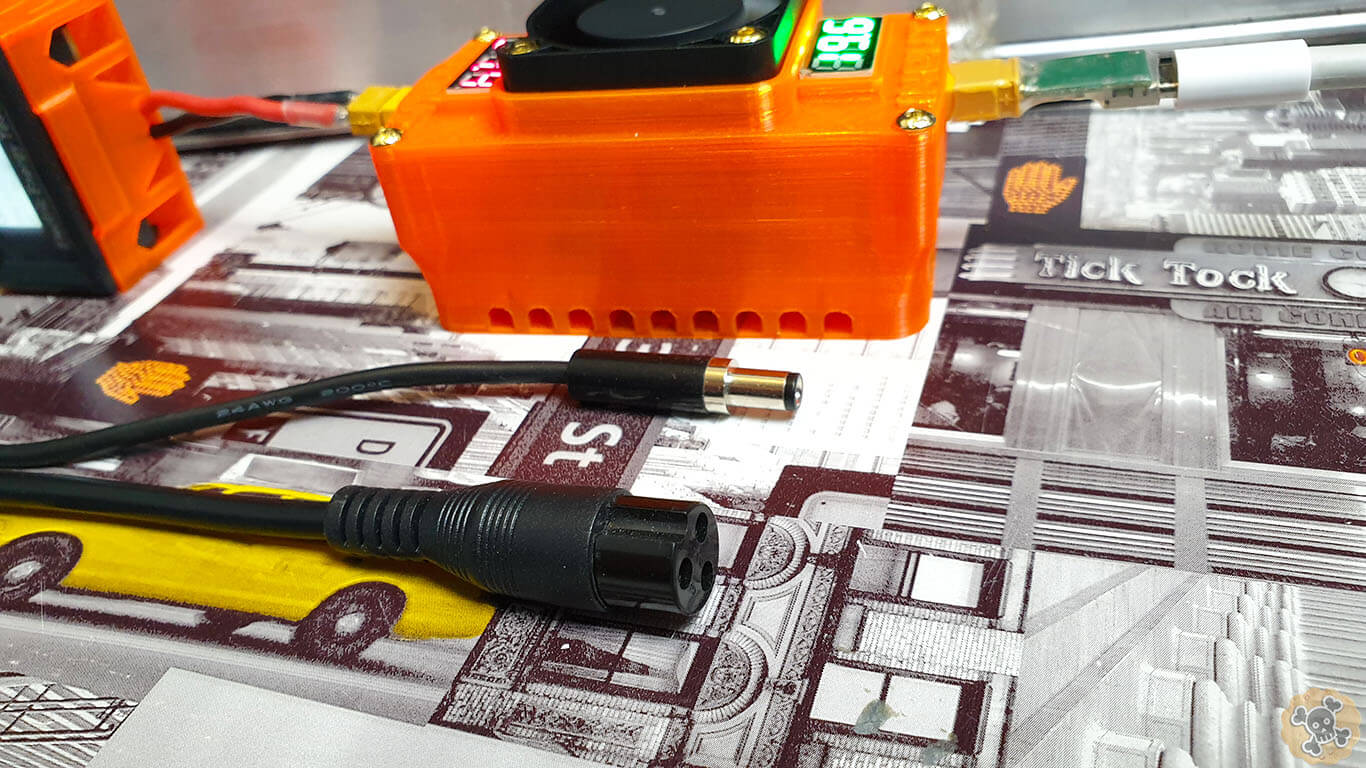
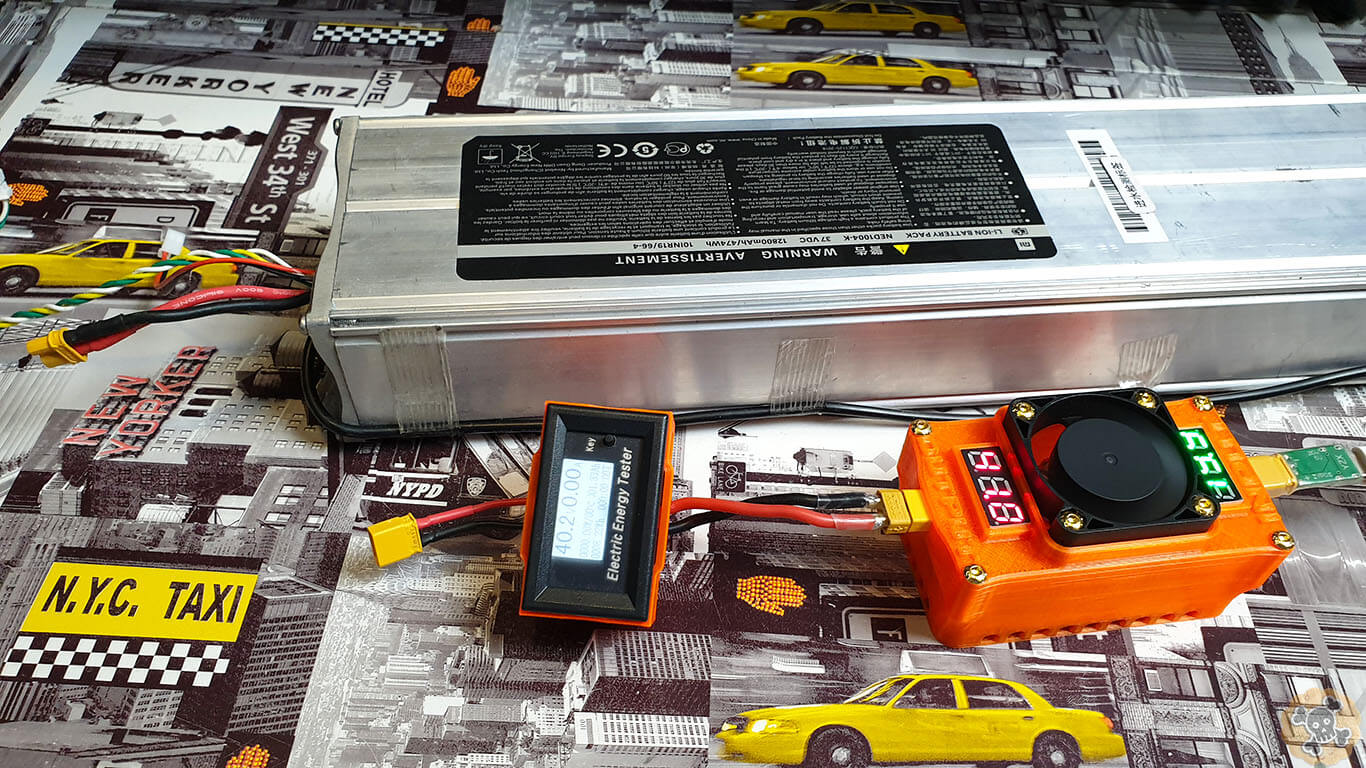
- XT30-U Amass Connectors ALI https://s.click.aliexpress.com/e/_9f2RxF and 18AWg or 20AWG cable

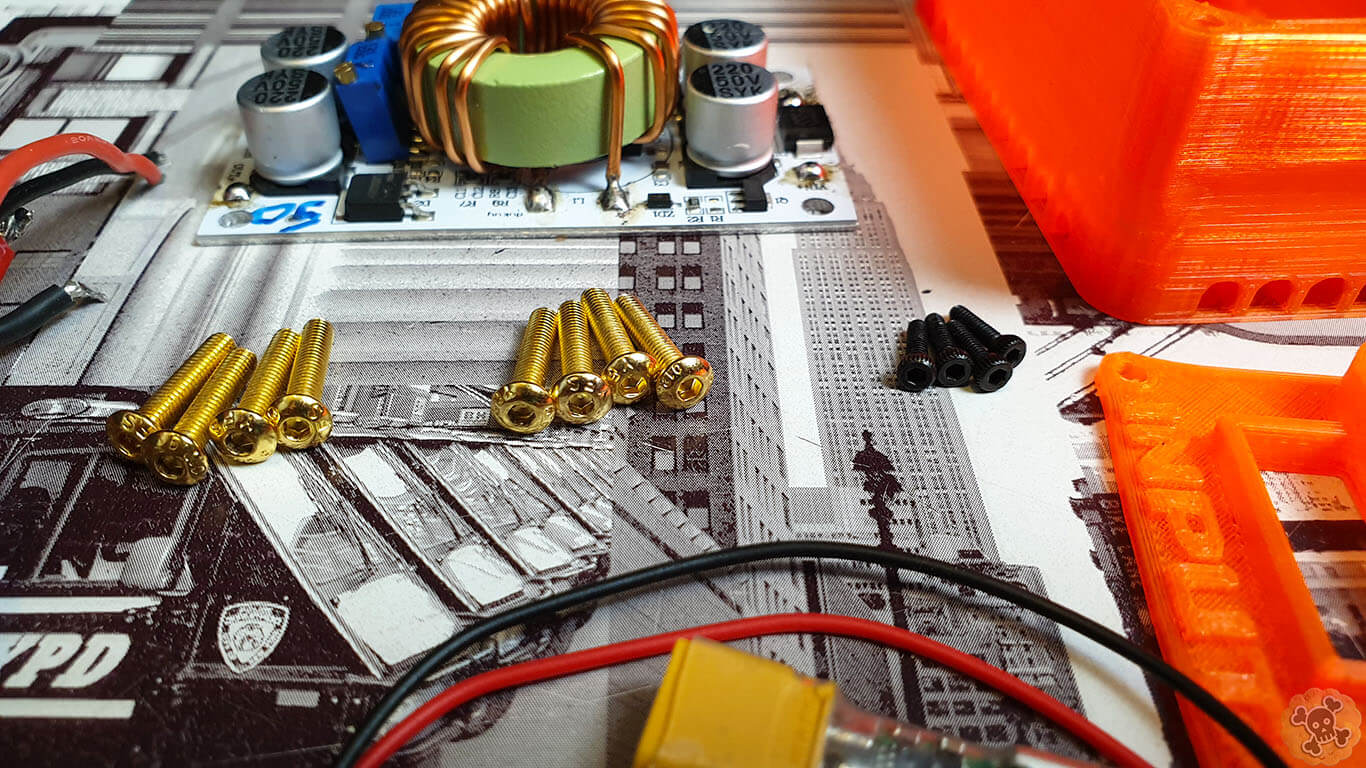
- 8x M3 12-16mm http://bit.ly/M3GoldBG & 4x M2 Screws

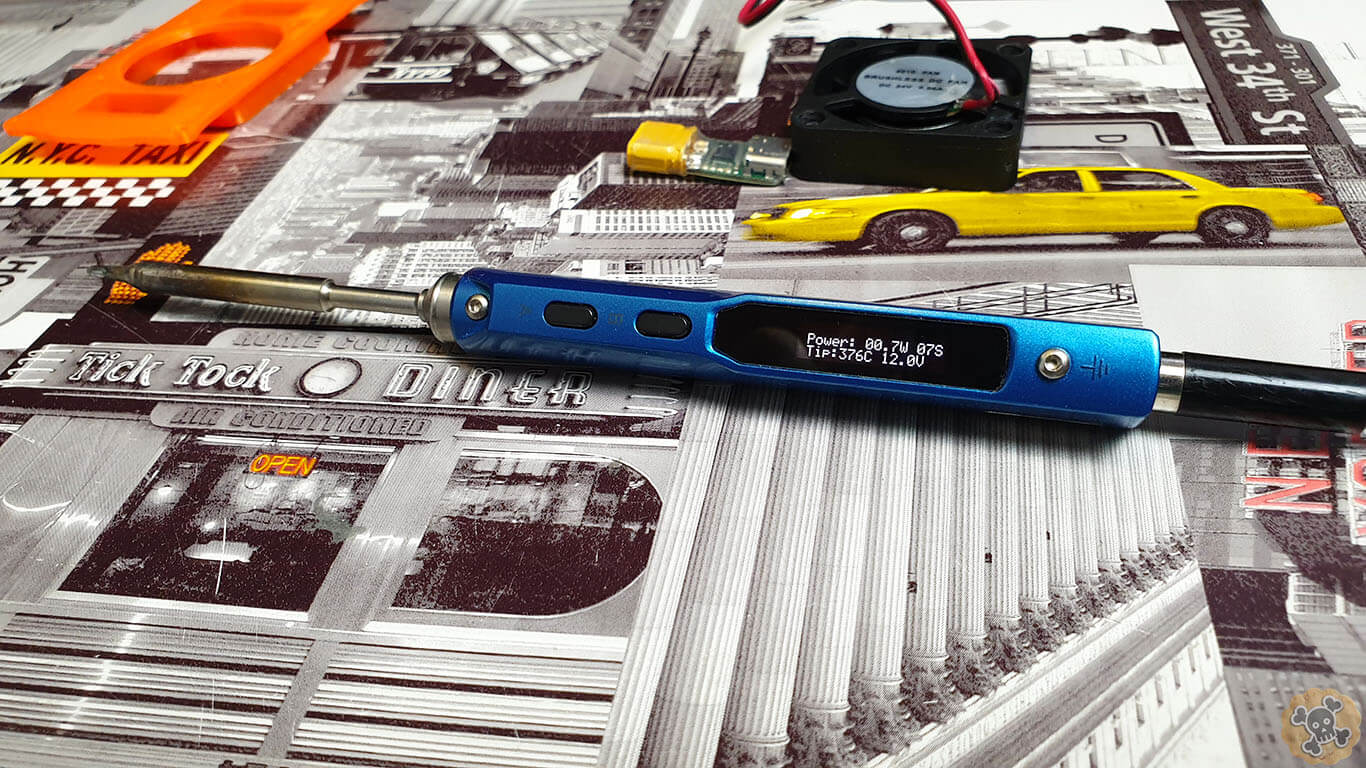
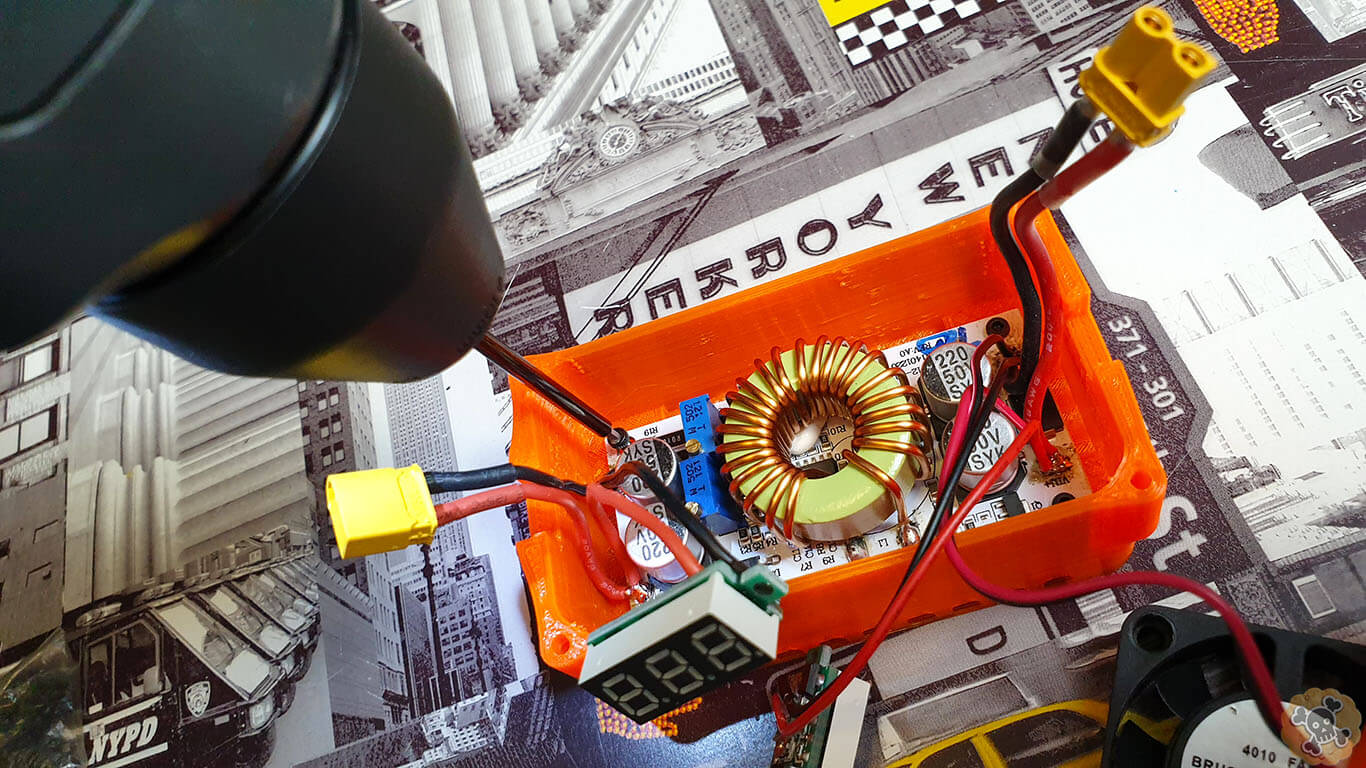
At first solder to StepUp converter XT30 connectors, it will be not easy cause bottom part is alloy so any heat will spread out quite fast, but I noticed that when I set my TS100 to 380C then it was much easier, BUT you have to do it fast 🙂


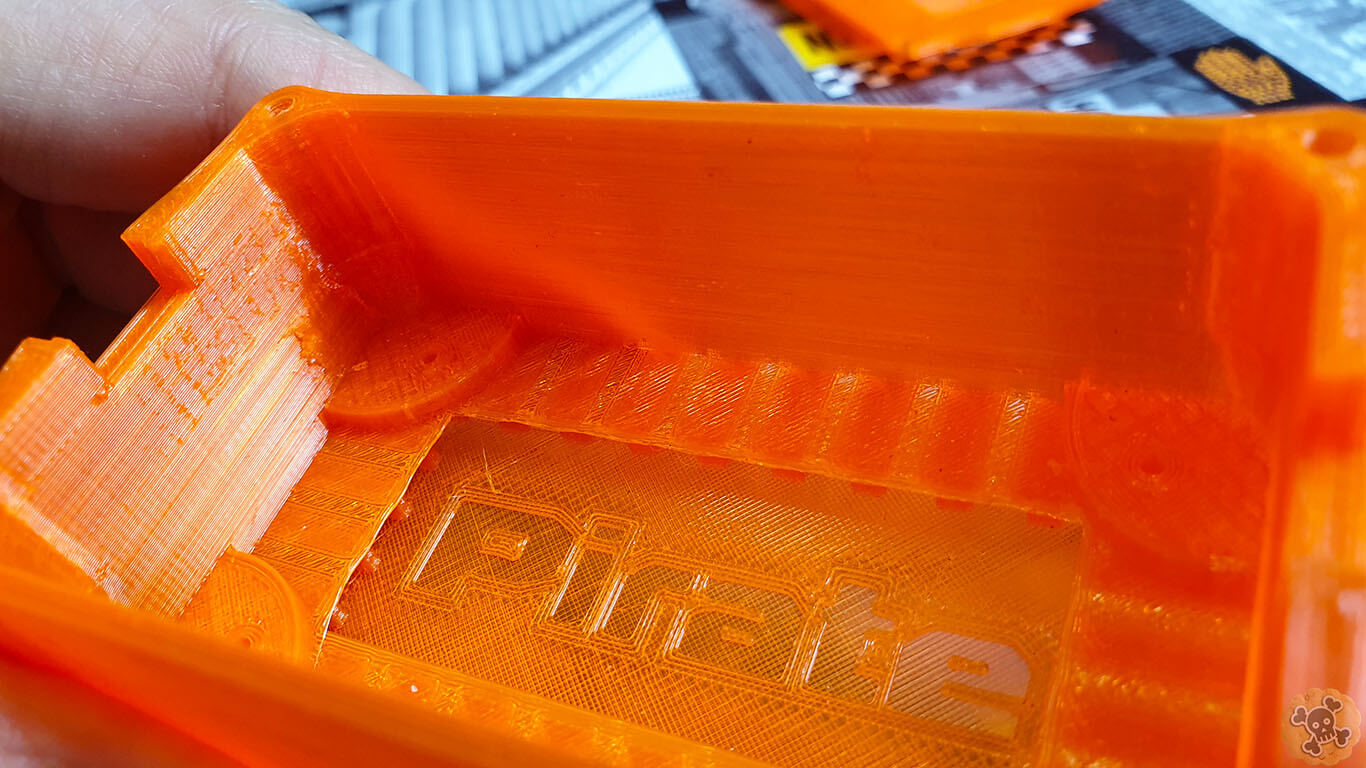
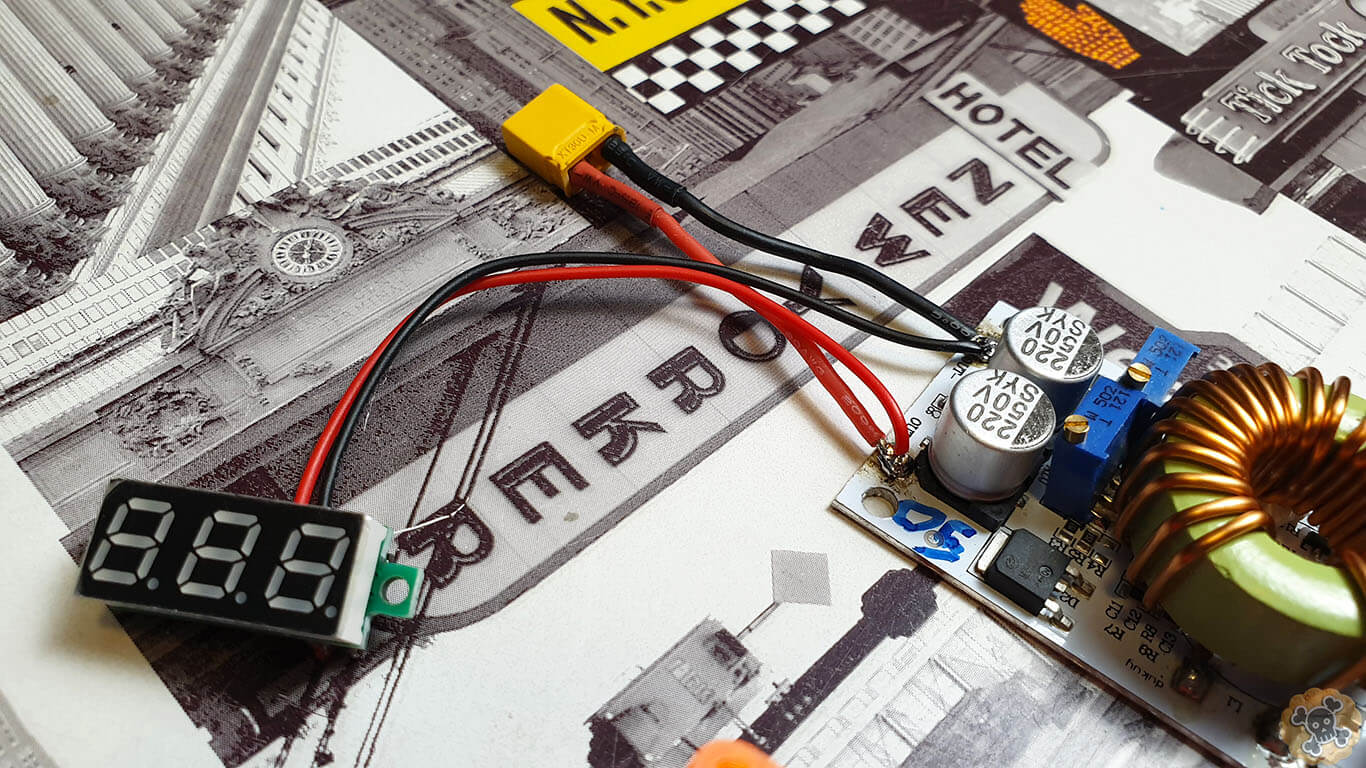
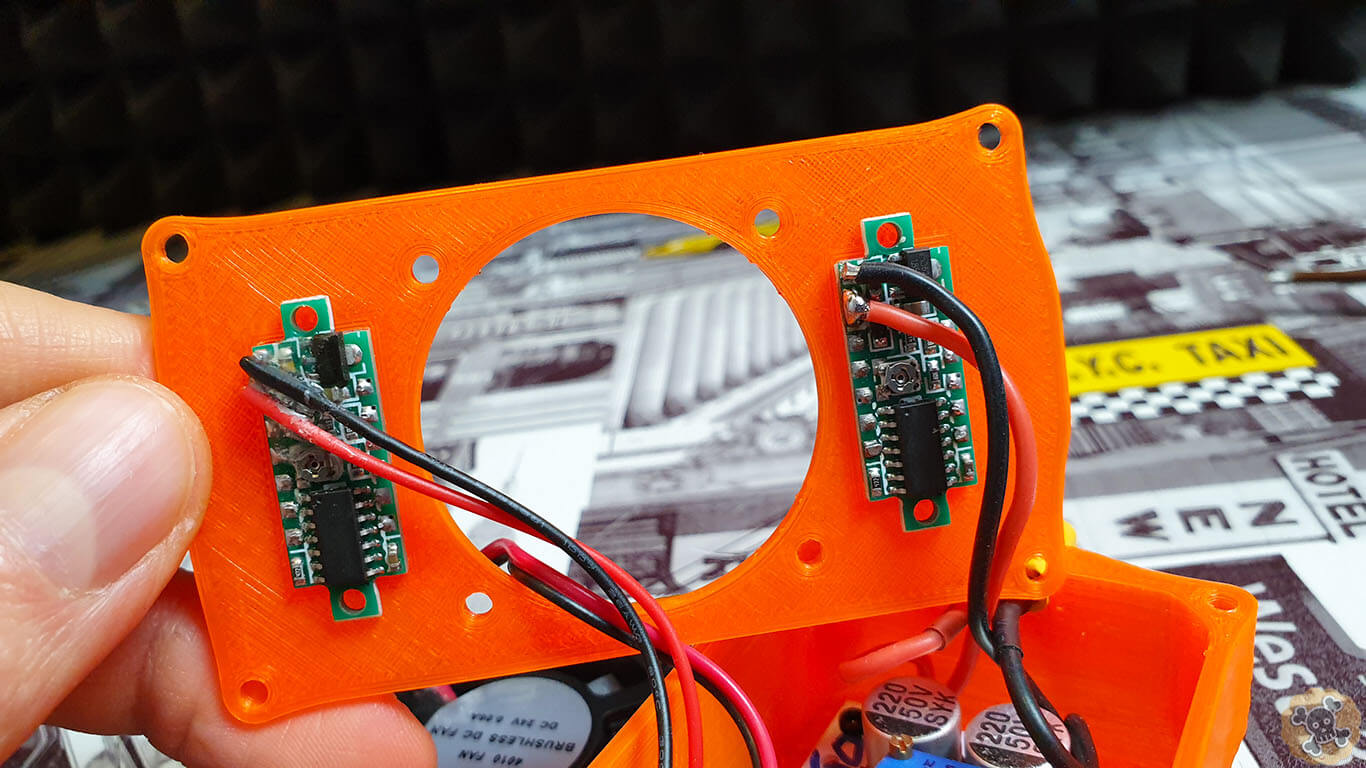
Cutoff small wire legs which are under LCD ( smaller chance to have short circuit inside )
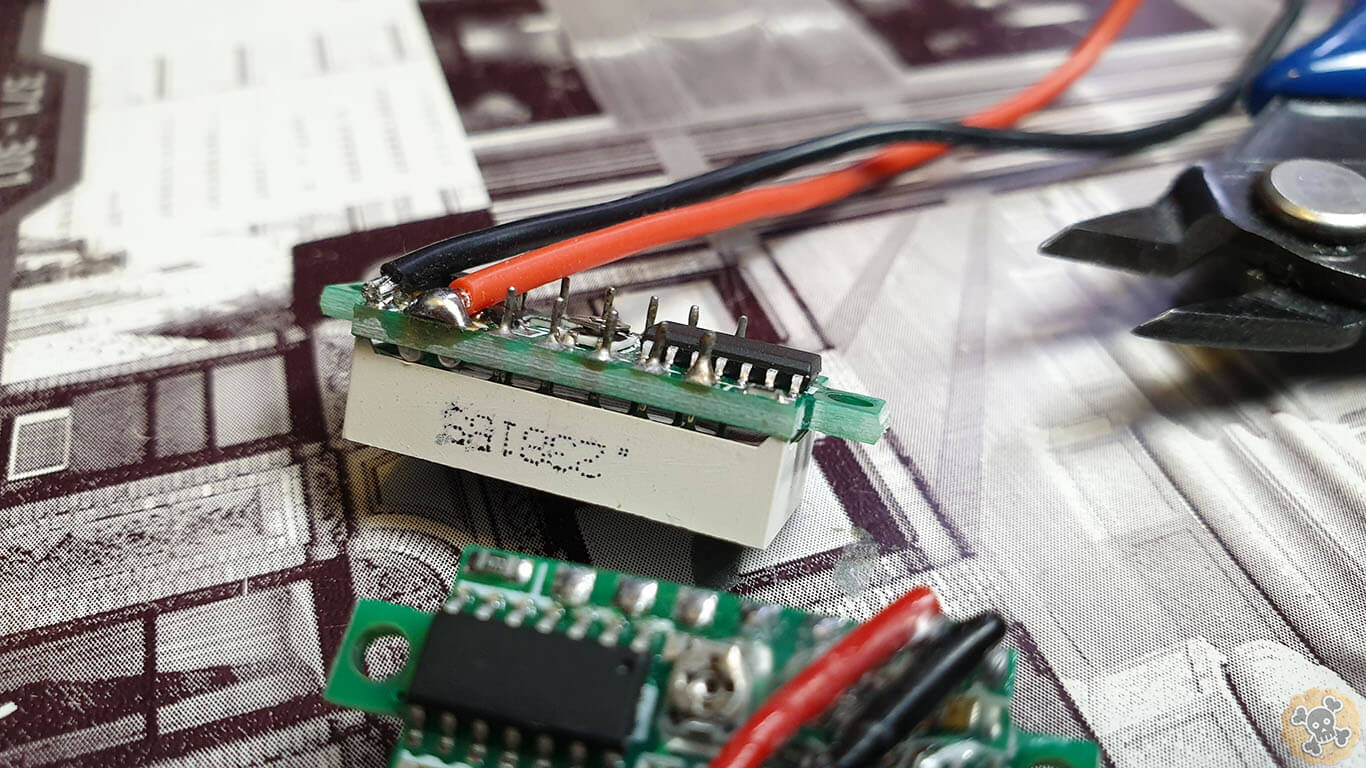

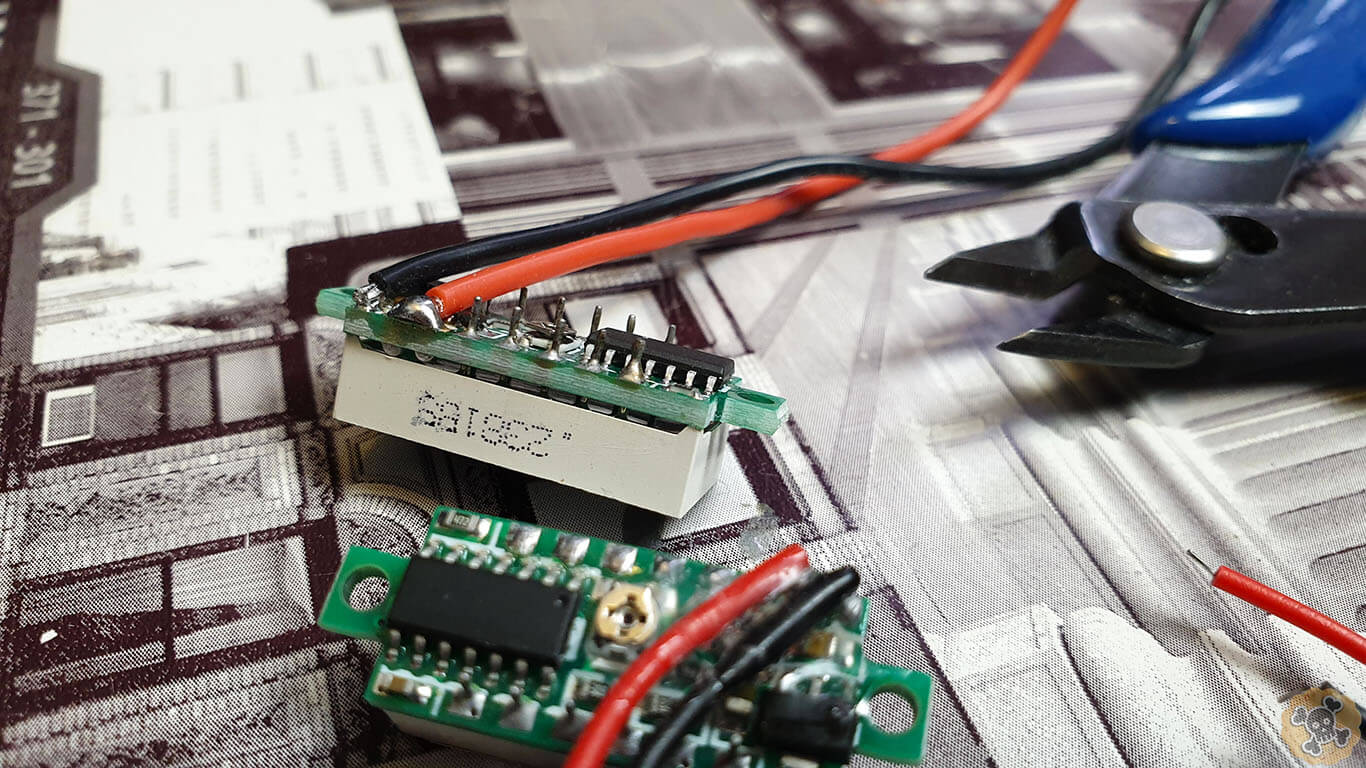
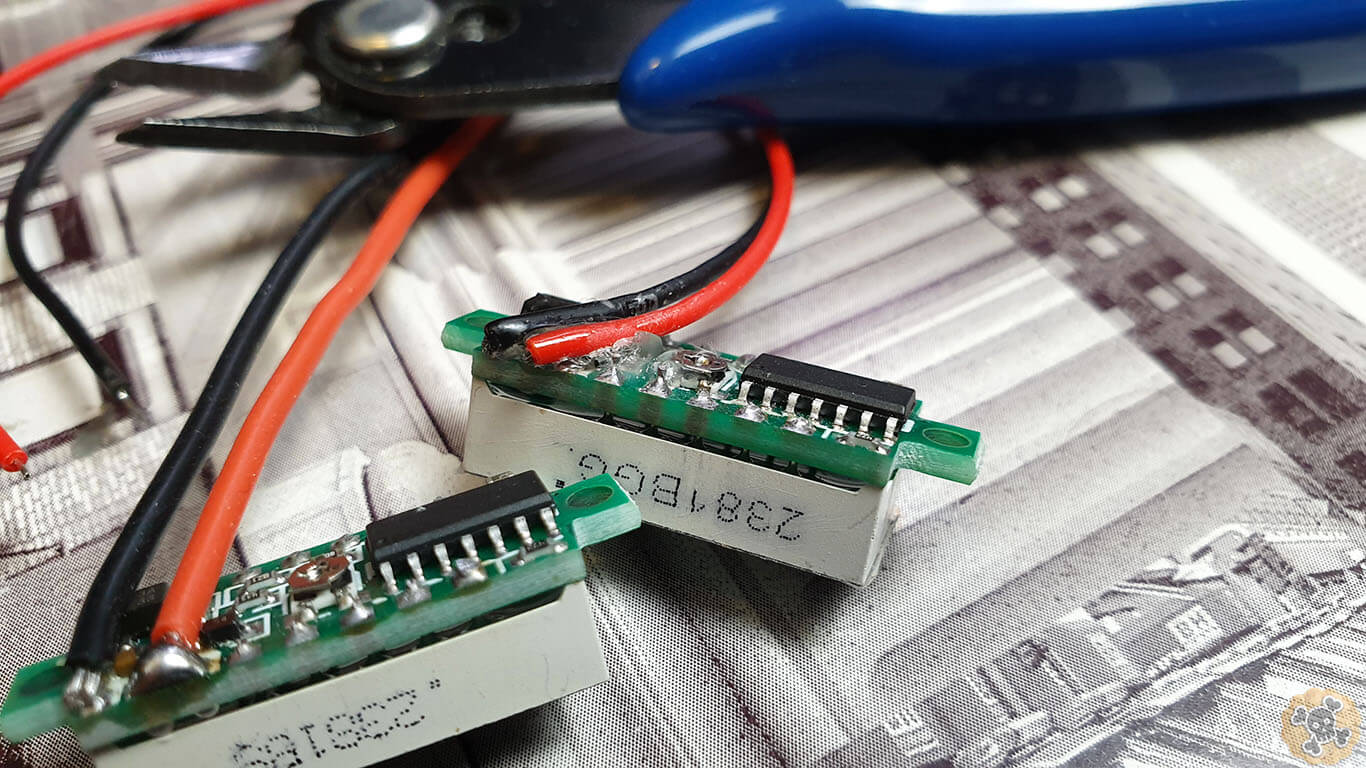
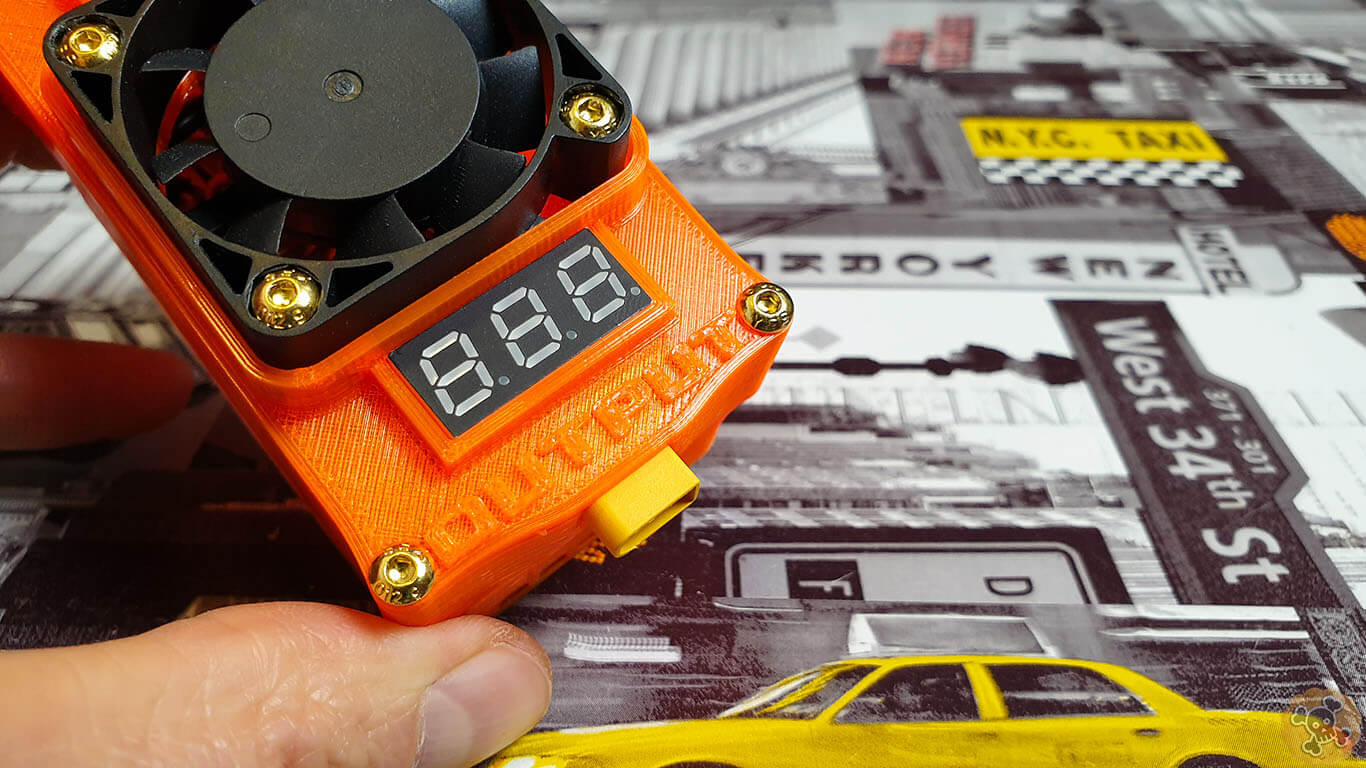
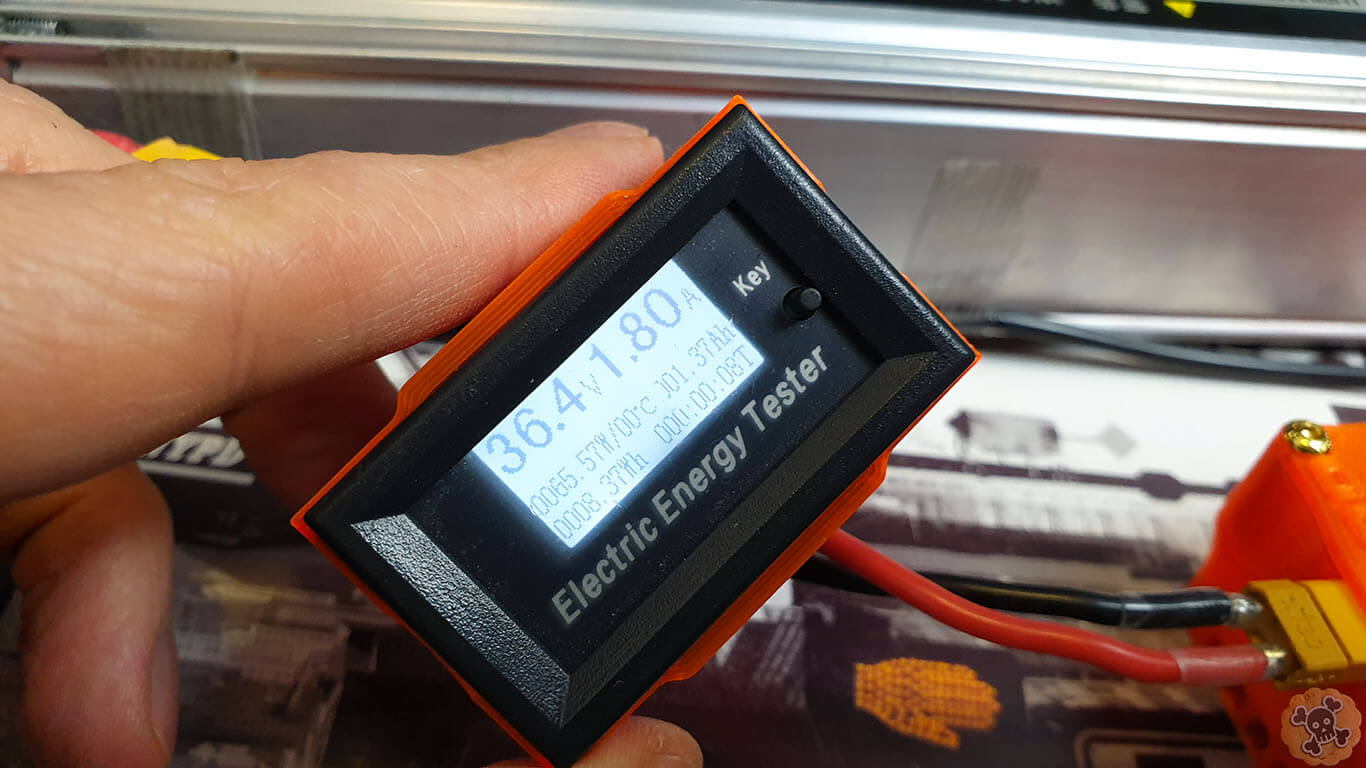
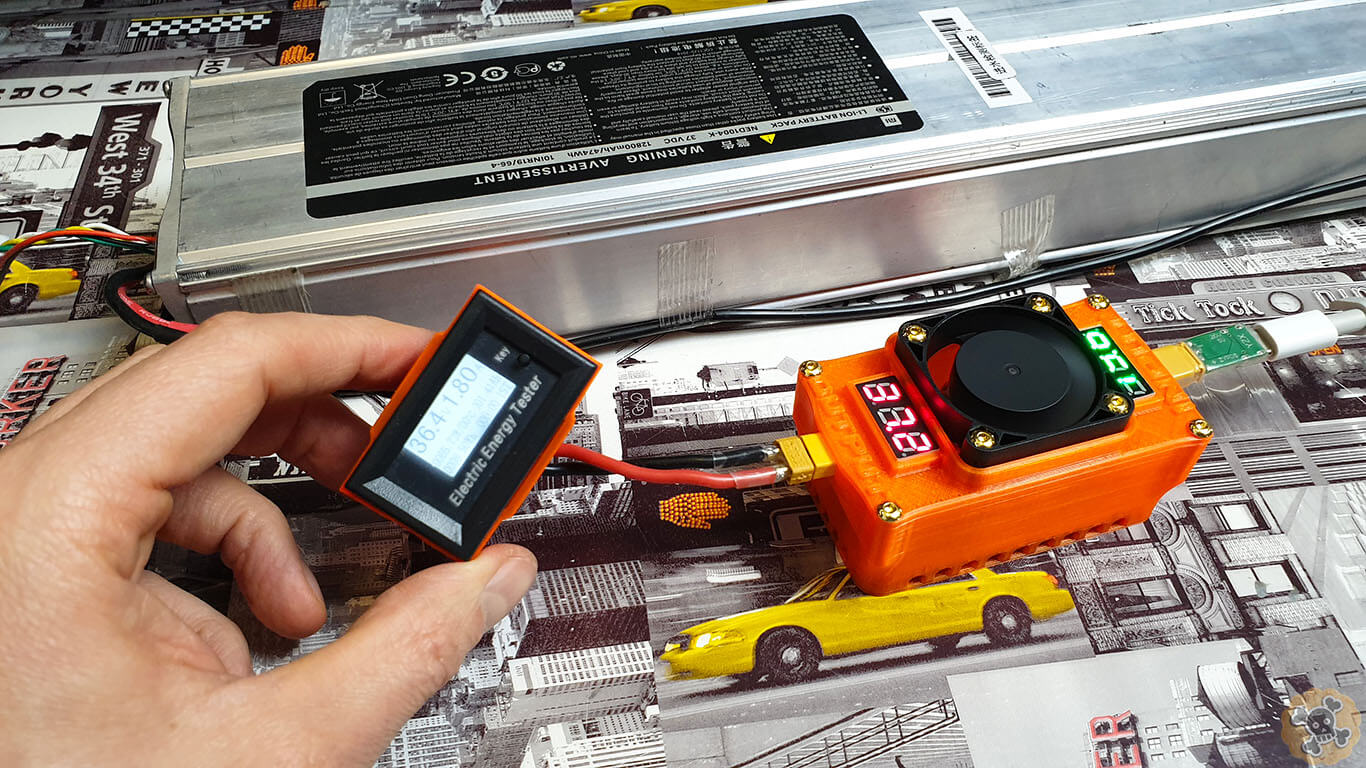
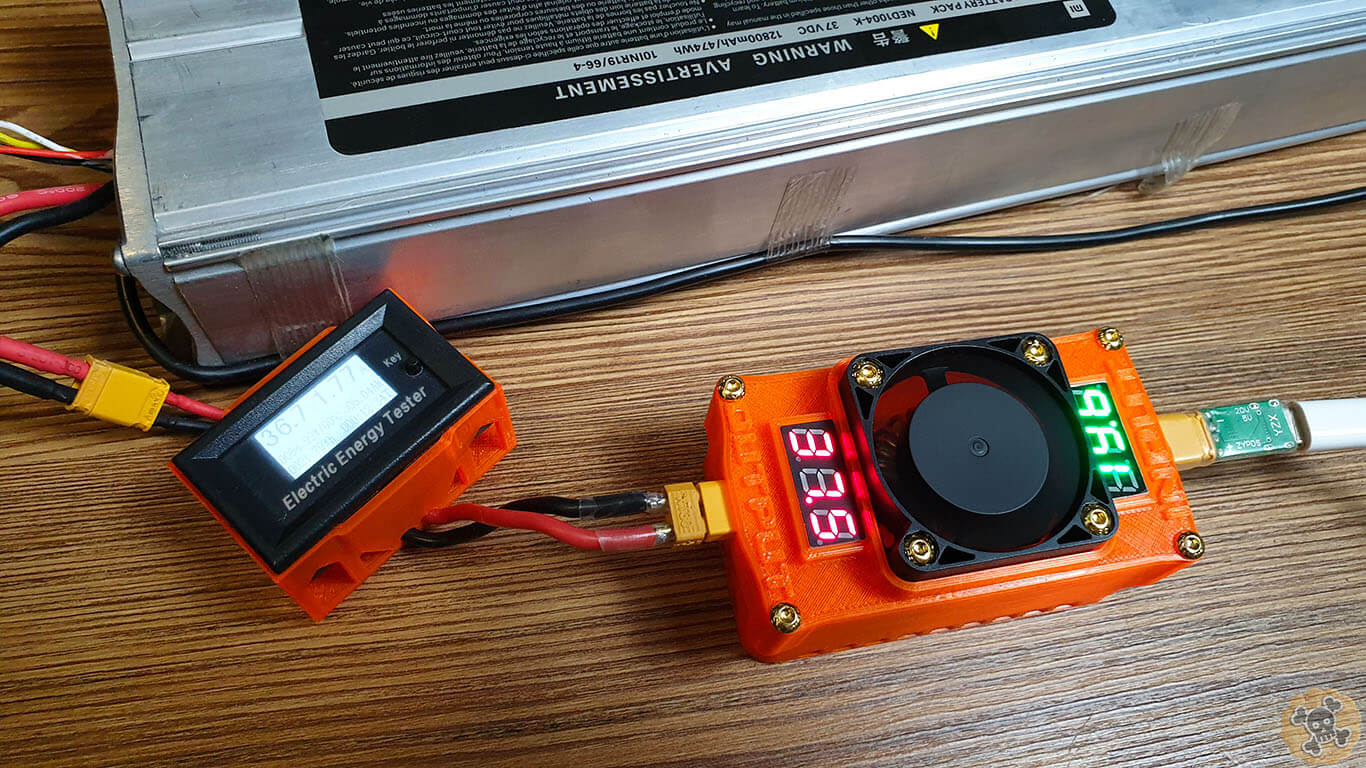
Then solder fan wires to Input + – ( Red is + / Black is – ) & LCD power cables. From LCD we got 3 wires ( on my pics u can see only 2 but soon I will change it to 3 wires just waiting for deliver ) Red cable is V input (max 30V ) / Black is ground / Orange is Voltage reading . Now focus , red & black cables we have connect to Voltage input , and One orange wire to voltage input ( to see what is voltage on the input ) and Second orange wire to voltage output ( to see what is voltage on the output ) EASY ???☠️


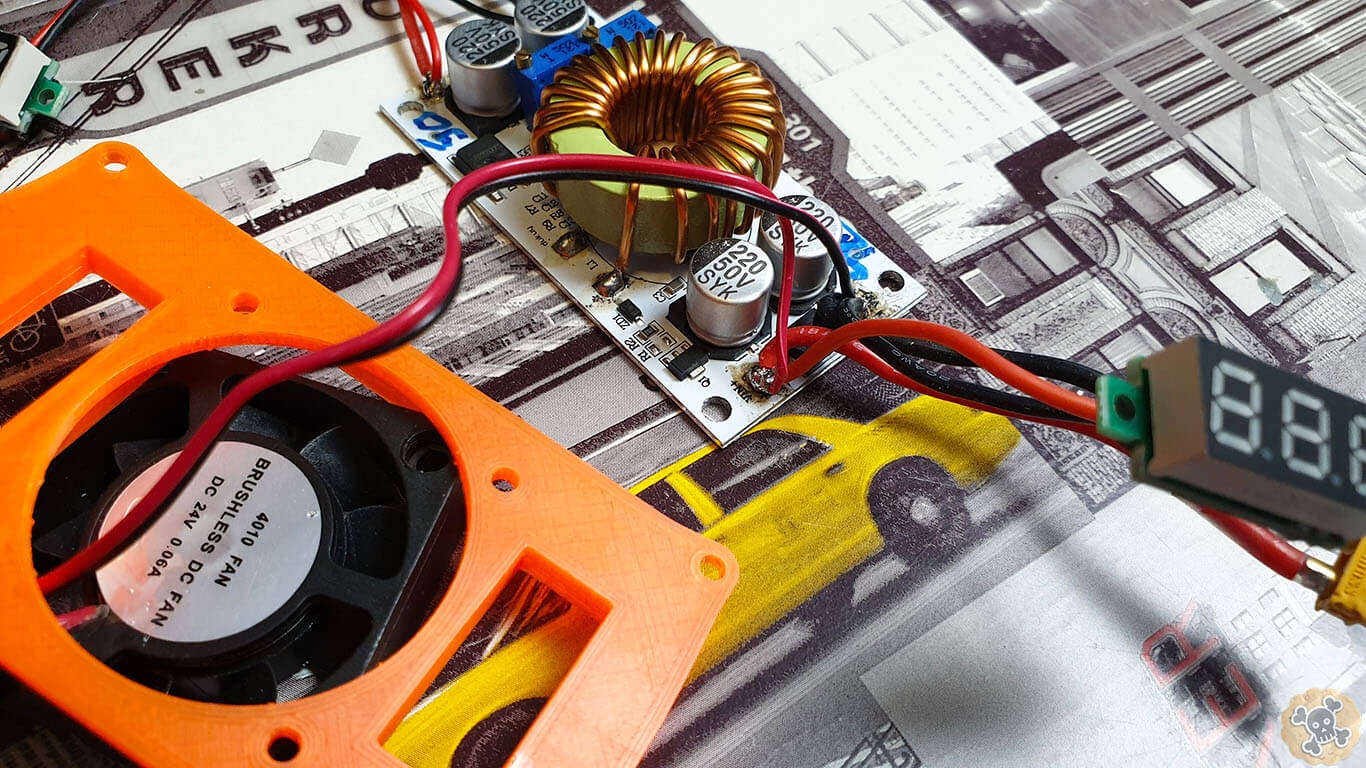
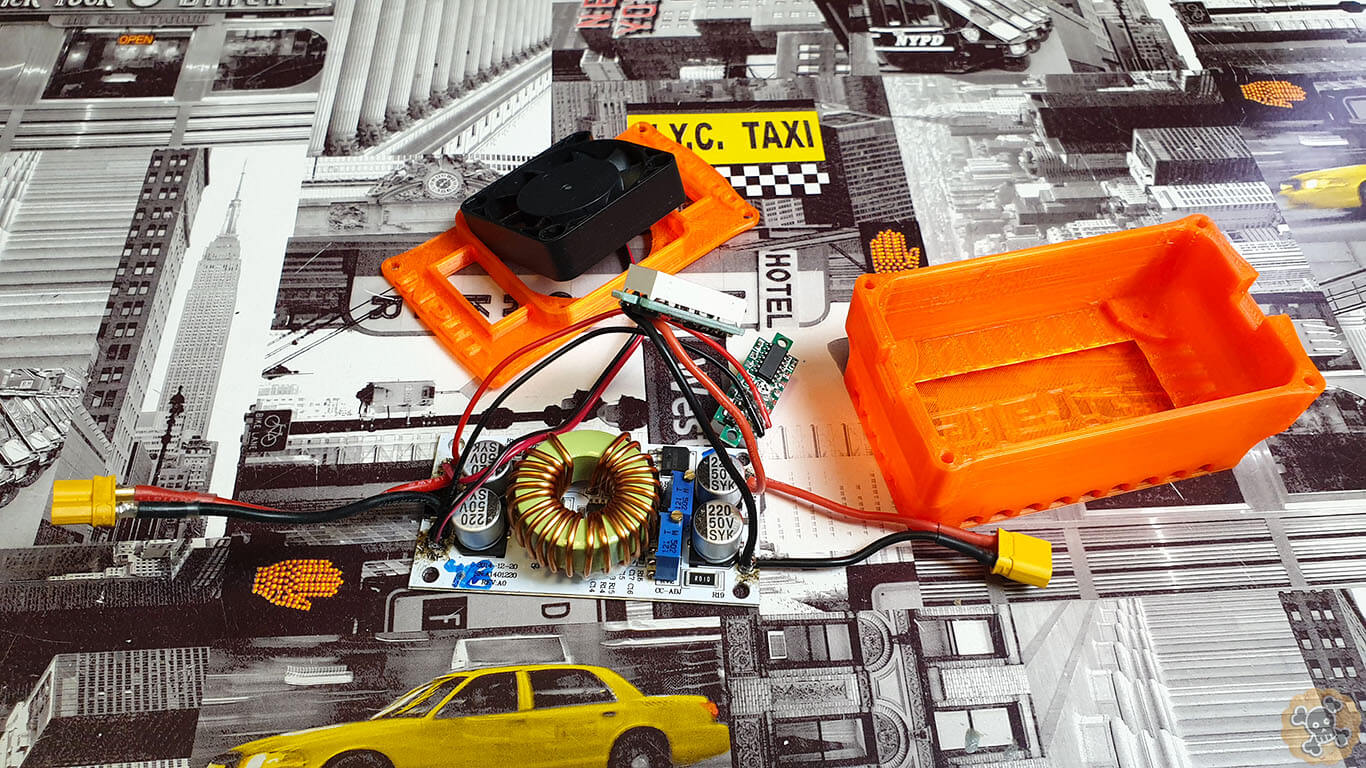
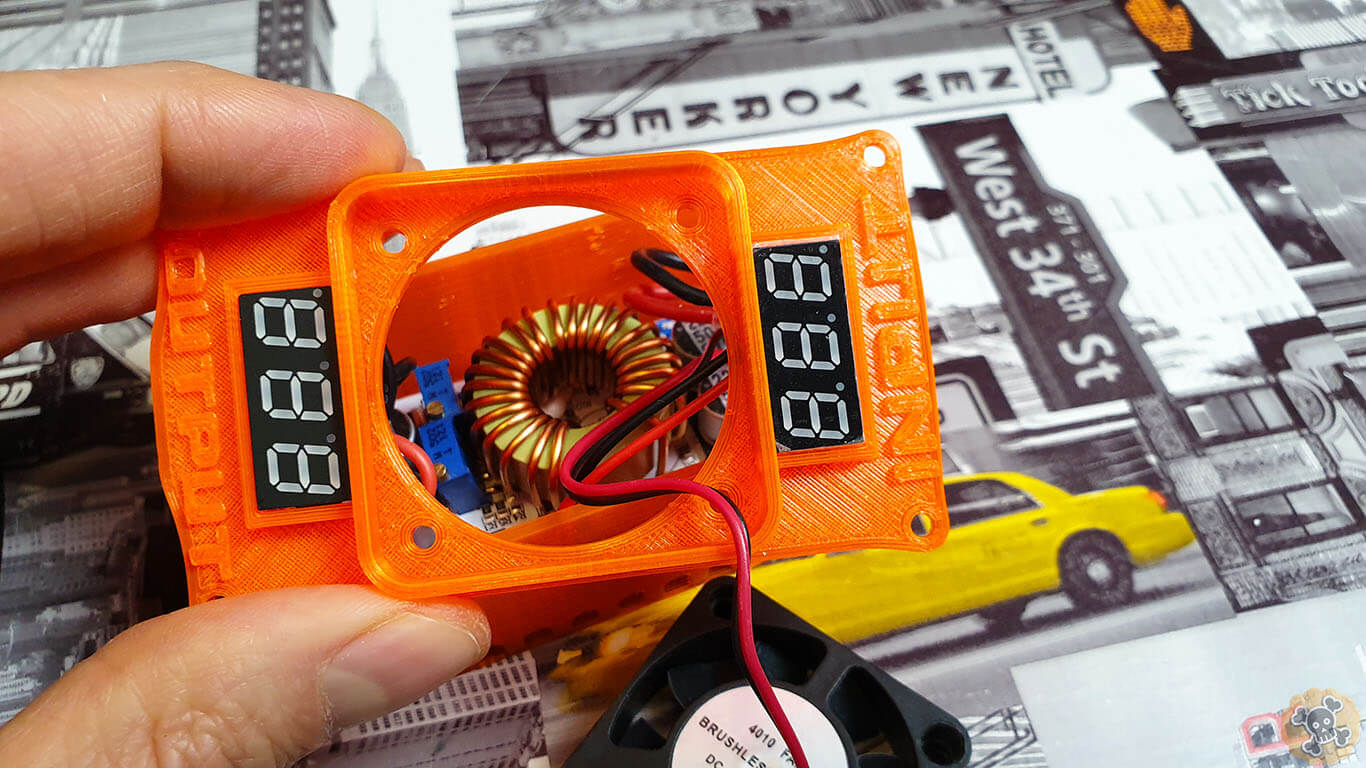
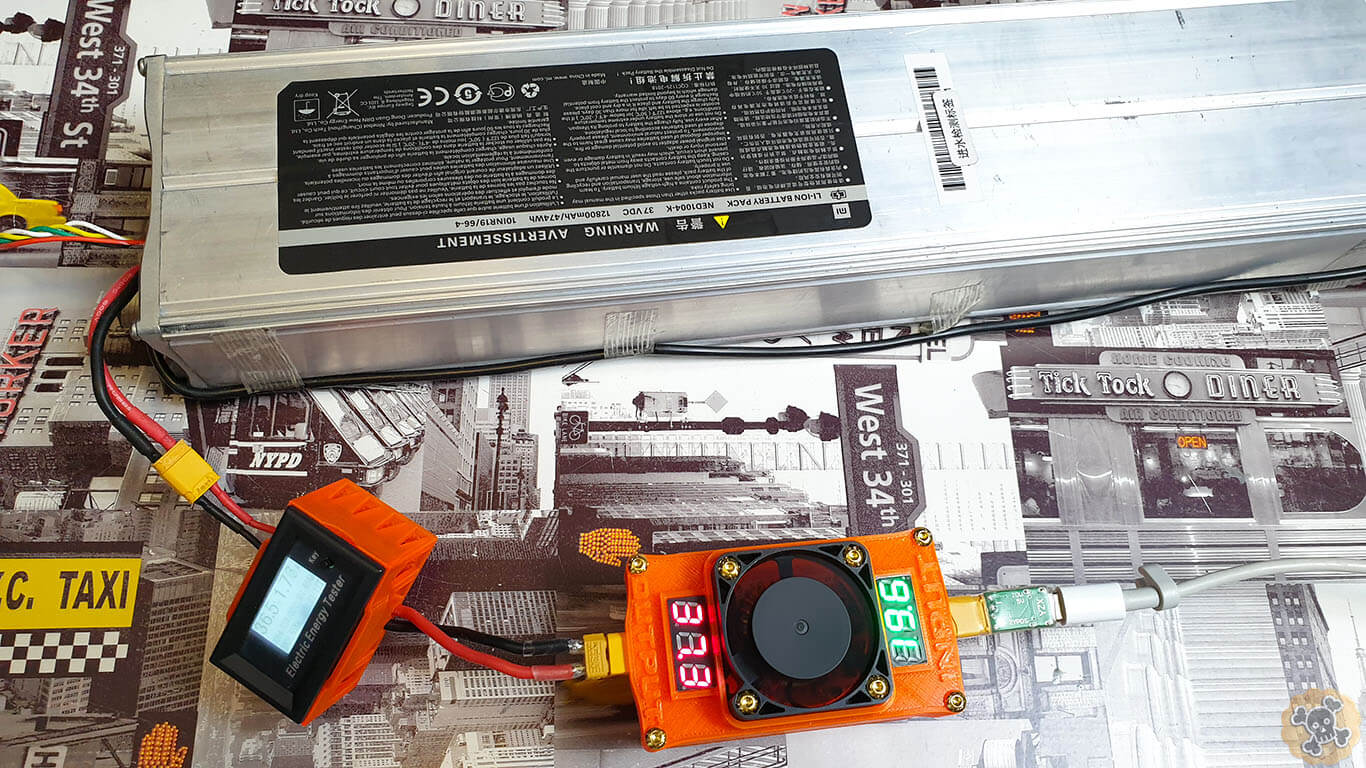
Now place StepUp converter into shell and secure it by 4x M2 screws, then connect converter to the power source like USB PD charger and set voltage / amperage output by rotating 2 gold bolts on the blue ” boxes ” ( when you set voltage do not connect load on the output , when you set amperage connect Load on the output )
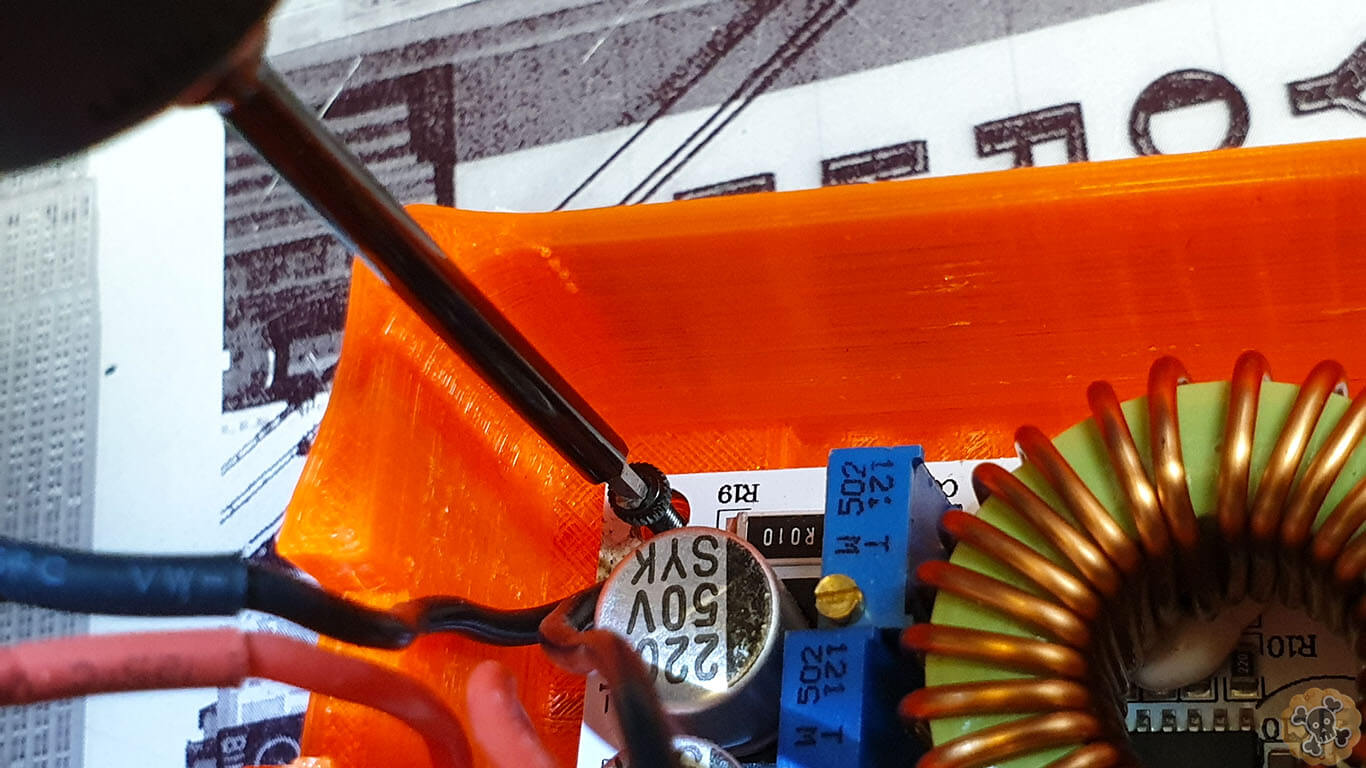
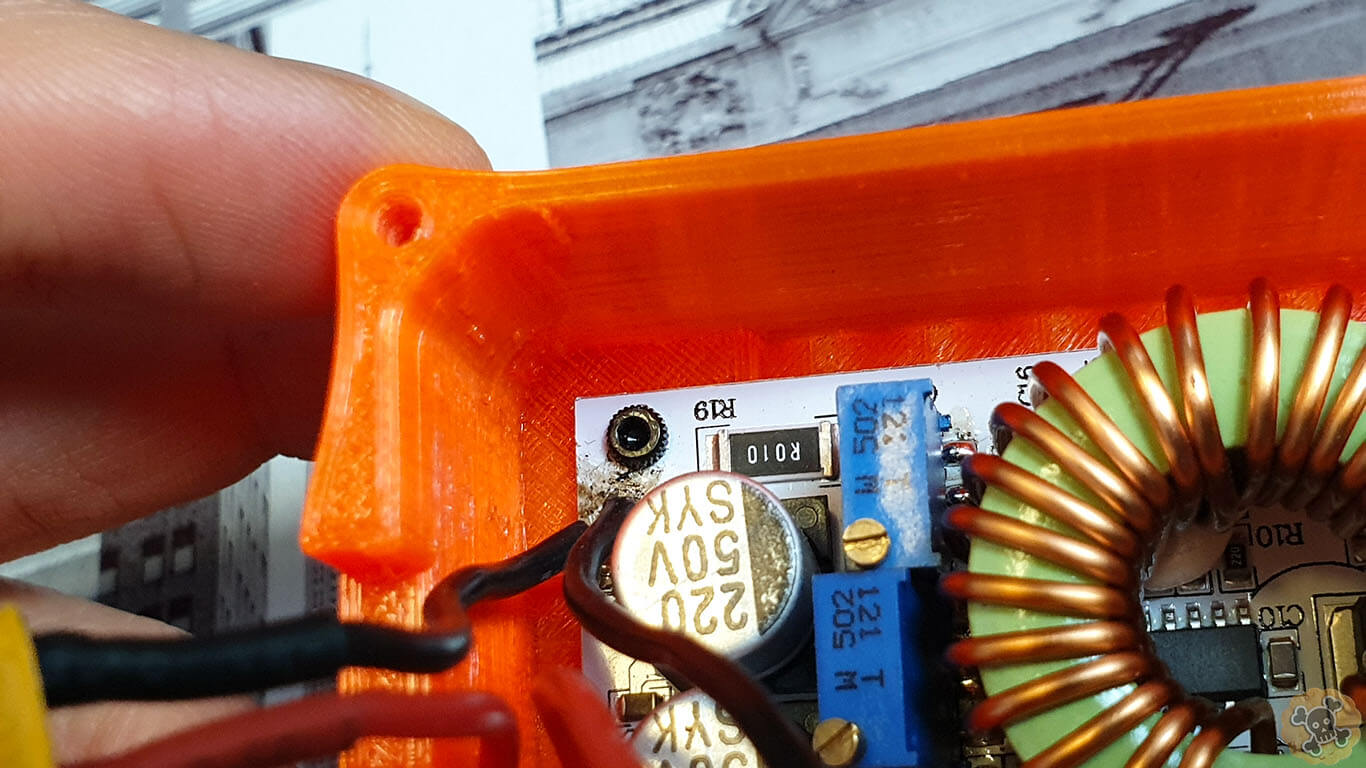

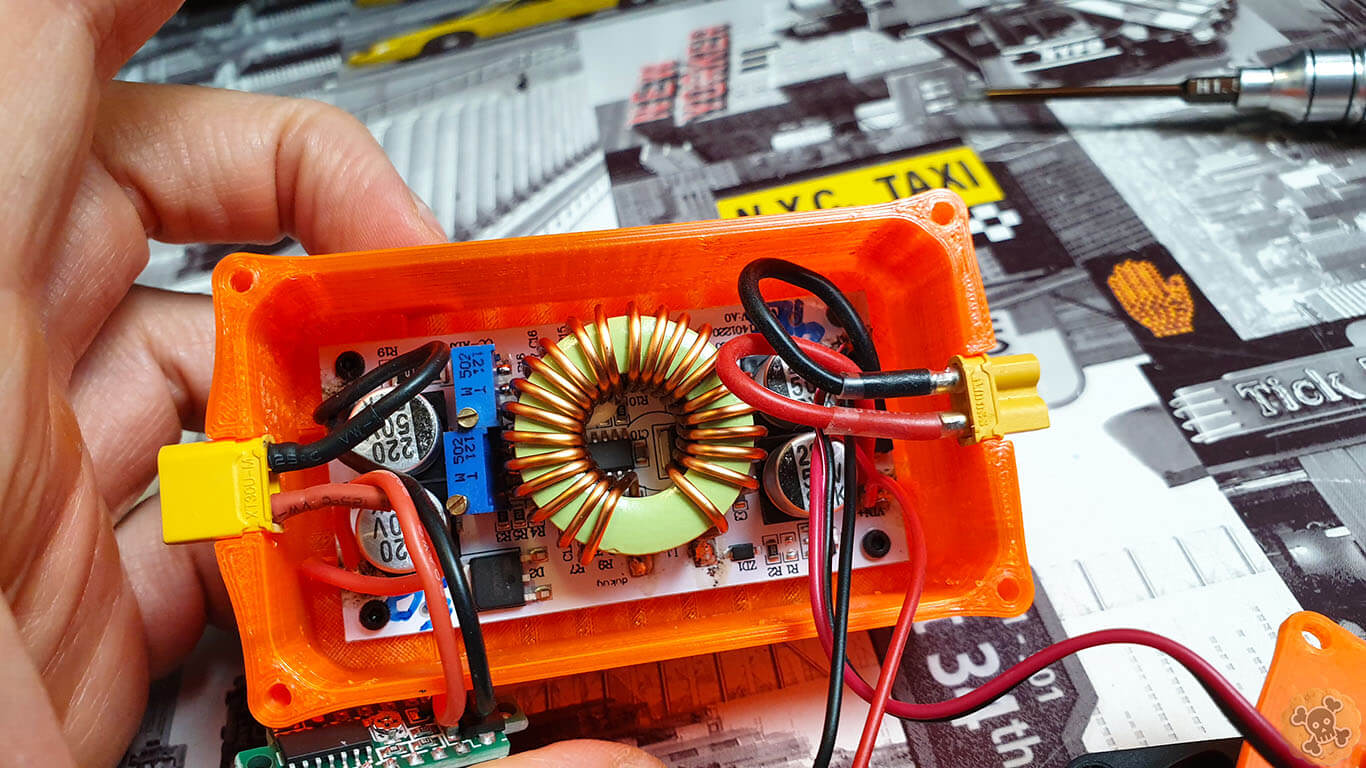

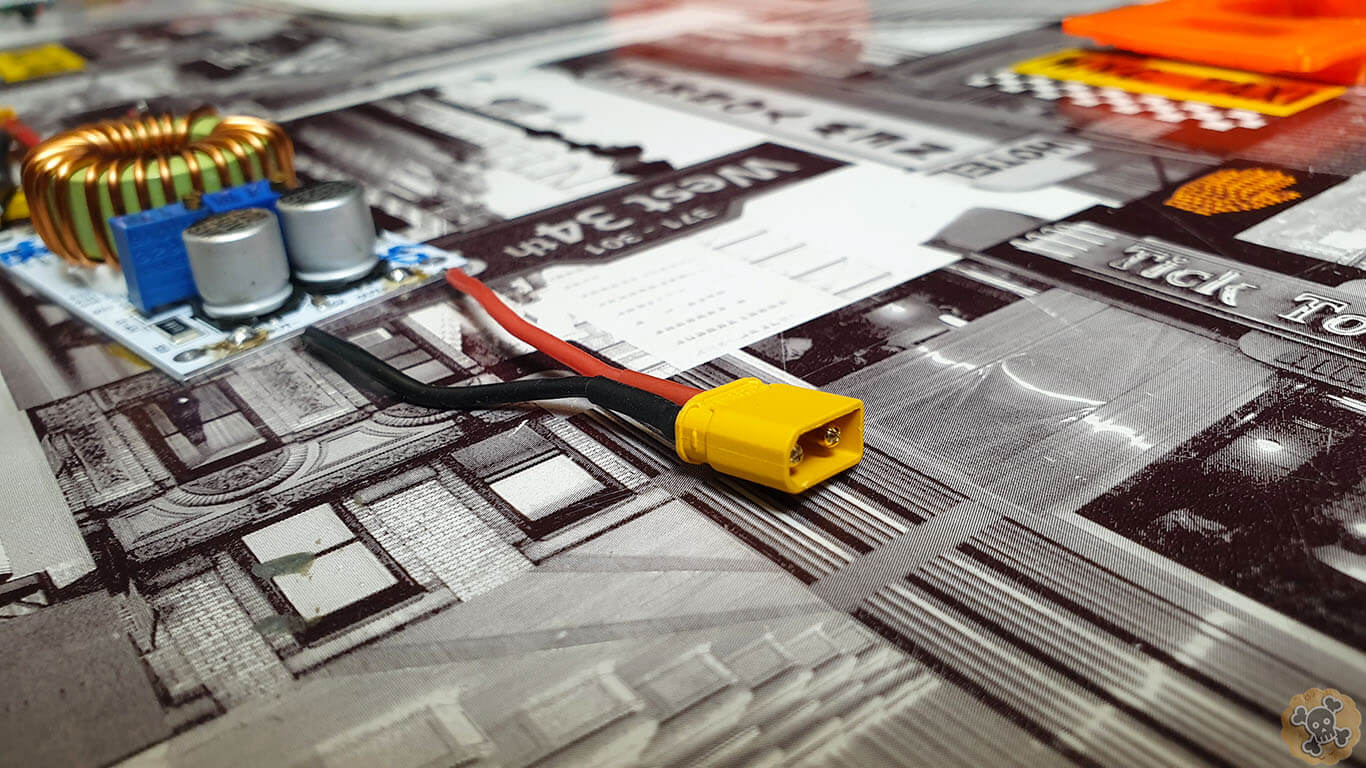
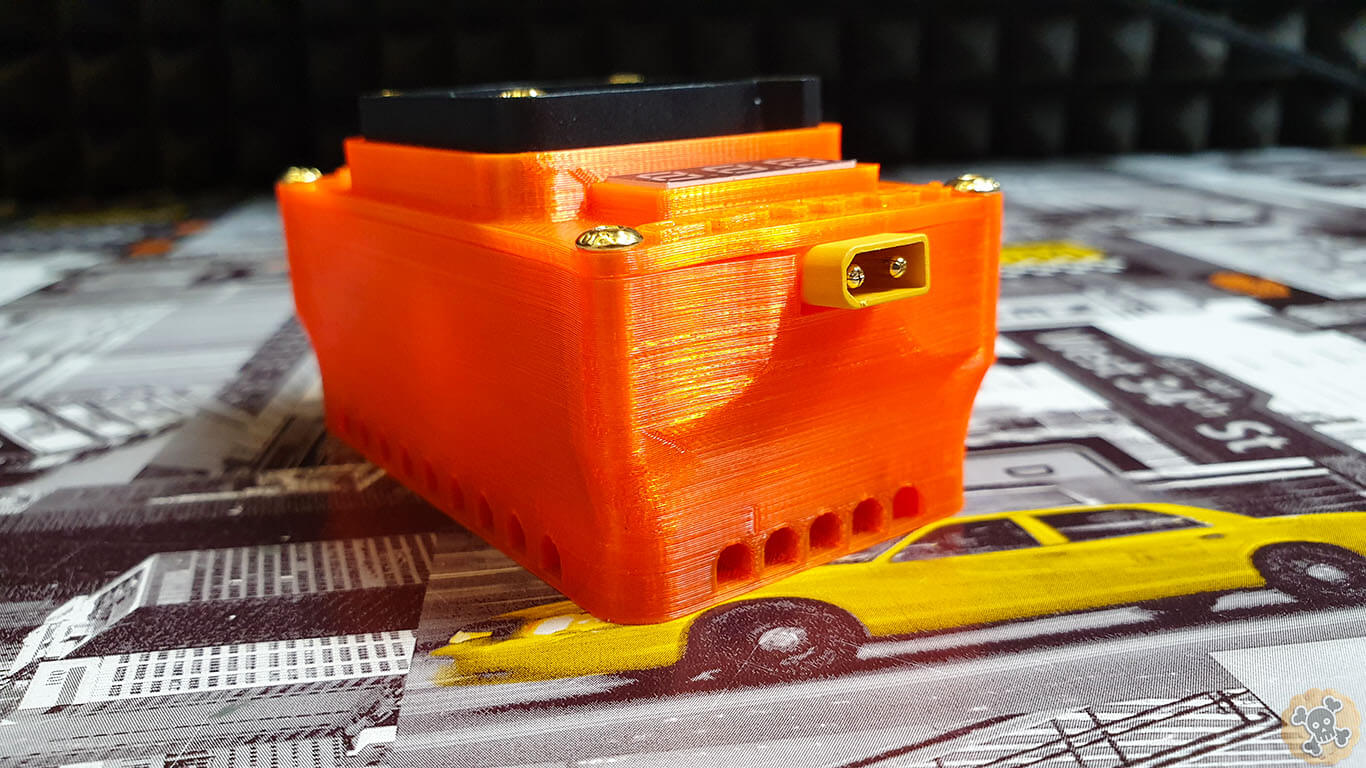
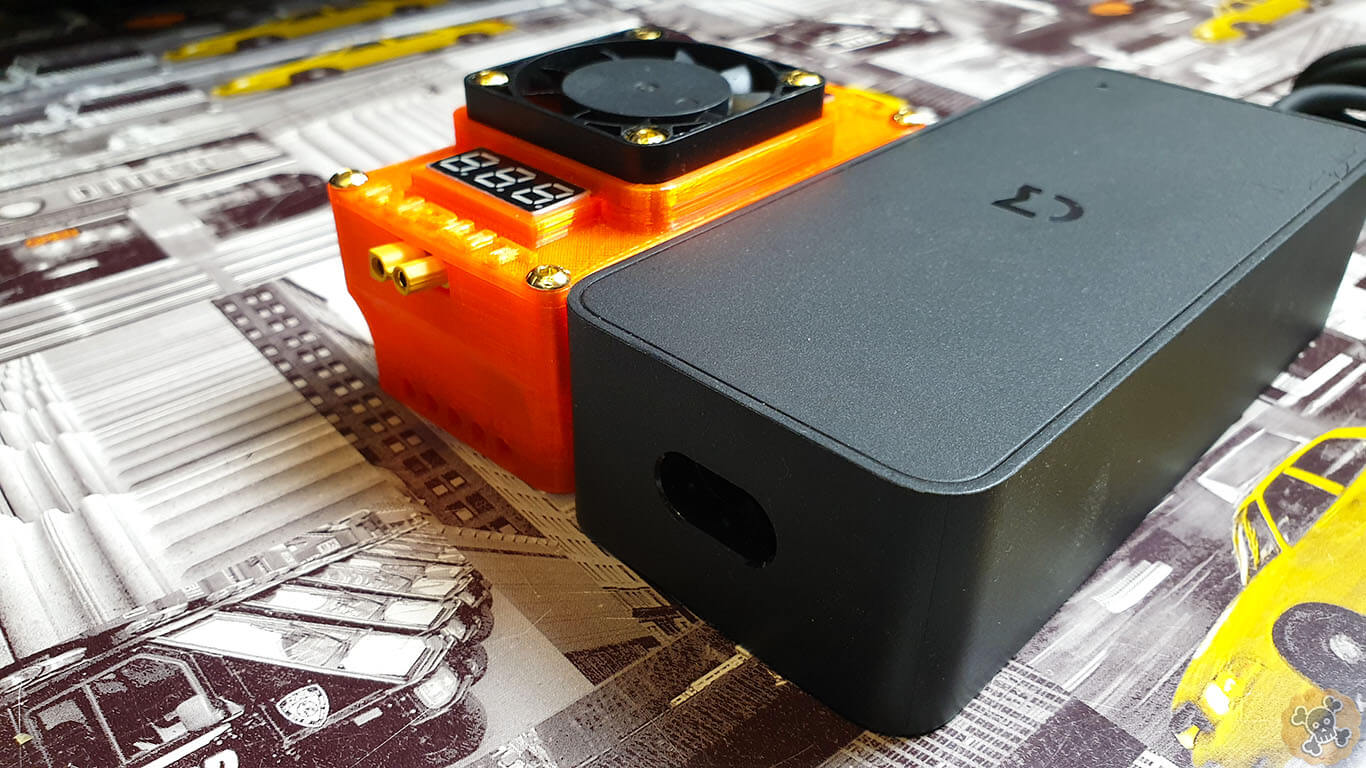
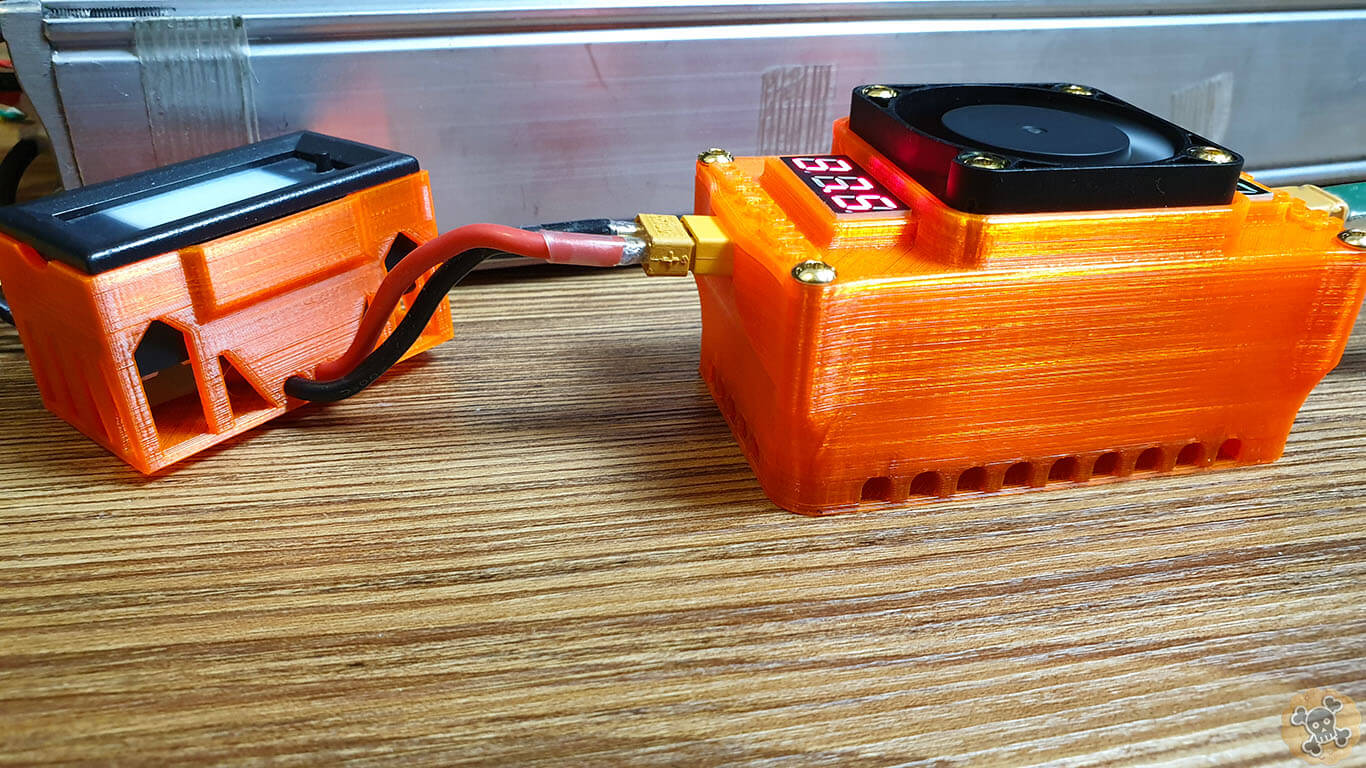
Place XT30 connectors on spot !! Please notice that place for the connector in the shell is thicker on the one side and thinner on the other, so place connectors the same wasy as you can see on the pictures !! . If it will not fit , then you can grind a little bit name/type on the connector ( more or less Amass connectors will fit perfect here, just push it down and done )

To secure LCDs you don’t need any screws just push it in to rectangle hole ( f it will not fit then grind a bit rectangle to make it fit )

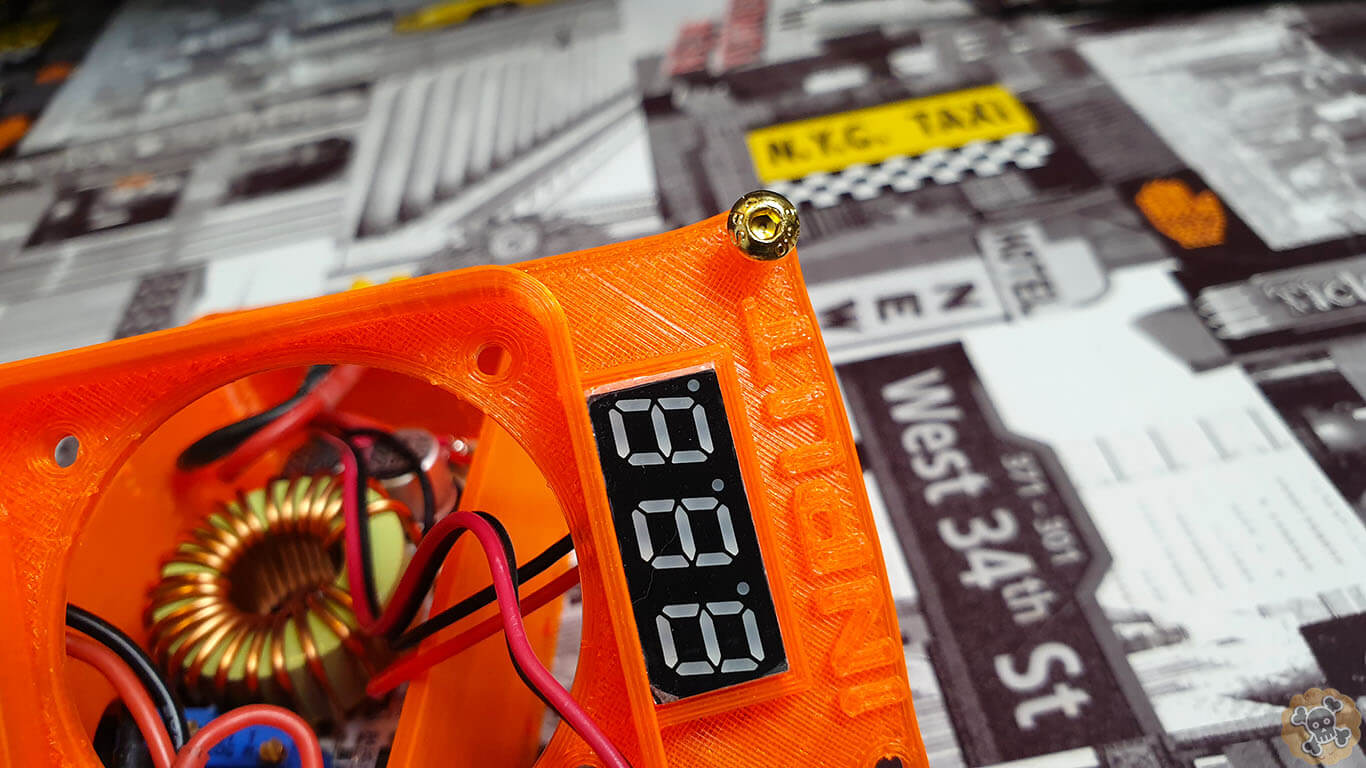
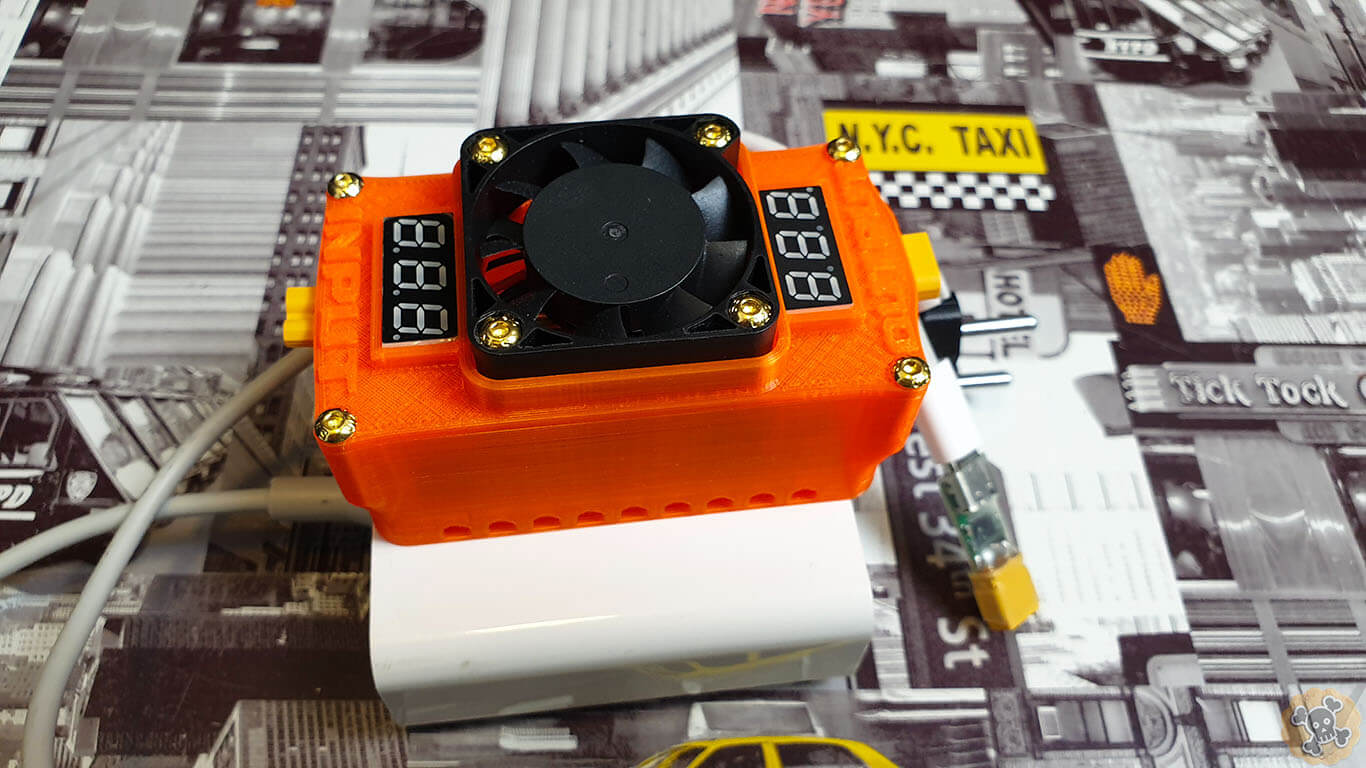
Use 4x M4 screws to tighten both shell parts
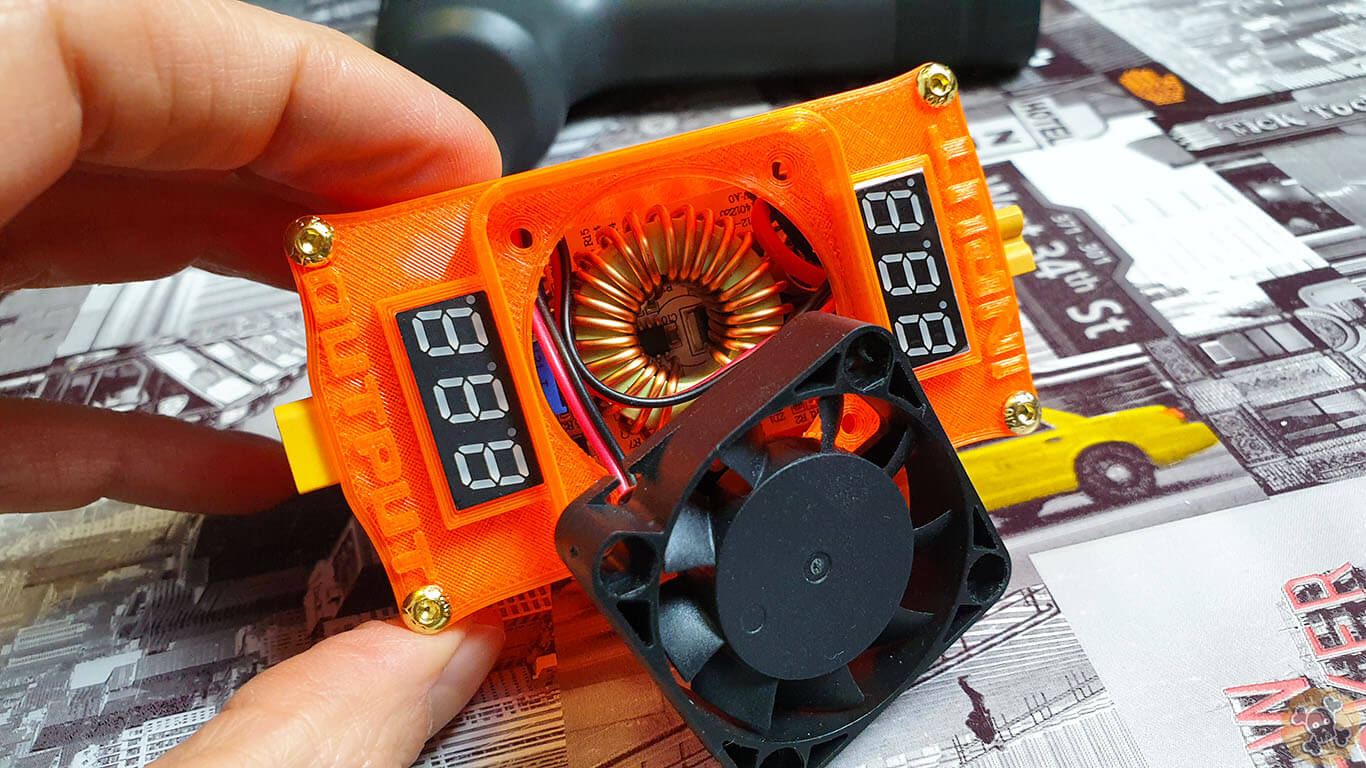

Use 4x M4 screws to secure the Fan, and you are done 😉


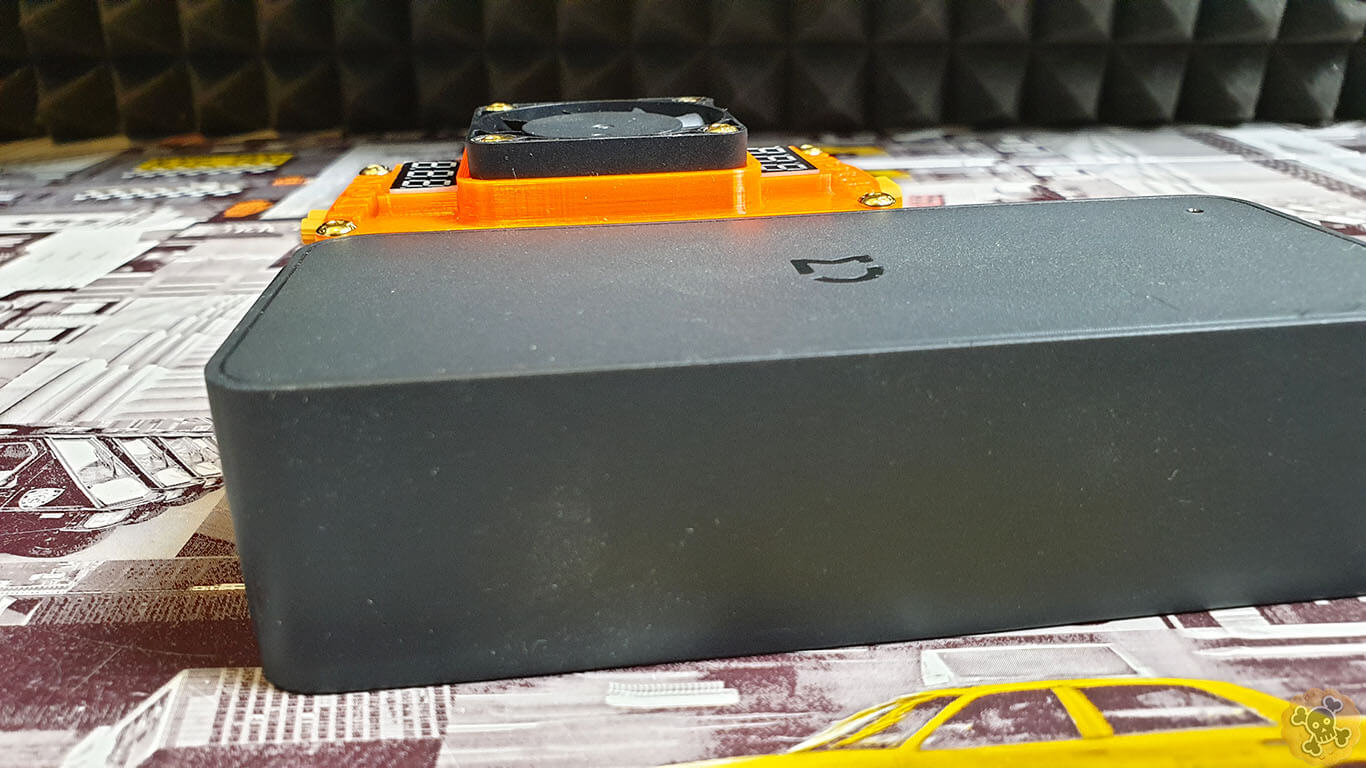
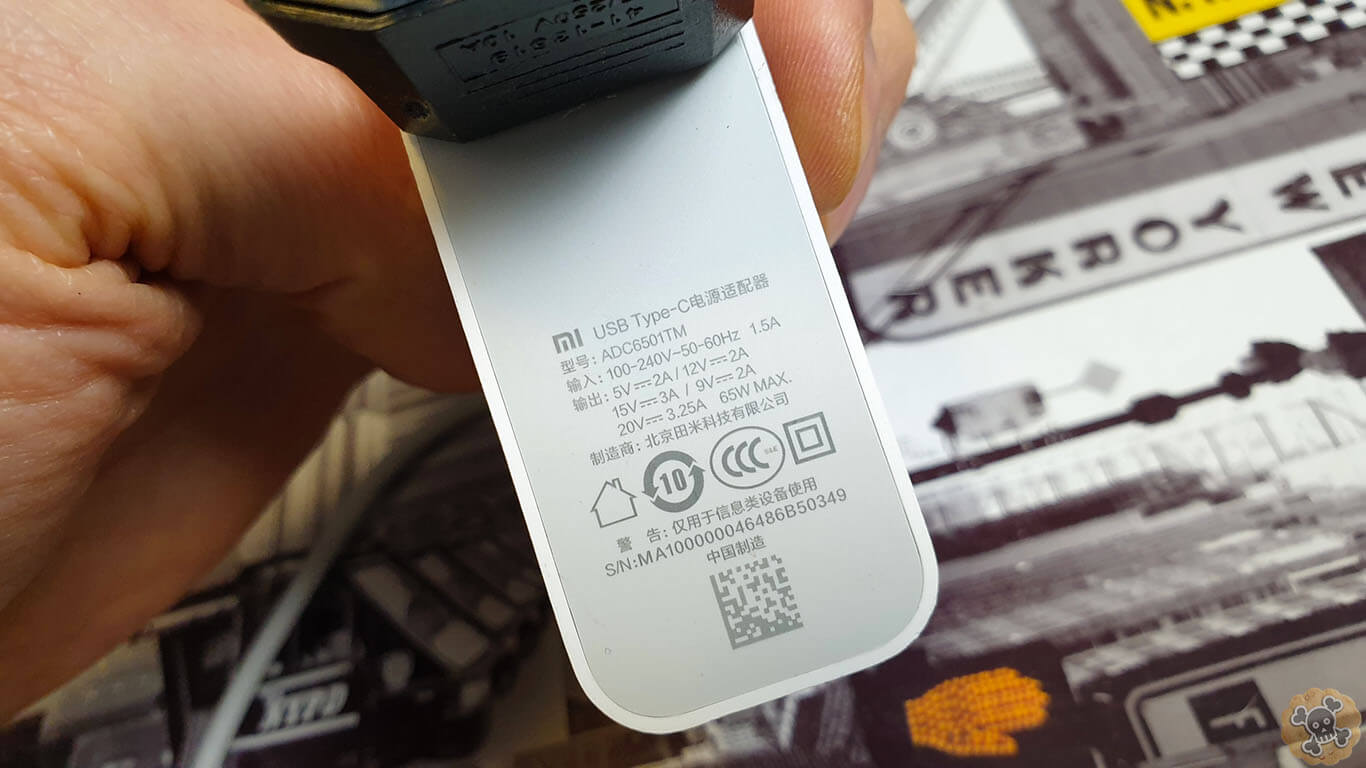
Compare to Xiaomi charger, USB one is a bit smaller 😉
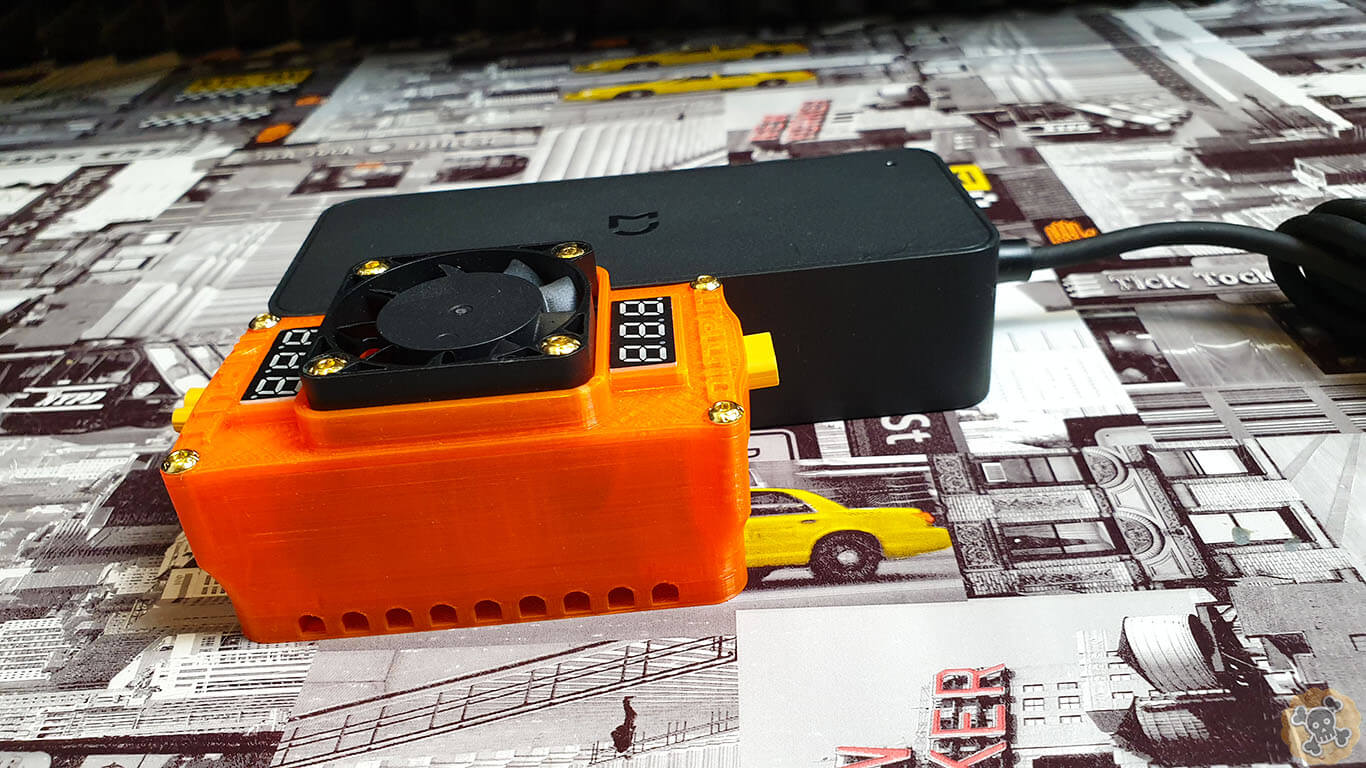

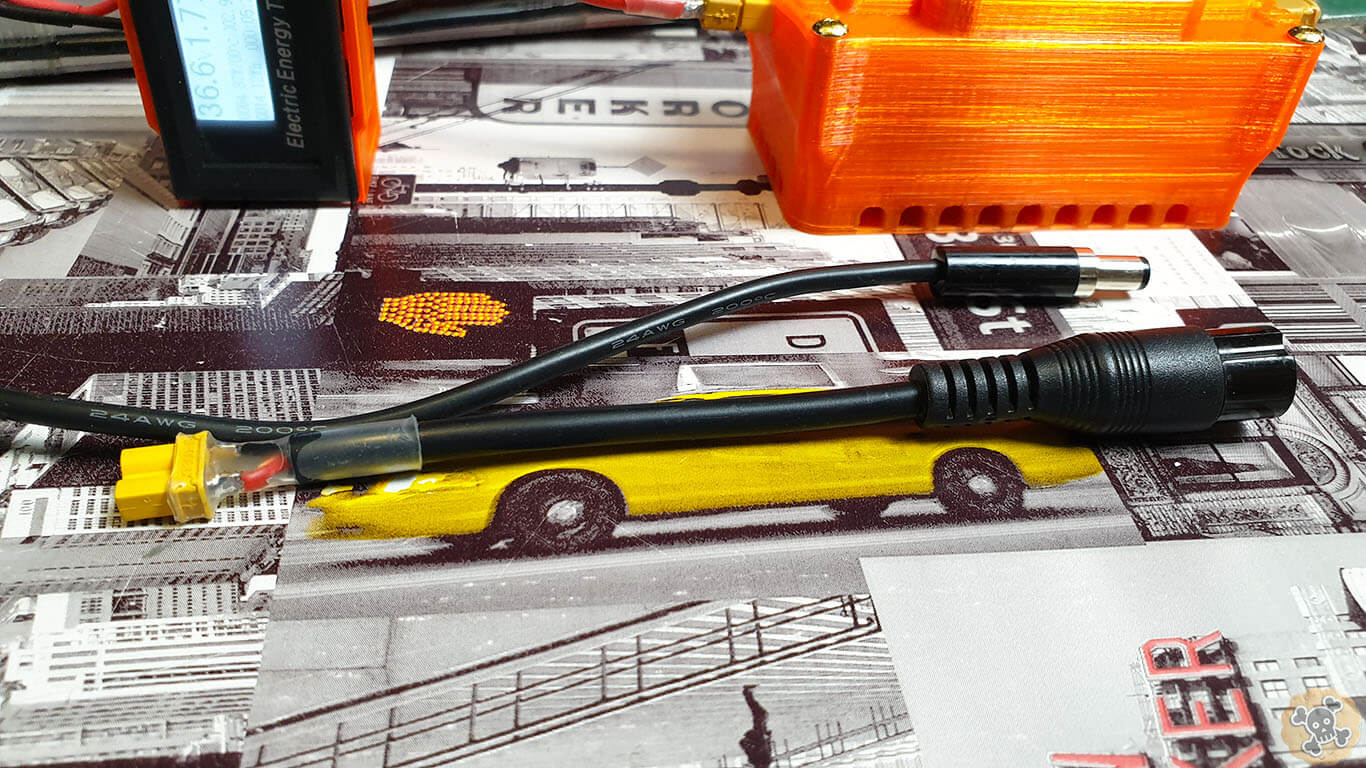
Ofcourse you can make any connector you like as you can see on pic.

I recommend to use some HQ charger like Xiaomi USB PD 65w https://s.click.aliexpress.com/e/_AsCl0z because this charger has stable output and true 65W , also we can charge any other thing because this is still standard USB charger


After some tests I have to say that i’s working great, but still more testing is needed, if you will build one, please share your thoughts

I will update this post in a future , today is 06.11.2020 . See ya soon ???☠️?