Stock metal charging ports are SUPER DANGEROUS !, you have to change it to something much safer and here is my idea with XT30 connectors.
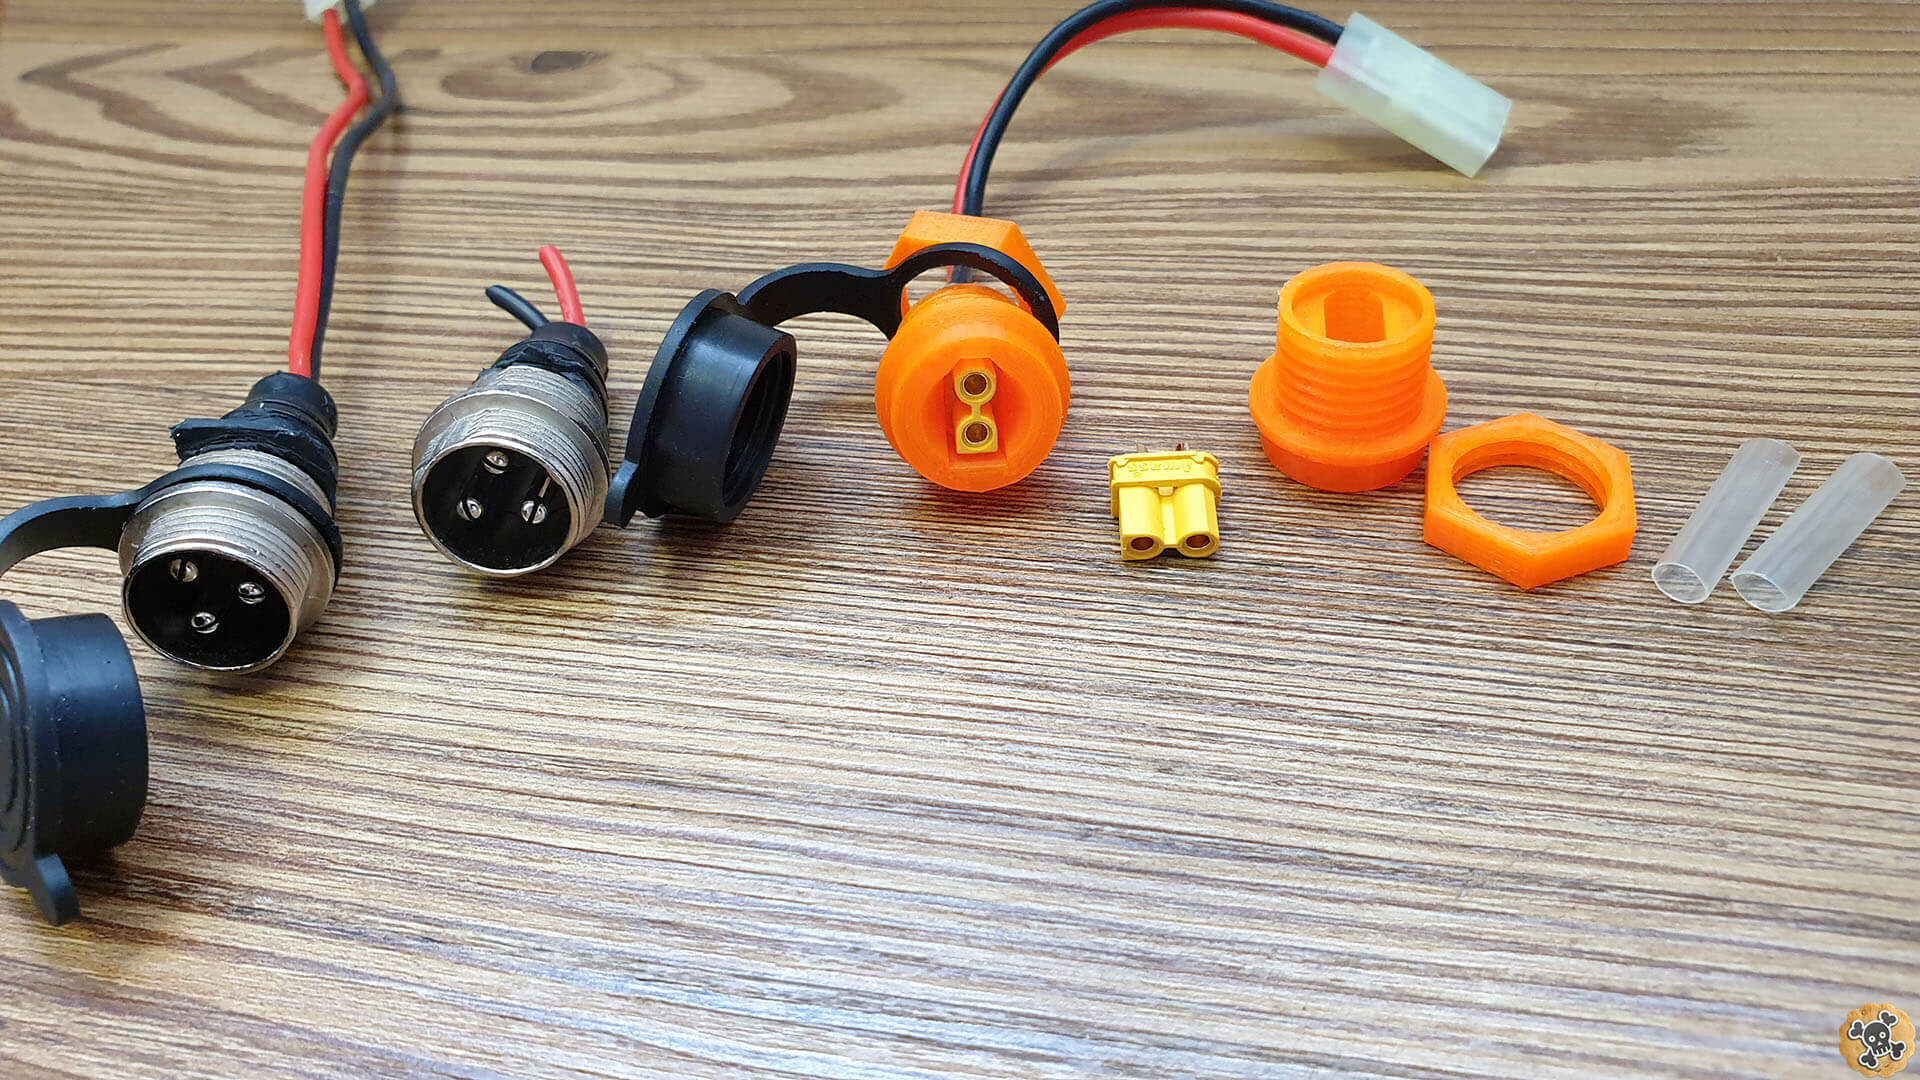
Why stock microphone charging port is so dangerous ?!
- 1st thing, it has metal shell so short circuit can be done any time ! ?
- There is no any insulator between power pins ! ?
- That kind of connector is for microphones and should never be used as a charging port ! ?
- It’s connected straight to battery so small short circuit and BIG battery can go literally ?BOOM? ?♂️
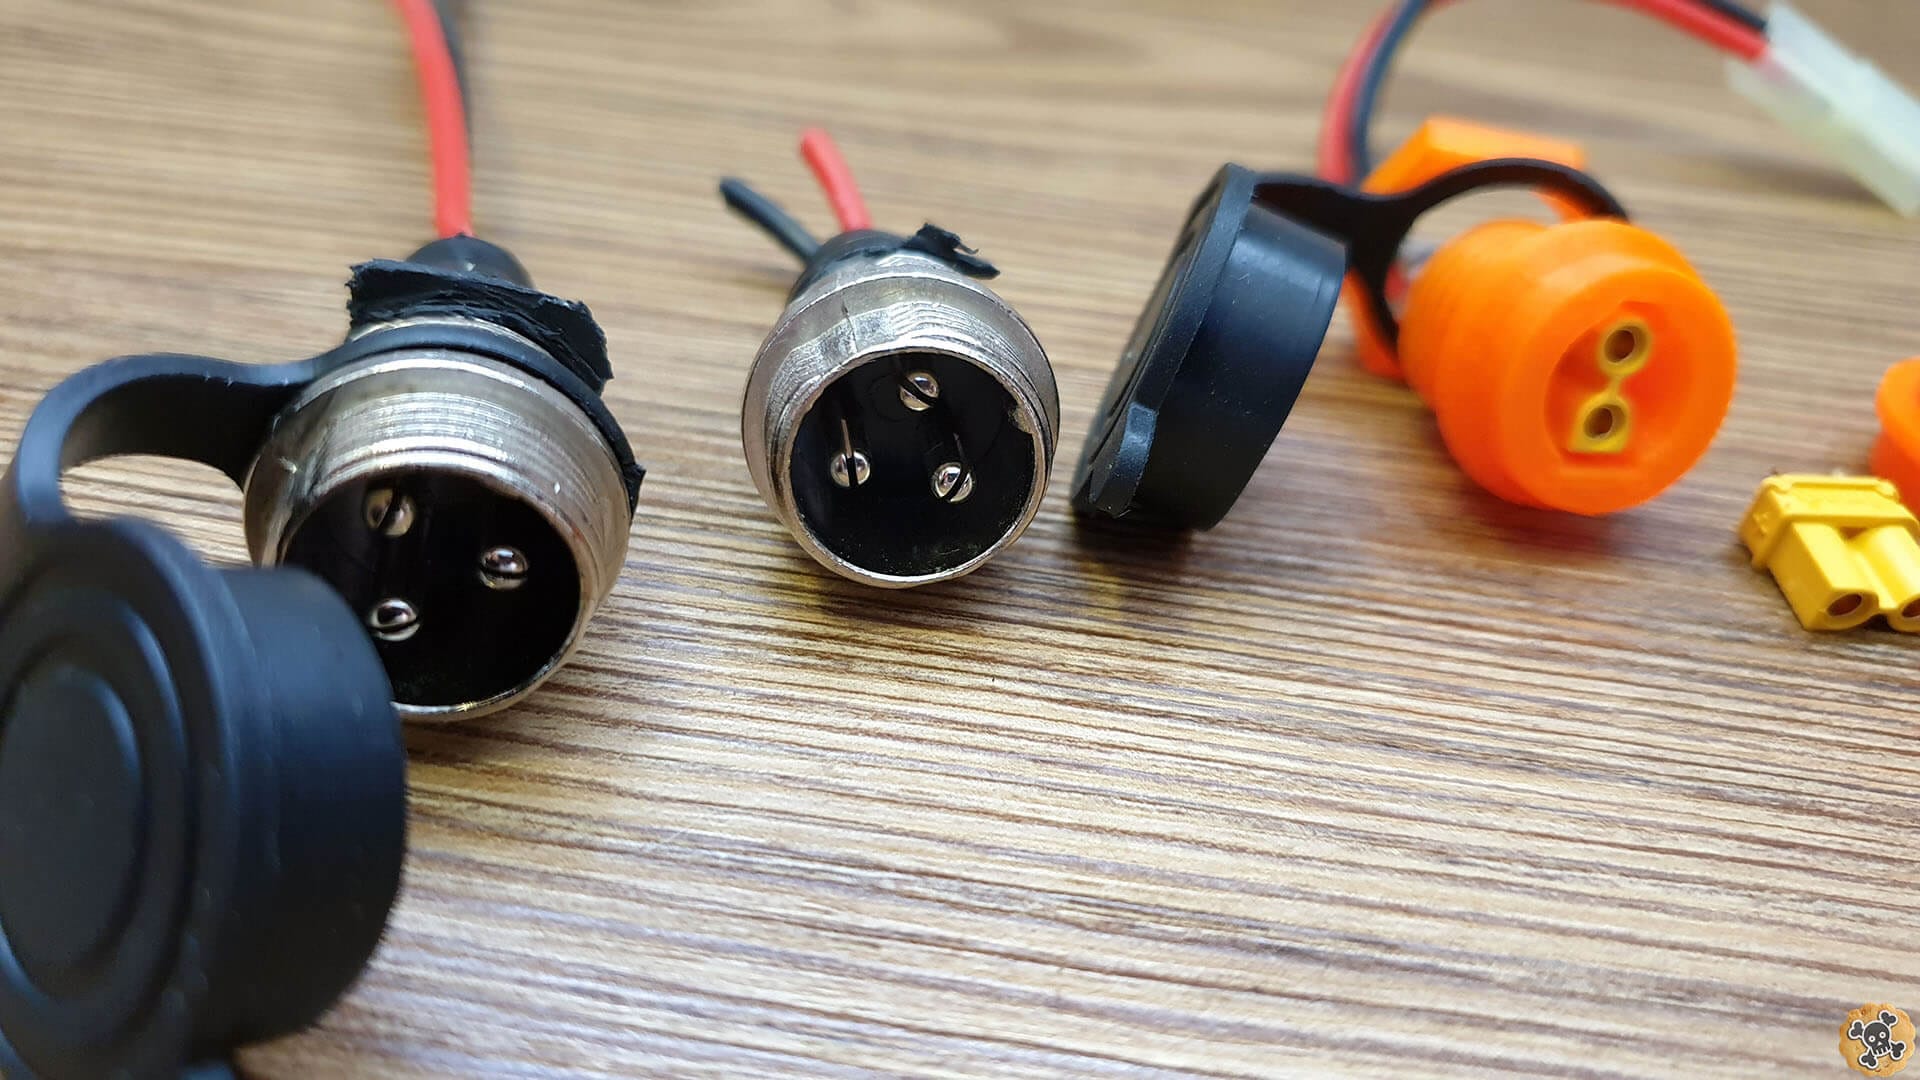
Why my charging port is easy to install and super safe to use ?!
- I am using XT30 connector, simply The Best in it’s size ?
- XT30 connector is perfectly secured and widely used for LIPO batteries ⚡
- Can handle high amperages even 30A ! ⚡?
- My adapter is not electrical conductive ??
- Fits perfect for almost all Escoots with stock Microphone port ?✌
- Easy to DIY and Install ???
How to install my DIY Charging port.
At first you have to open the deck in your scoot and disconnect battery from controllers ( big yellow XT60 connetors ) & disconnect charging ports ( translucent long connectors between between battery and charging port )
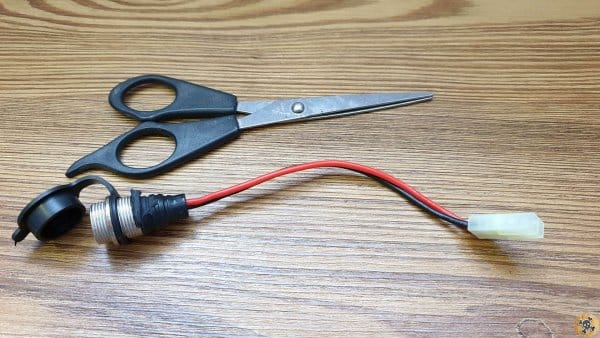
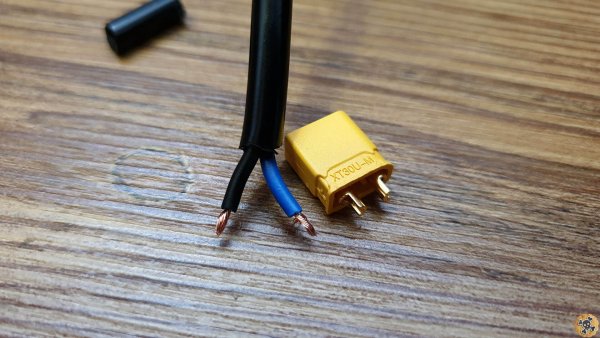
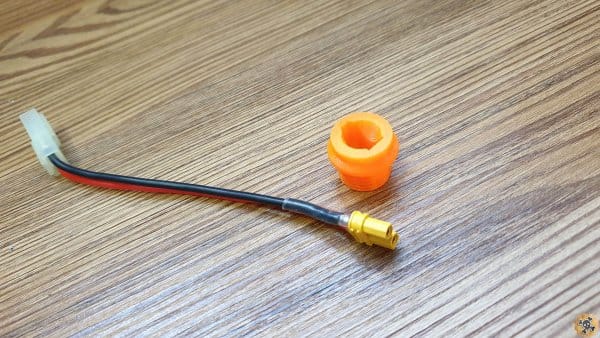
When you remove stock microphone charging port / cable, cut off microphone port like I did on img, then remove like 2mm of silicone cover
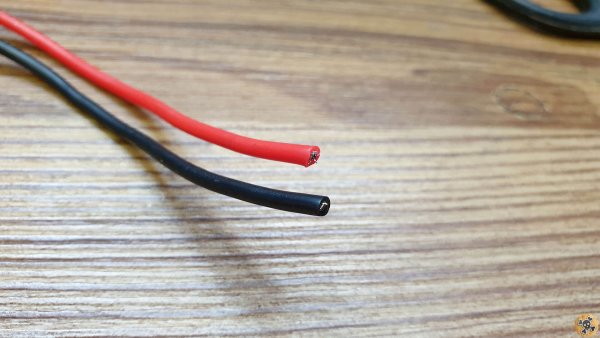
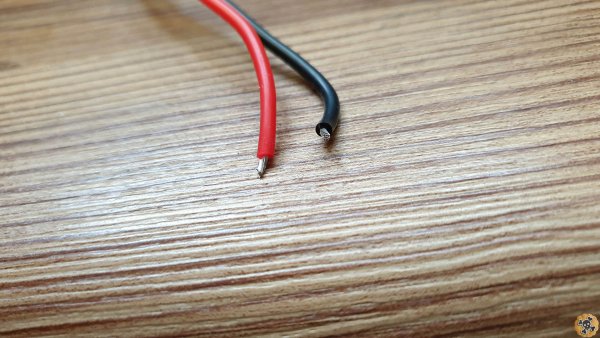
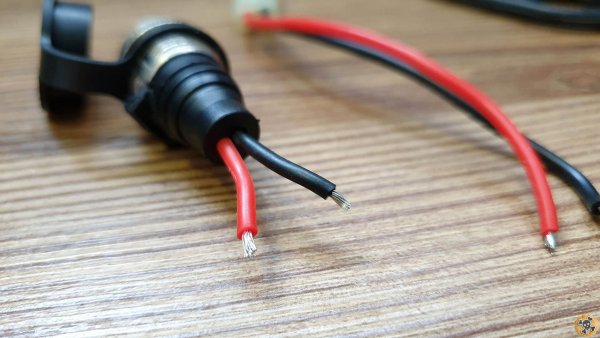
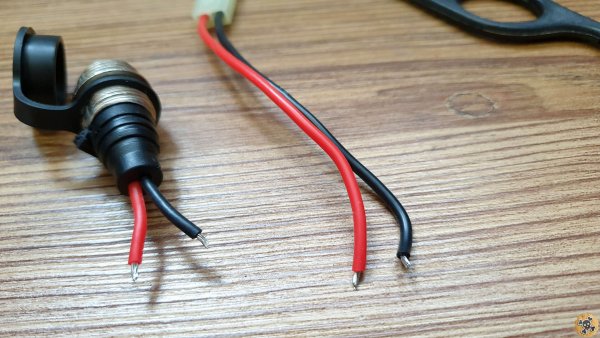
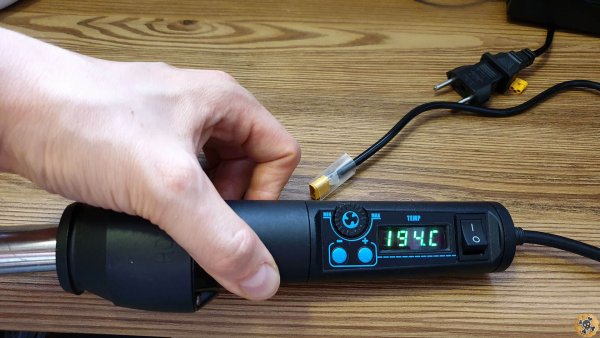
Slide 2 small shrink tubes on the cables and prepare yours solder iron. I recommend to set 340C , add a bit solder on the cables and connector. When you will solder cables to connector, take your time and all will go smooth !! Use the same type of the connector which I used & remember , Red is + Positive while Black is – ground !! . ** If you are newbie then check some videos how to do it, it’s great experience which can be very useful in a future
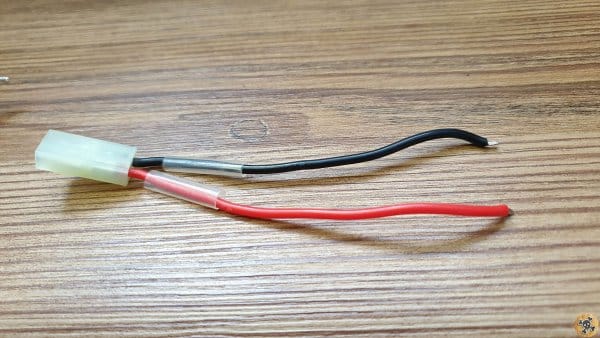
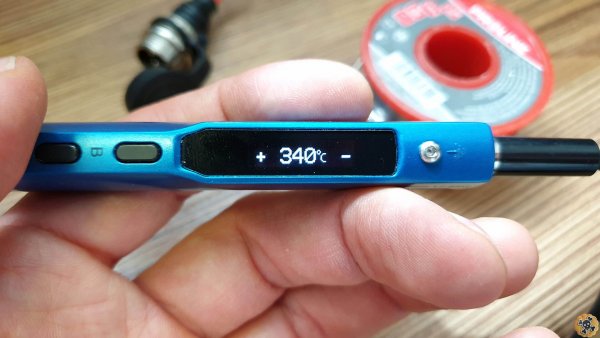
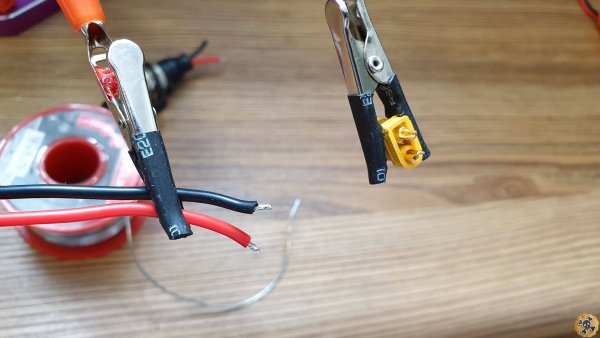
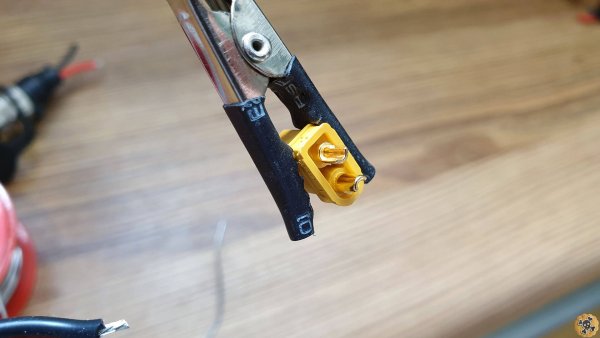
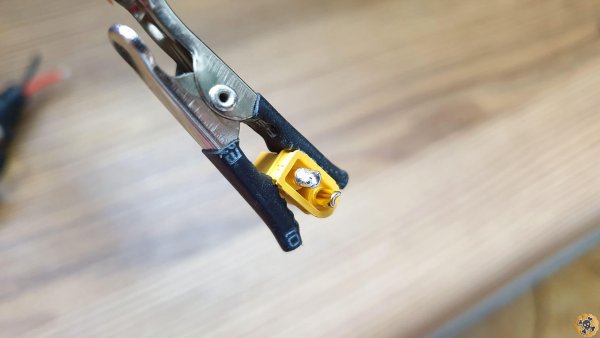
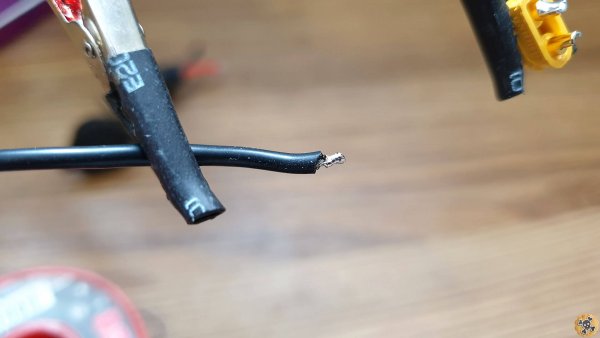
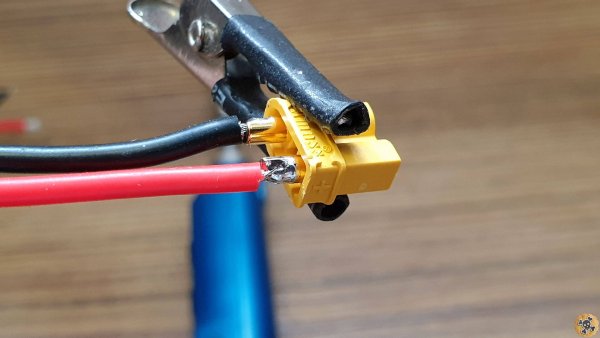
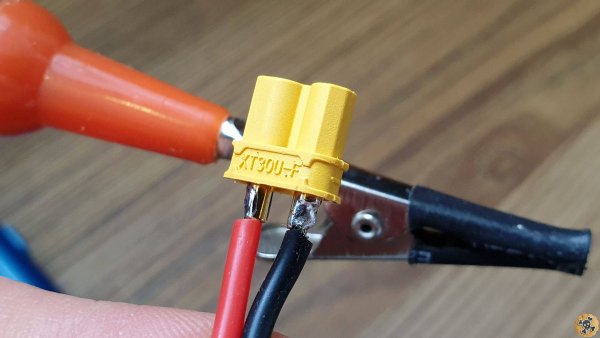
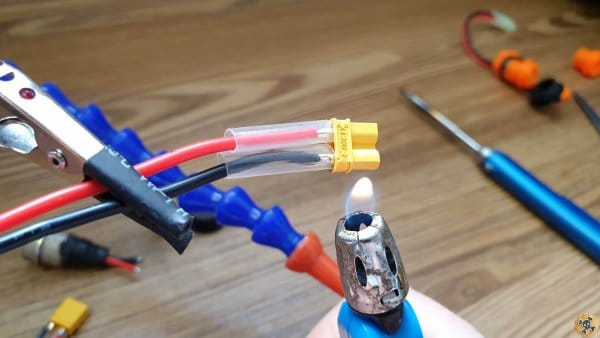
Now slide down shrink tube and use lighter or hot gun to shrink tube, remember to have some distance between lighter & shrink tube otherwise shrink tube and connector can be damaged ! .
** Extra tip ** You can do the same steps for previously removed microphone port but used different connector ,thanks to it you don’t have to cut off microphone charging port from your charger to install new XT30 connector and you you will have charger with 2 ports which can be very useful in a future:)
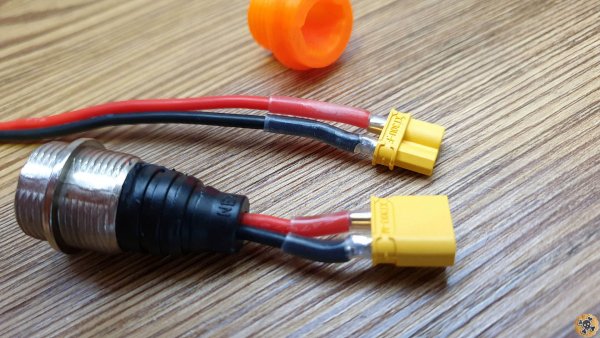
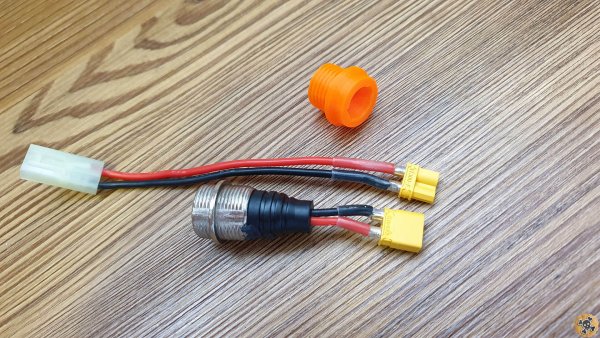
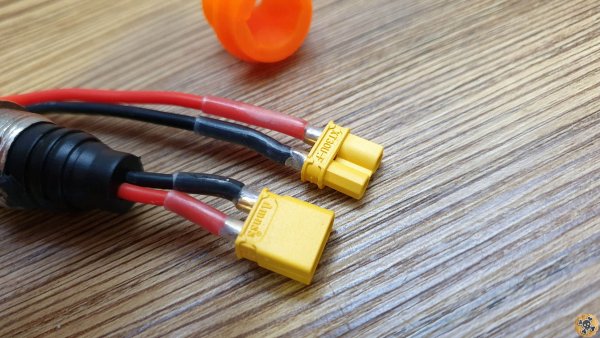
If you would like to replace stock charging port on your charger then do almost the same steps, cut off end , solder cables to connectors !! This time we got different color cables , Blue is + Positive & Black is – ground !!.
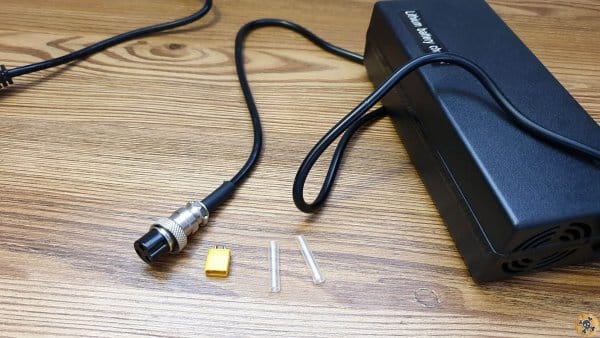
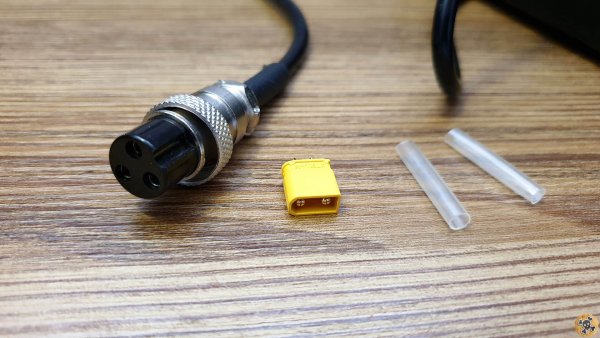
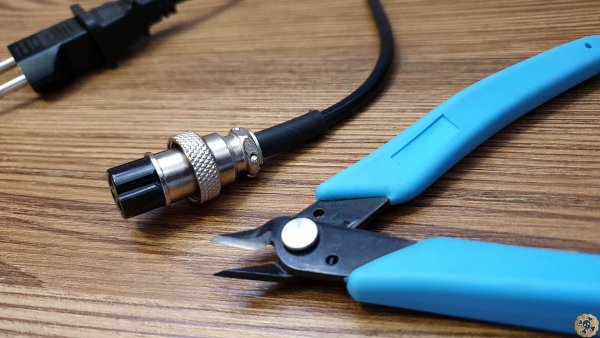
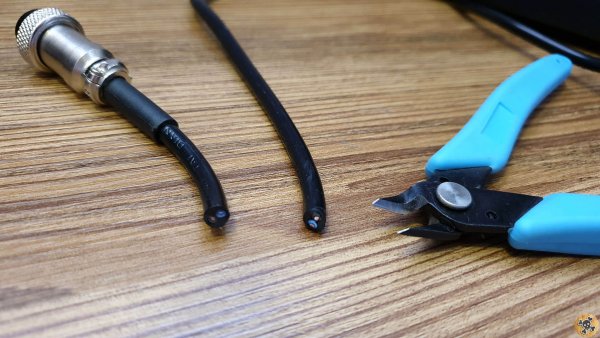
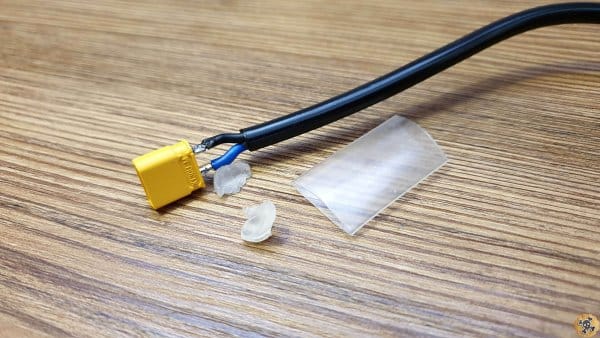
This time other better idea how to reinforce connector for charger. After you solder cables to connector slide in BiG shrink tube and place under the shrink tube and empty space between cables and connector, 2 small pieces of hot glue ( like you can see on photo). Then use Hot gun or lighter and wait a bit longer till hot glue melts under shrink tube and spill around, when it cools down connector will be rigid 🙂
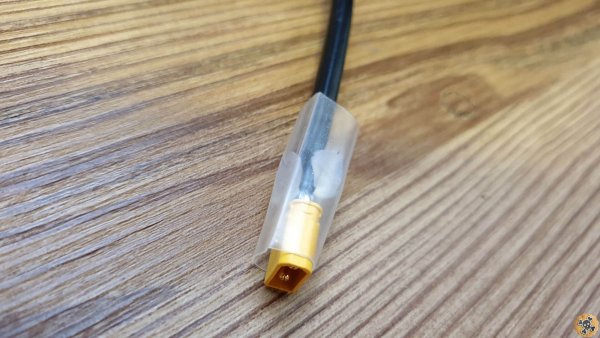
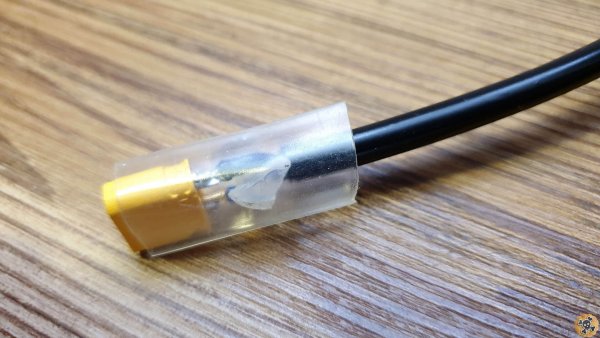
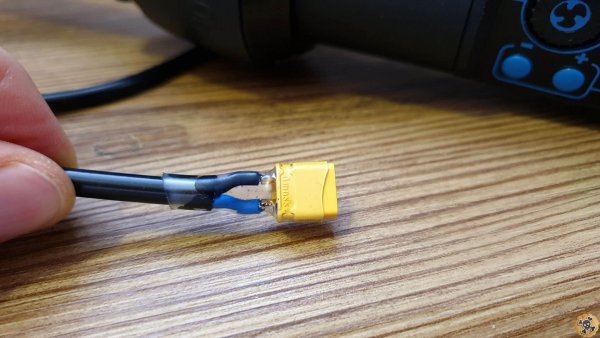
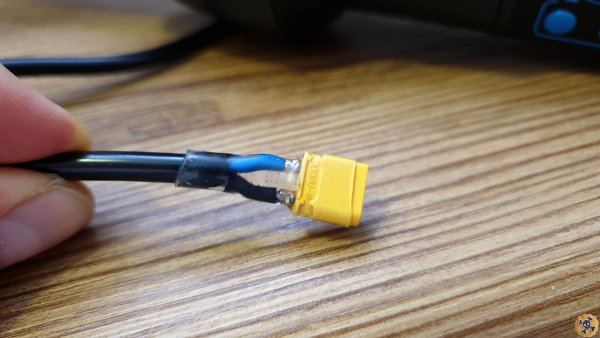
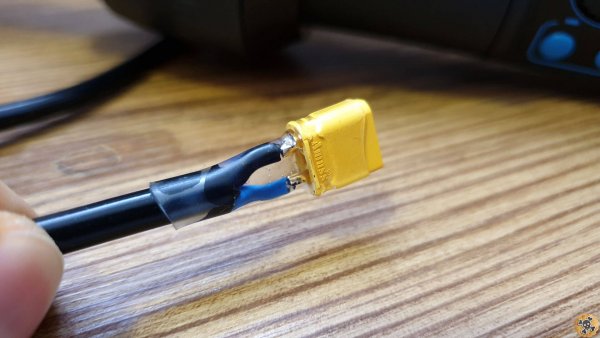
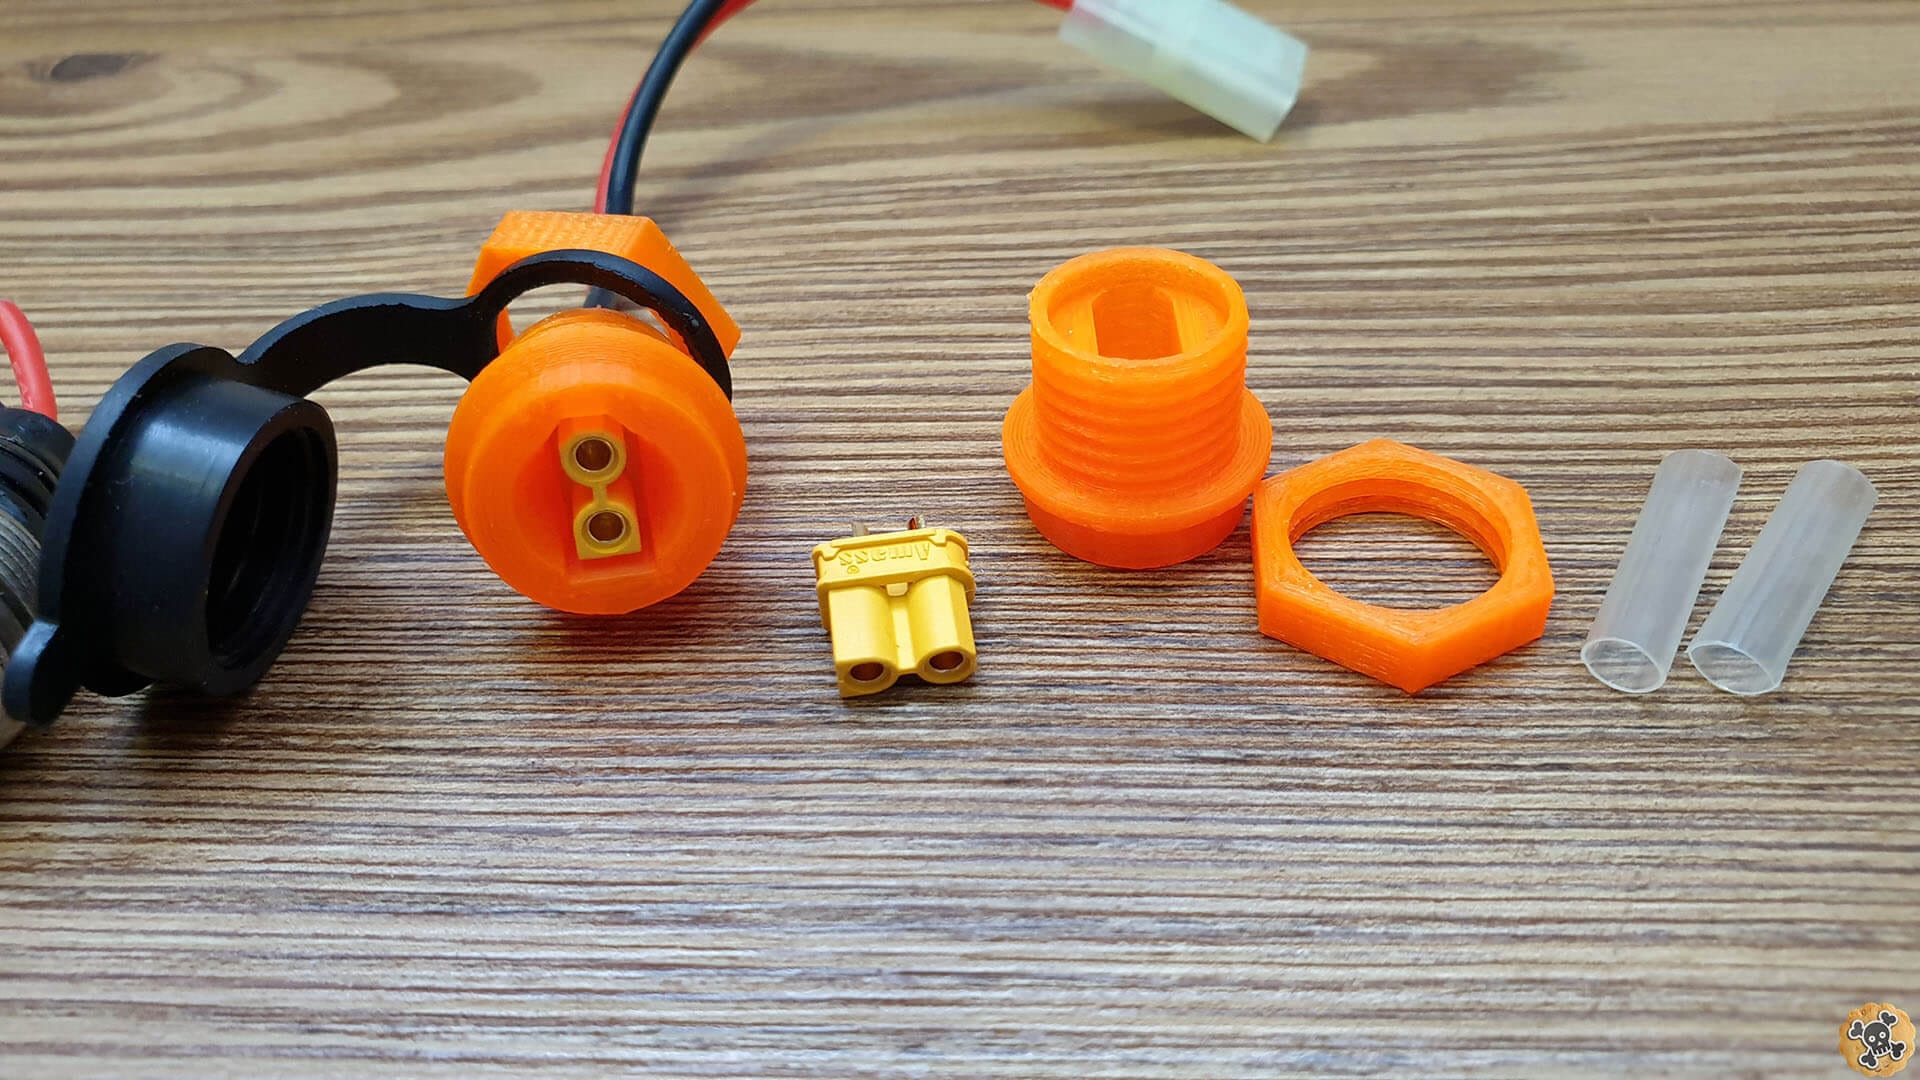
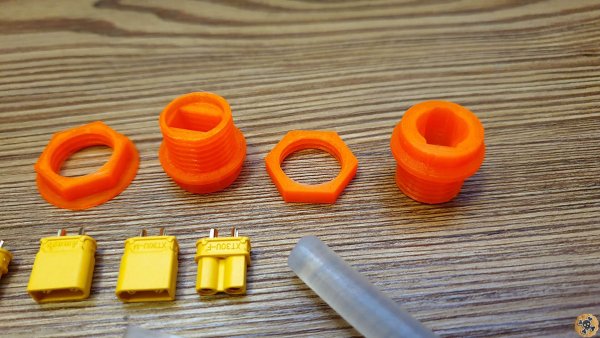
We got ready XT30 connectors , if you are still alive then trust me , You Are Doing Very well ???. Now we need printed charging port , Battery connector with XT30 and hot glue . Slide XT30 connector inside printed port like I did, on pics you can see small position difference between XT30 and port !! XT30 is 1-2mm lower than top side/shell of the printed port, it’s very important , check carefuly pics!!
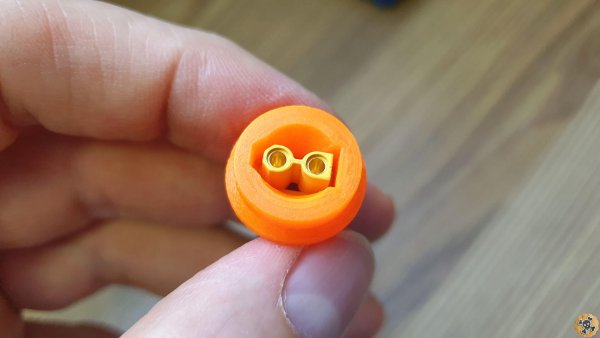
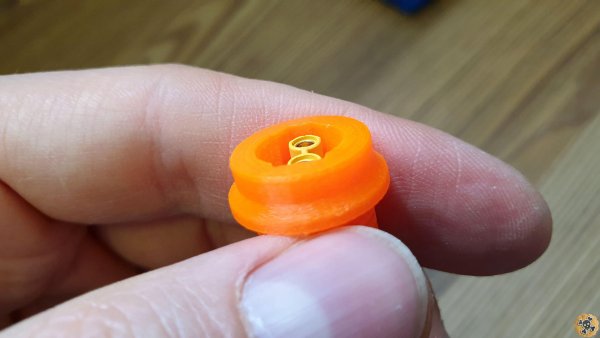
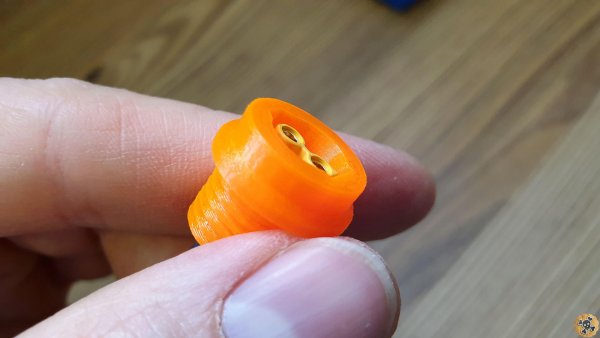
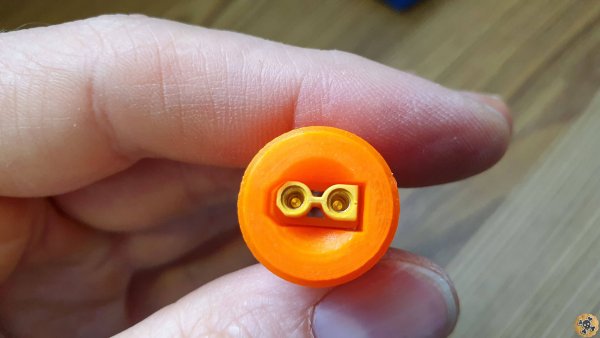
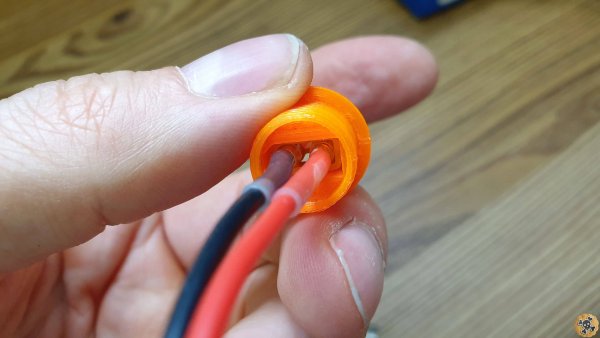
Now slide in carefully opposite XT30 connector, you are doing it secure both connectors at the center position and to be sure that all will fit when you finish reinforcing port !! Be sure to not move up/down or change position of 1st connector when you sliding in 2nd one!! .
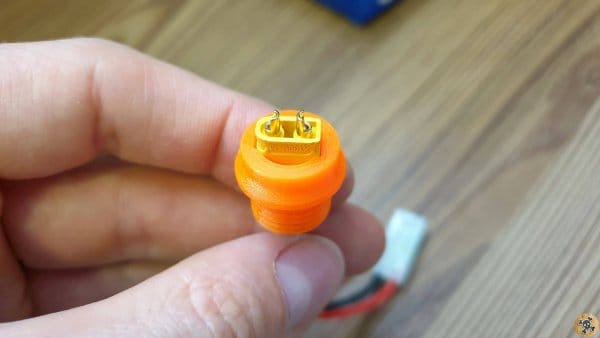
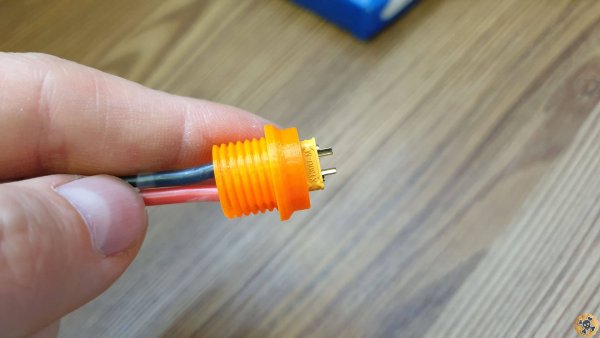
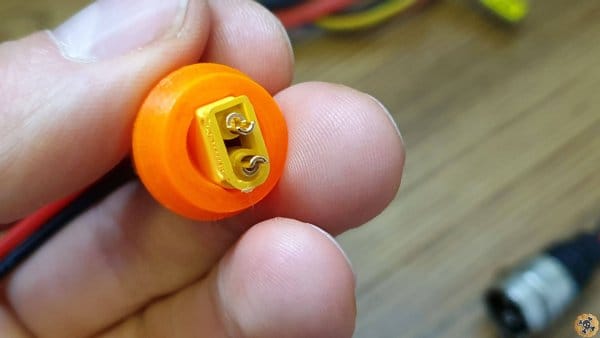
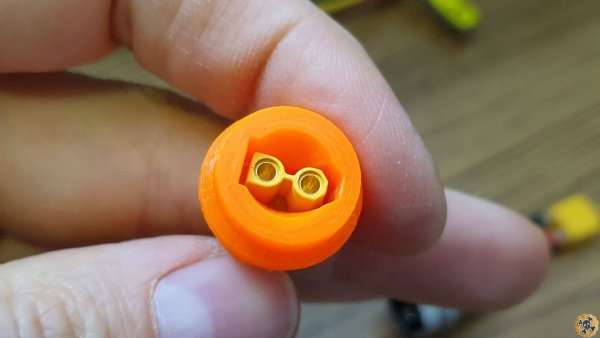
Now use Hot Glue ( better Got Glue gun ) to secure 1st XT30 connector in port , when got glue cools down, port will be waterproof and quite rigid. It should looks like my one ???
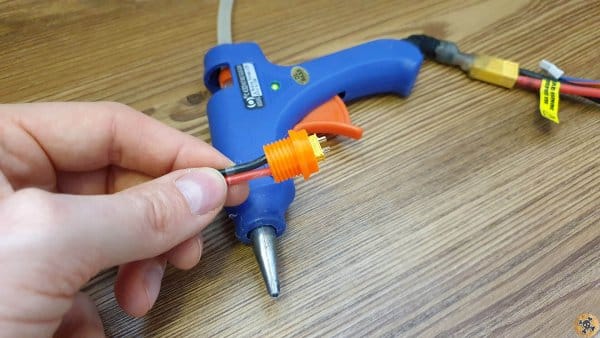
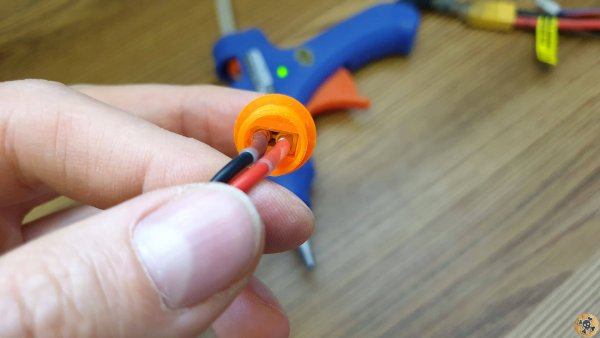
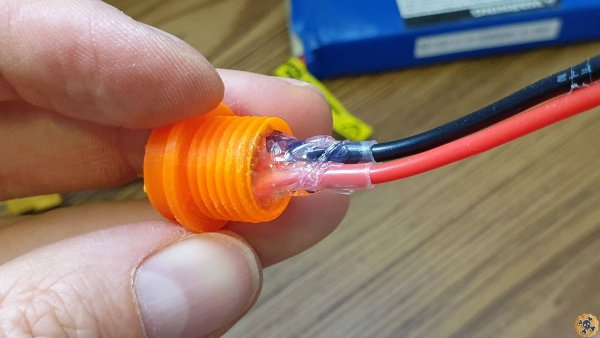
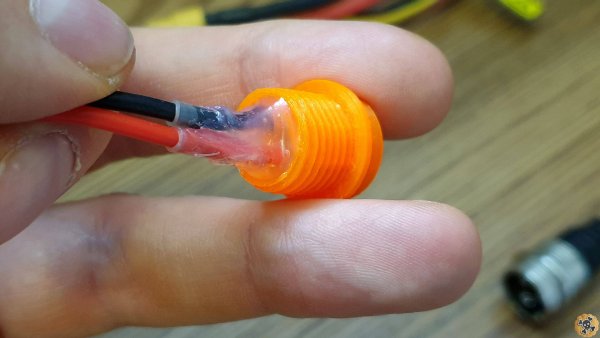
Now you can remove connector from the other side and actually you are pretty done at that point, just install new port in your scoot and use included nut to secure it .


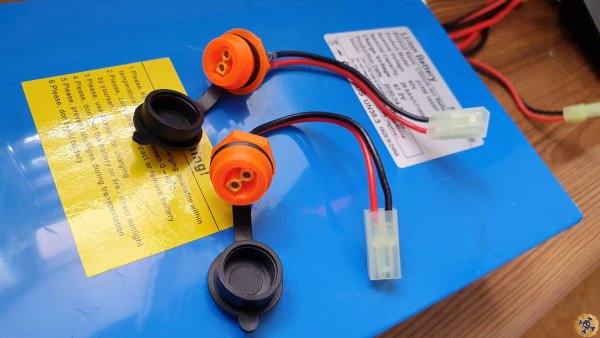
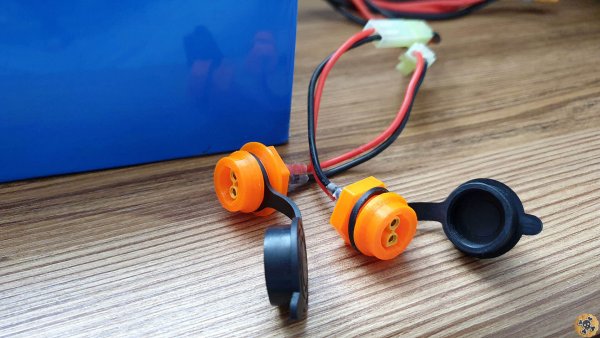
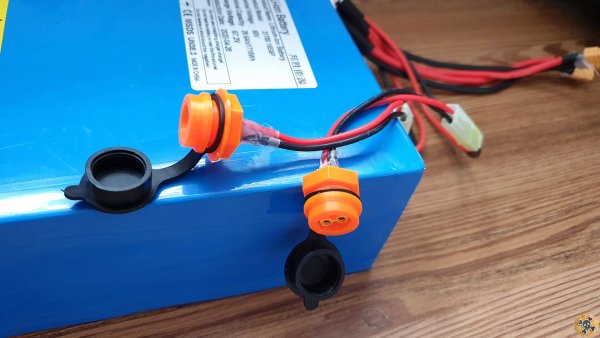
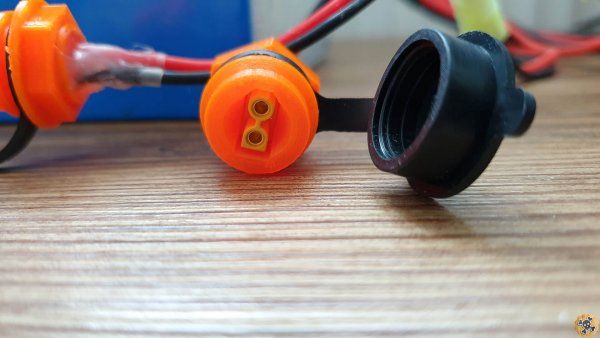
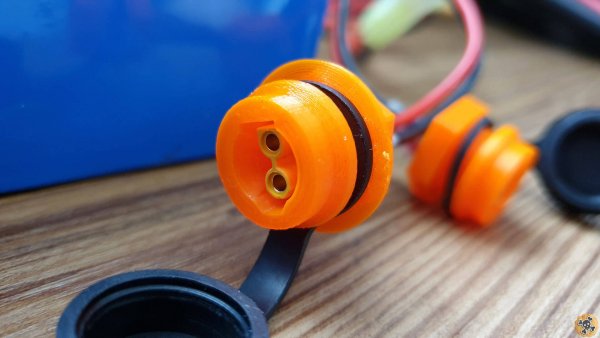
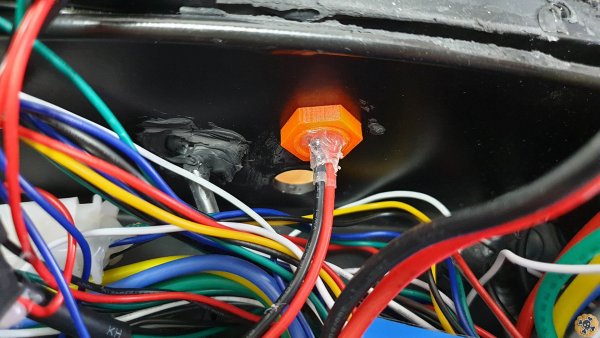
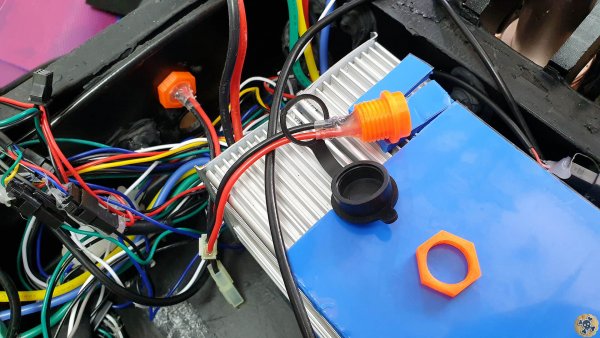
!!!! Before you connect new connector to battery and/or charger to new port , check once again if there is no short circuits and if polarity is correct ( that you are connecting + to + and – to – ) !!!!
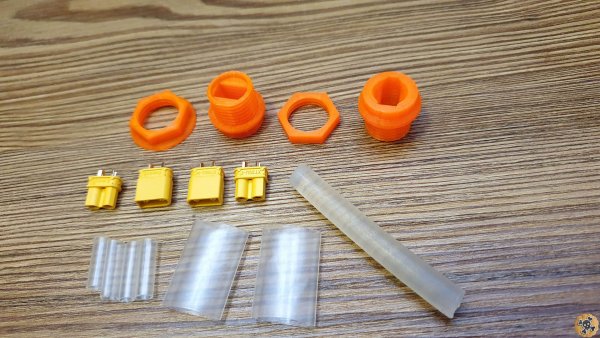
- 2x Printed Chargin port
- 4x XT30 connector ( 2x Male & 2x Female )
- 6 x shrink tube
- 1x Short Hot glue stick
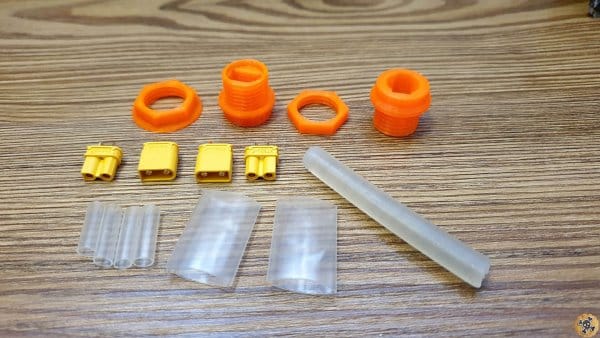
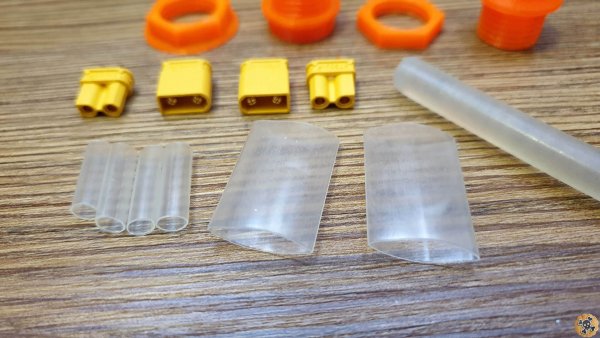
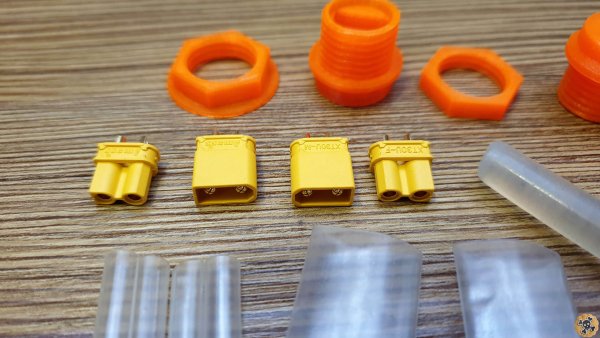
Now Covers are also available, looks sweet ??
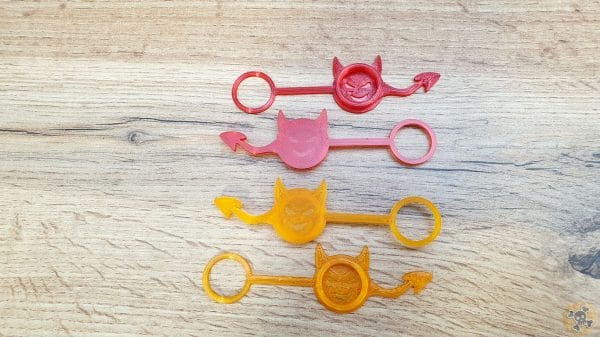
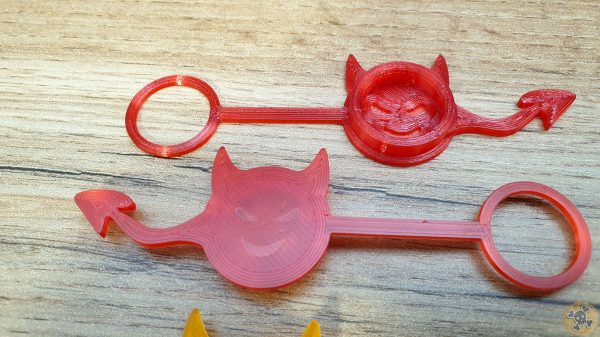
If you need them, check Pirate Eshop
Home
Video:

Nice! I think the reason designers often use 3pin XLR contacts is because its rated as waterproof however you are completely right about the danger of using it. I have worked with audio and i can tell you xlr cables often break with wires loosening from the terminals. With constant plugging and high current it is going to break for sure
Hi,
Does anyone help with 2x Printed Chargin port
Does anyone have the zip file to print or any help?
It seems we cannot buy from anyone
Thanks in advance
Any link to print XT30 3d charging ports
The links to buy are not working
?
Hi
This product is not listed on g2a.com so, I cannot buy it!
Could somebody send it to me? manue971@icloud.com
Another one please
I too would like to have the plans for the XT30
Hello Pirate,
link to the shop does not work. Can you please update the link or post a new one here for the charging port set? Cheers
Hi Bro if U want Xt30 ports, please contact me pirate.ac/contact/
Hello Pirate!
Are the charging ports you made for the Boyueda available yet ?
I’m interested in purchasing them from you.
I’m also in the U.S.
Thank you!
Hello Pirate,
Is this kit available and for sale?
I’m interested in purchasing a few of your products that you show in your videos for the Boyueda scooter.
I’m located in the US and I’m willing to purchase the files from you
Thank you!
I want this shell and there is nothing showing that u can buy it . Pirate you have to put some out there is a lot of sale your missing
Hi , send to me PM pirate.ac/contact/
Hello can you send me price for your power connectors Escoot XT30. I live in Sweden.Thanks in advance
Where do I find Your charger to using your parts. or how do i do?
you have also mod power end on charger as U can see in my post