
Welcome! If you follow my YouTube channel, you’ve probably seen my latest video about the insane transformation of the Engwe Engine Pro V2. For those new here, I highly recommend watching the Below, you’ll find the technical details of this project and a massive photo gallery!
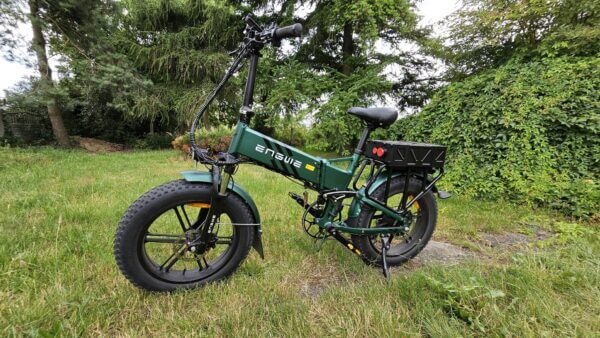

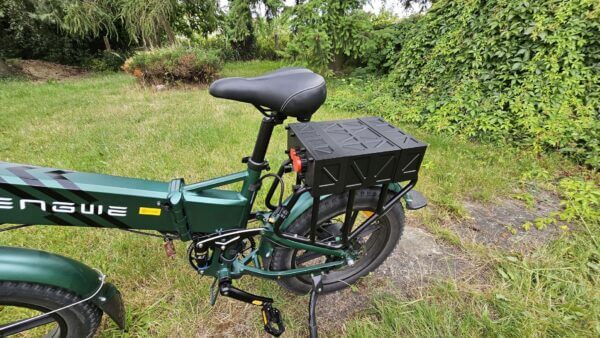
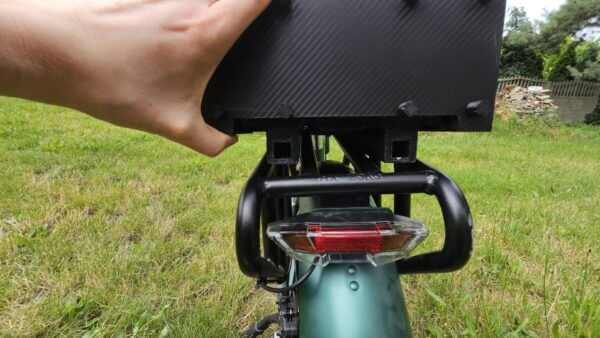
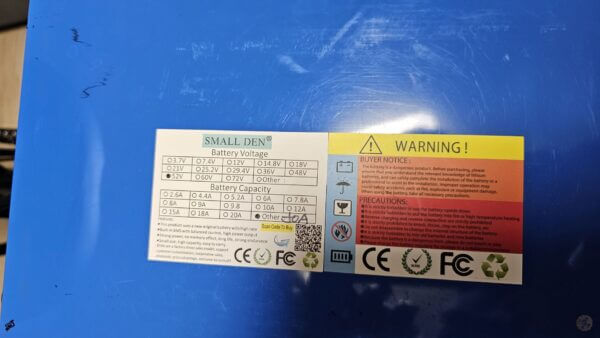
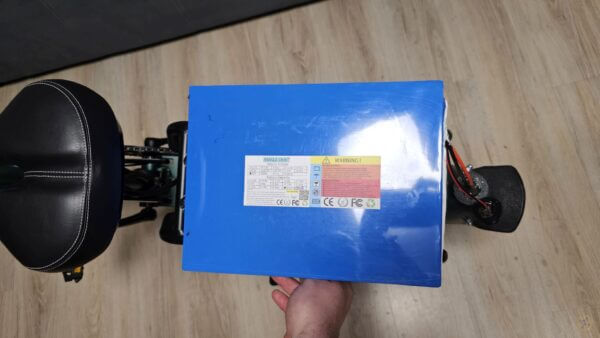
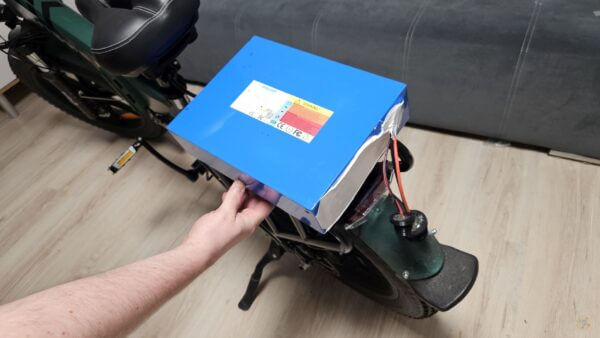
The Big Challenge & A Tight Budget It all started when a customer drove over 150 km to my EV service with a crazy idea. He wanted to add a gigantic battery with a real capacity of 35Ah (which looked and weighed like a 50Ah pack!) to his brand new Engwe. The goal? Achieving a real working range of around 200 km. To make things harder, the battery had to be mounted on the rear rack, be easily removable, and the budget was very tight. I decided to accept the challenge!
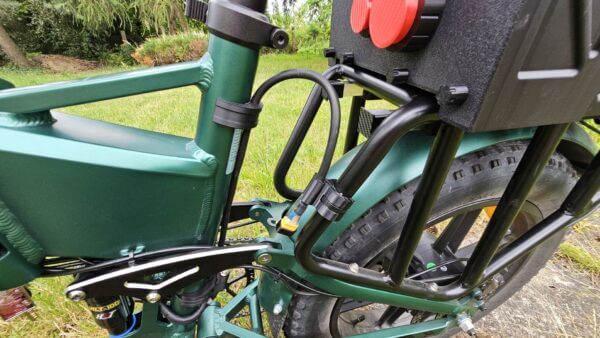
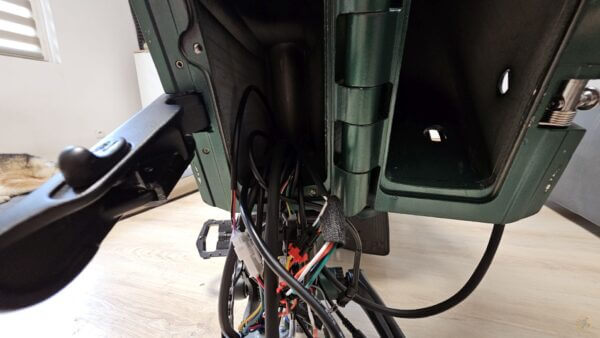
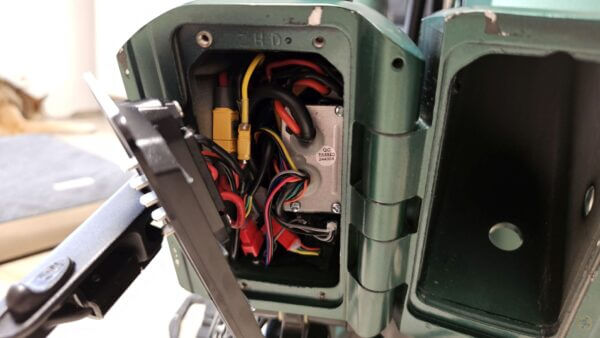
How I Did It: Technical Details To connect the systems, I used a cheap but great 40A battery combiner, which easily fit inside the frame near the controller. There was even room left for a small 12V step-down converter.
Designing the shell for this humongous pack was the real test for my skills:
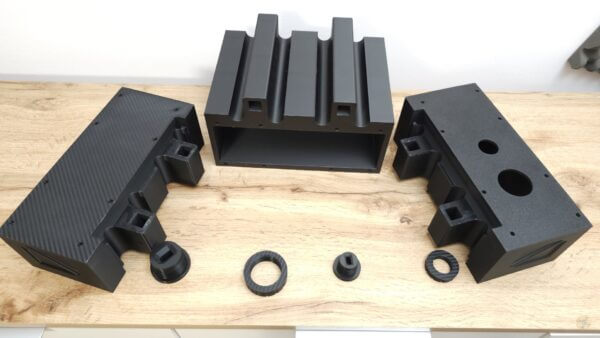
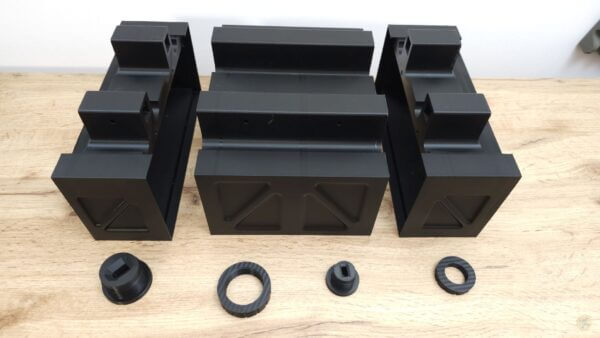
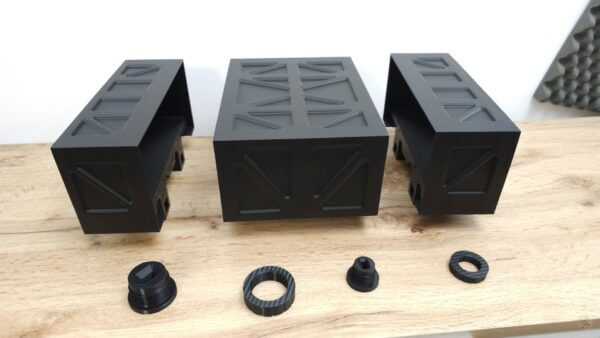
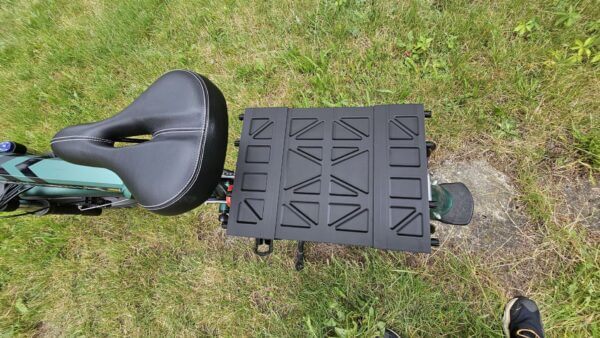
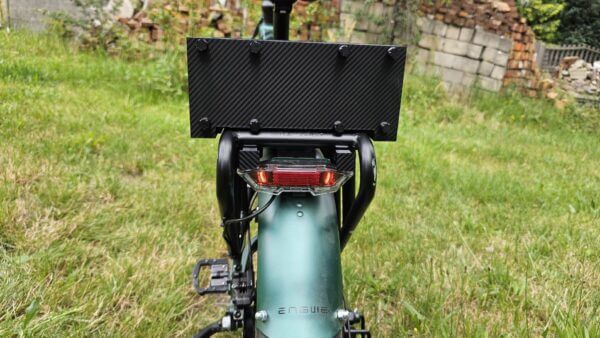
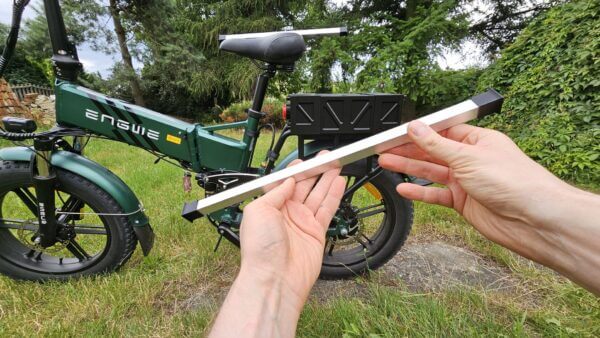
- Modular 3D Design: I went with a good old modular design. It consists of three main body parts tightly compressed by threaded rods. This is the cheapest and strongest way to design a 3D-printed shell—there’s zero chance the plastic layers will separate under heavy weight.
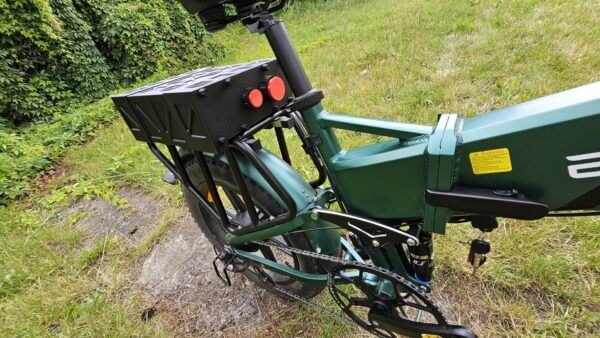
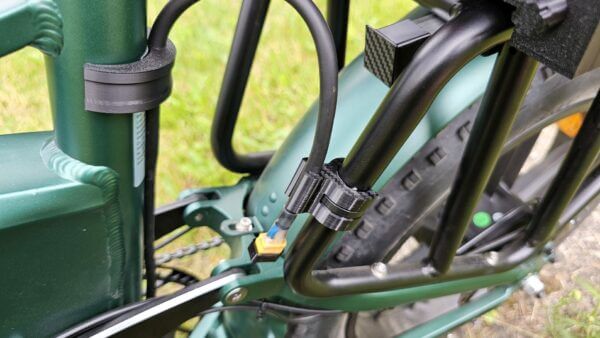
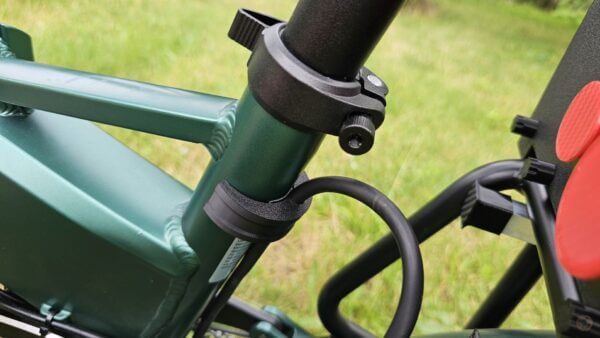
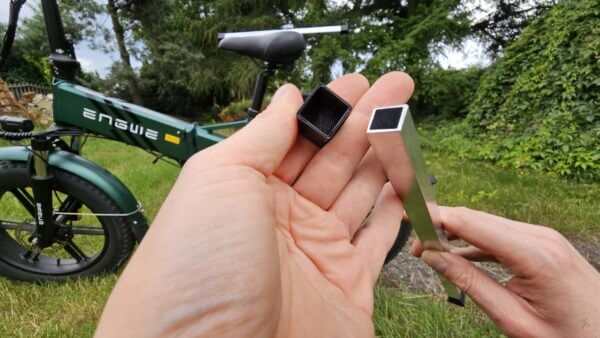
- Rock-Solid Mounting: To attach the whole thing to the rack, I used long, hollow aluminum profiles. As a result, the structure is light, and the battery stays securely on the rack. I also added sponge tape between the housing and the rack to perfectly adjust the pressure and absorb shocks.
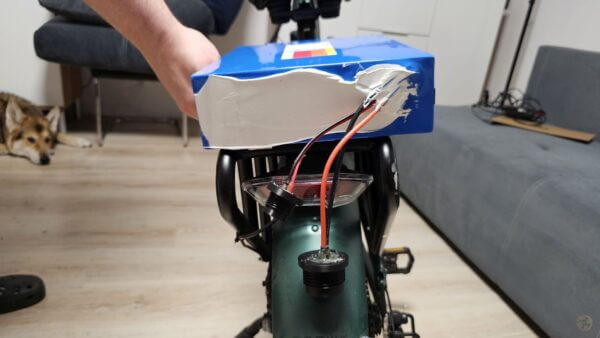
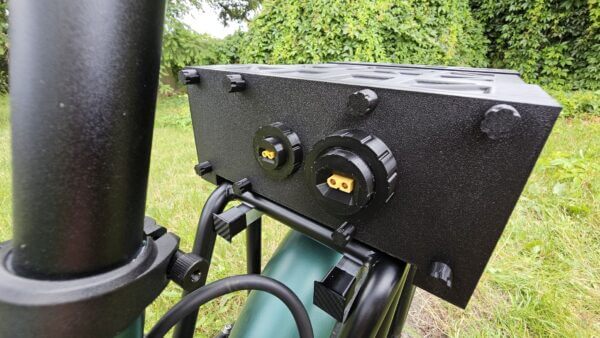
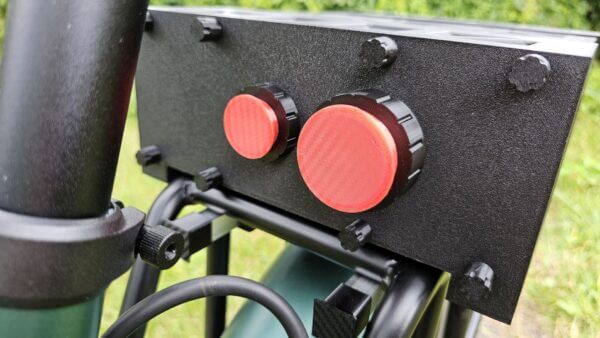
- Pro Details: I finished the build with custom flexible TPU wire holders and thick insulation cables for a very clean, professional look. I even added a special switch to activate the 12V output—a perfect solution for powering up accessories like a rear bike camera.
The Final Result The result is a powerful, foldable cruiser ready for the longest trips, and the modification didn’t break the customer’s bank. Check out the photo galleries below to get a close-up look at every detail of this 3D-printed case and the entire setup.
If you have any questions about this project or want to do something similar with your e-bike, drop by YouTube and leave a comment under the video. I’ll be happy to help!